Debugging
Yambas Setup
The development of a module can be simplified by tracking the course of an execution by means of remote debugging. This requires the Tomcat to run ApiOmat with debugging options. To read more about installing Yambas, click here.
Yambas as Local/Remote installation
If you have Yambas installed directly on your machine or on a remote server, this is done by adding VM arguments to the Tomcat launch configuration. The VM arguments can be added by setting the arguments in the Tomcat configuration file located at /etc/apiomat/aom-yambas with Linux and in the Tomcat service properties with Windows.
-agentlib:jdwp=transport=dt_socket,address=<PORT>,server=y,suspend=n -eaAfter a restart of Tomcat, there is one change left to be done in Eclipse.
Remote debugging in docker is internally done via JPDA. ApiOmat's docker entrypoint script provides you the possibility to delegate the needed JPDA port with the following environment variable:
[...]yambas: [...] environment: DEBUG_PORT: <PORT> [...] ports: <HOST_PORT>: <PORT> [...]Define this debug port within you docker run command or docker compose file. Also make sure that the defined debug port is exposed to the outside of the container.
Open the Tomcat8w.exe. This is located under C:\tomcat8\bin. Click on the tab "Java" and add the following parameters before all other parameters.
-agentlib:jdwp=transport=dt_socket,address=<PORT>,server=y,suspend=n-ea 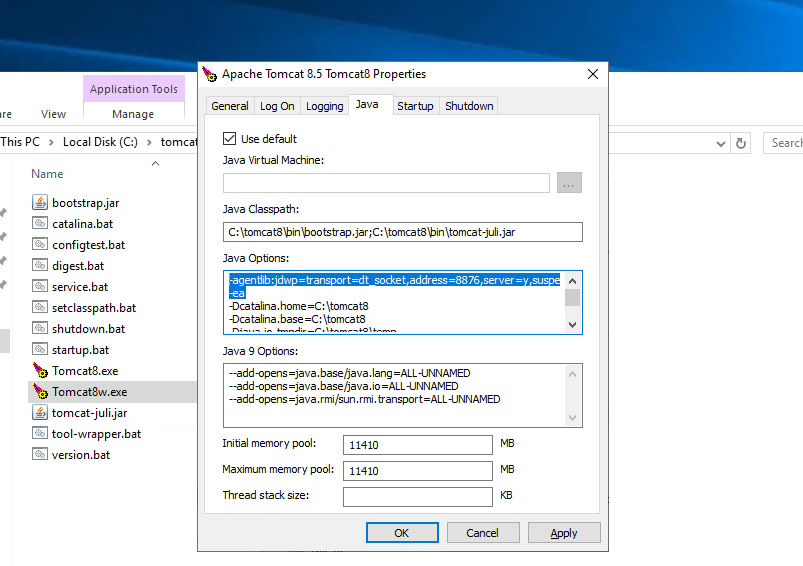
Now open the "Services" of Windows and restart Tomcat.
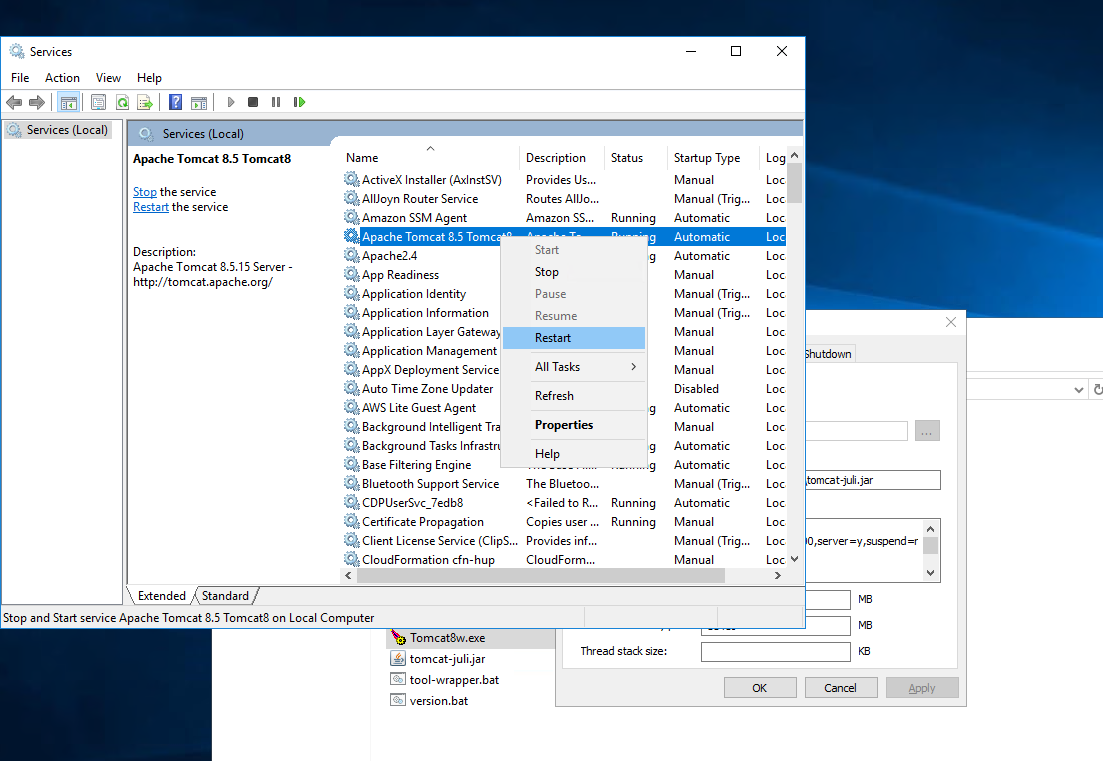
After that Tomcat runs in debug. The debug port in this example is 8000 and must now be opened in the firewall.
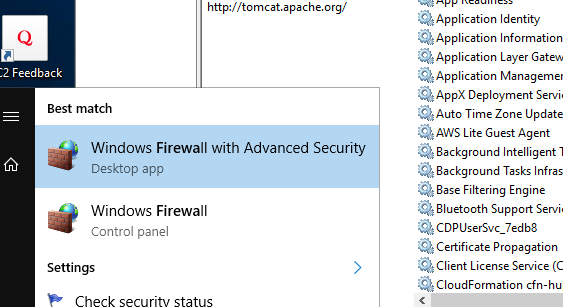
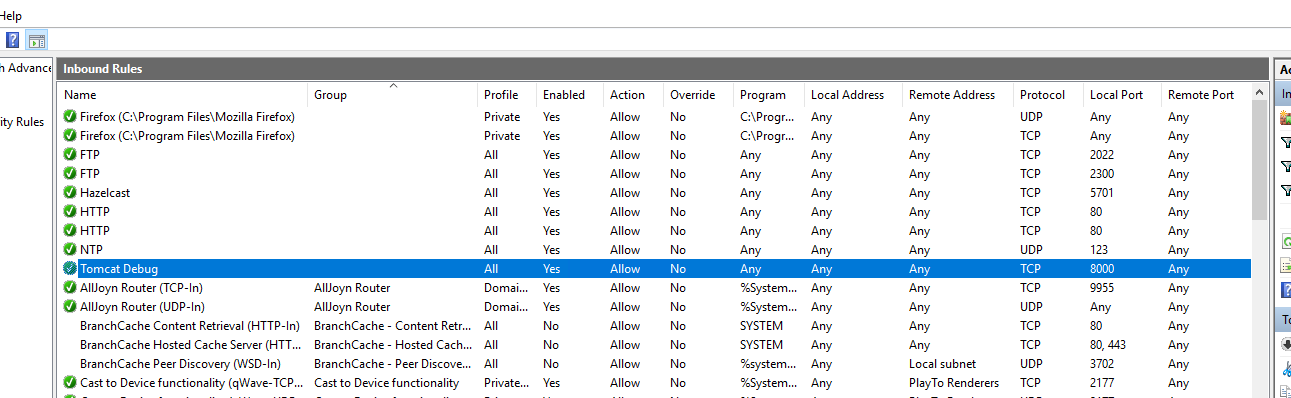
Go to the "Windows Firewall with Advanced Security" and open port 8000 by clicking on "Inbound Rules" and then "New Rule"on the right. Then select Port and press Next. On the next page, select TCP and specify port 8000 in "Specify local ports". On the next page select "Allow the connection". On the next page all options are checked. Finally, this rule is saved with the name "Tomcat Debug". This means that port 8000 is now released.
After that, there is one adjustment left to be done in Eclipse.
For <PORT>, use a free port on the system the Server is running on. Especially be sure not to use the same port as the one Yambas will listen to. In our example we are using 8000. If you might be also running a Dashboard installation on port 8000 you must switch to another port for debugging! Also, be aware that the parameters might have to be set before any other parameter! If you don't have admin access to the Yambas installation, make sure the VM arguments for debugging are set or will be set by a person with admin rights. After a restart of Tomcat, you're almost ready to debug your module code.
IDE Setup
Eclipse
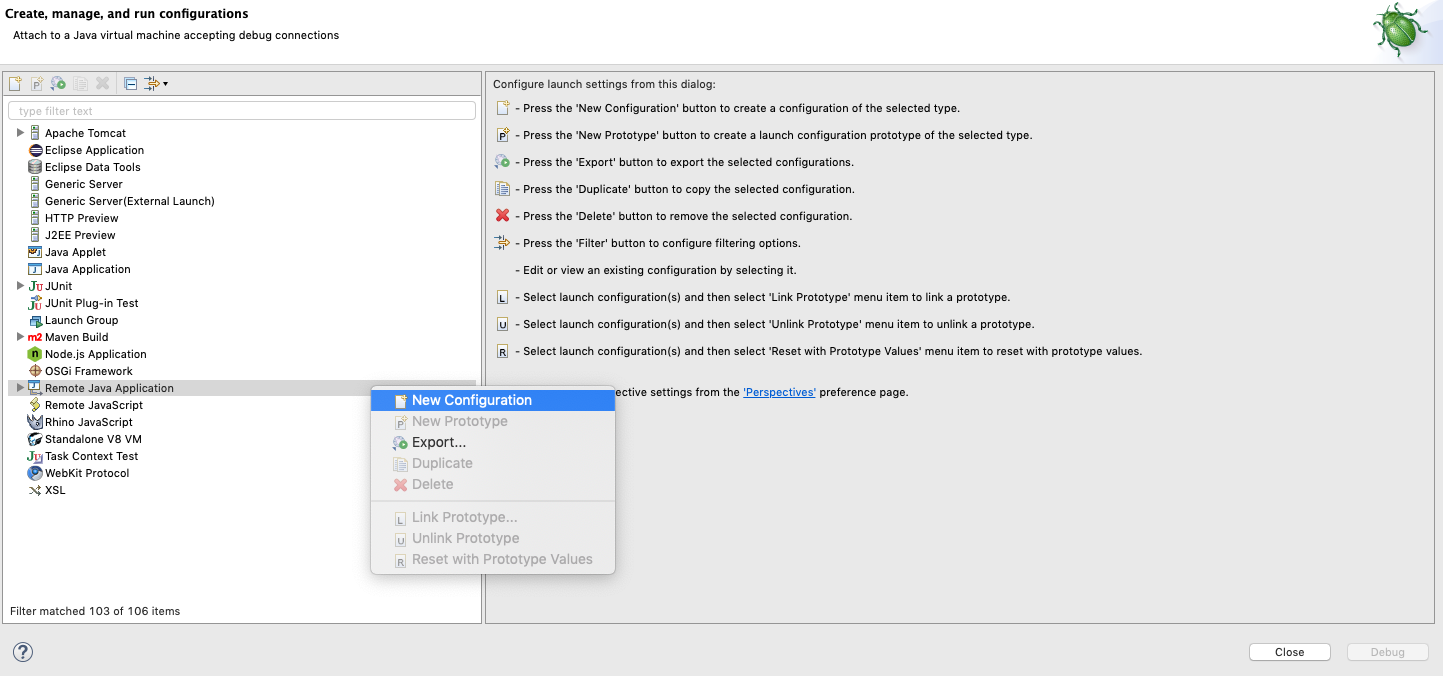
Right click on the project of your native module and select Debug as > Debug Configurations...

in the dialog, scroll down on the left and right click on Remote java Application > New Configuration
Now there should exist a debug configuration with the name of your native module project. In the tab Connect, values must be set as follows:
-
Project: should already be set to the according modules project. If not, click Browse... and select the project of the native module.
-
Connection Type: Standard (Socket Attach)
-
Host: Hostname of the computer that runs Tomcat in debug mode, localhost in this example
-
Port: Debug port configured in the server launch configuration, 8000 in this example
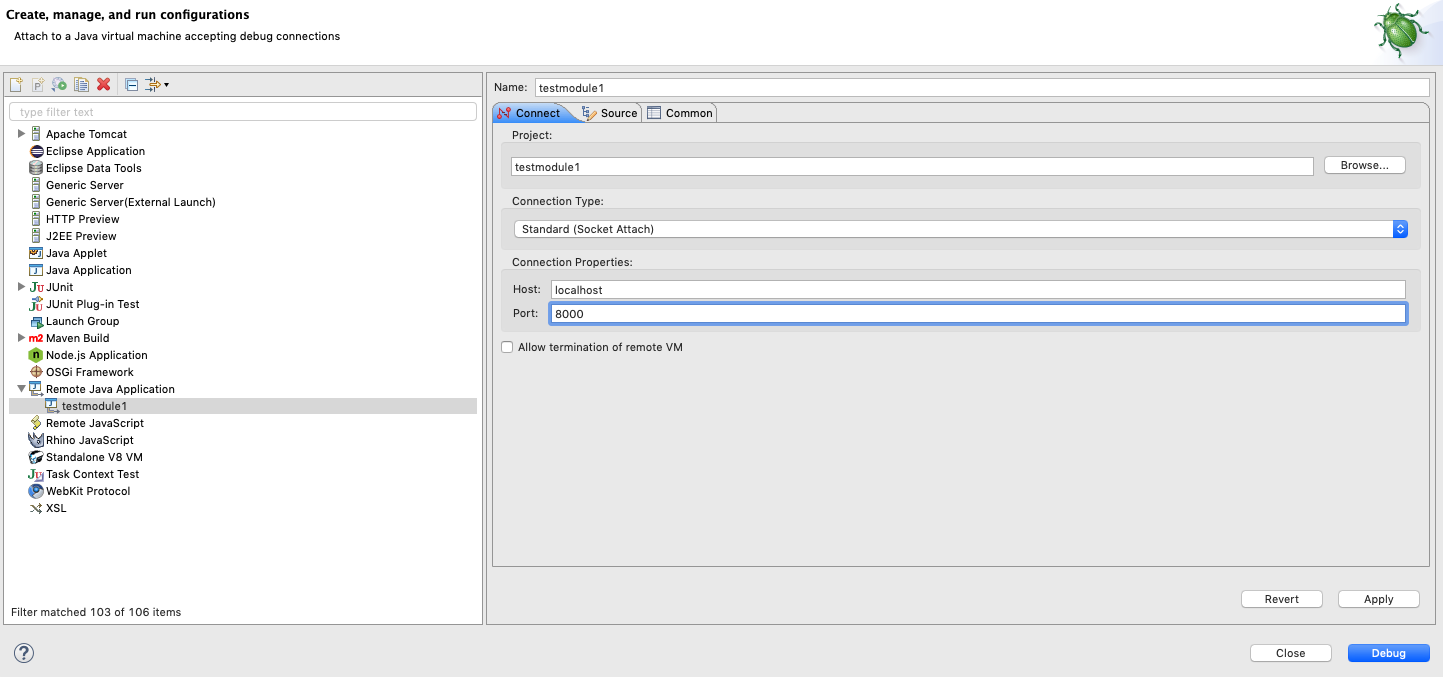
After setting these values, click Debug. Be advised that Eclipse at this point isn't very verbose so if nothing happens you should be okay to move on.
Debugging your native module code
After Yambas was set up for debugging, you can start remote debugging your native module code from your IDE. To test if debugging works, set a breakpoint inside the onDeploy method of the module class, save and upload the project with the according build option.
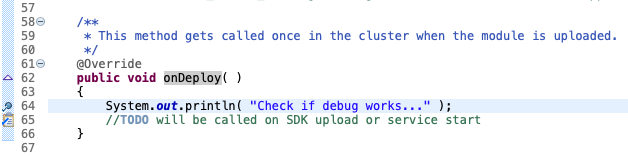
If everything was set up correctly, the debugger should stop there during upload. To read more about uploading your native module code, click here.
Of course you can also debug while interacting with your module. As a short example we set up a non transient class TestClass1 and set a breakpoint in the beforePost Hook in TestClass1HooksNonTransient. After building and uploading the module code we create new entities from the Dashboard.
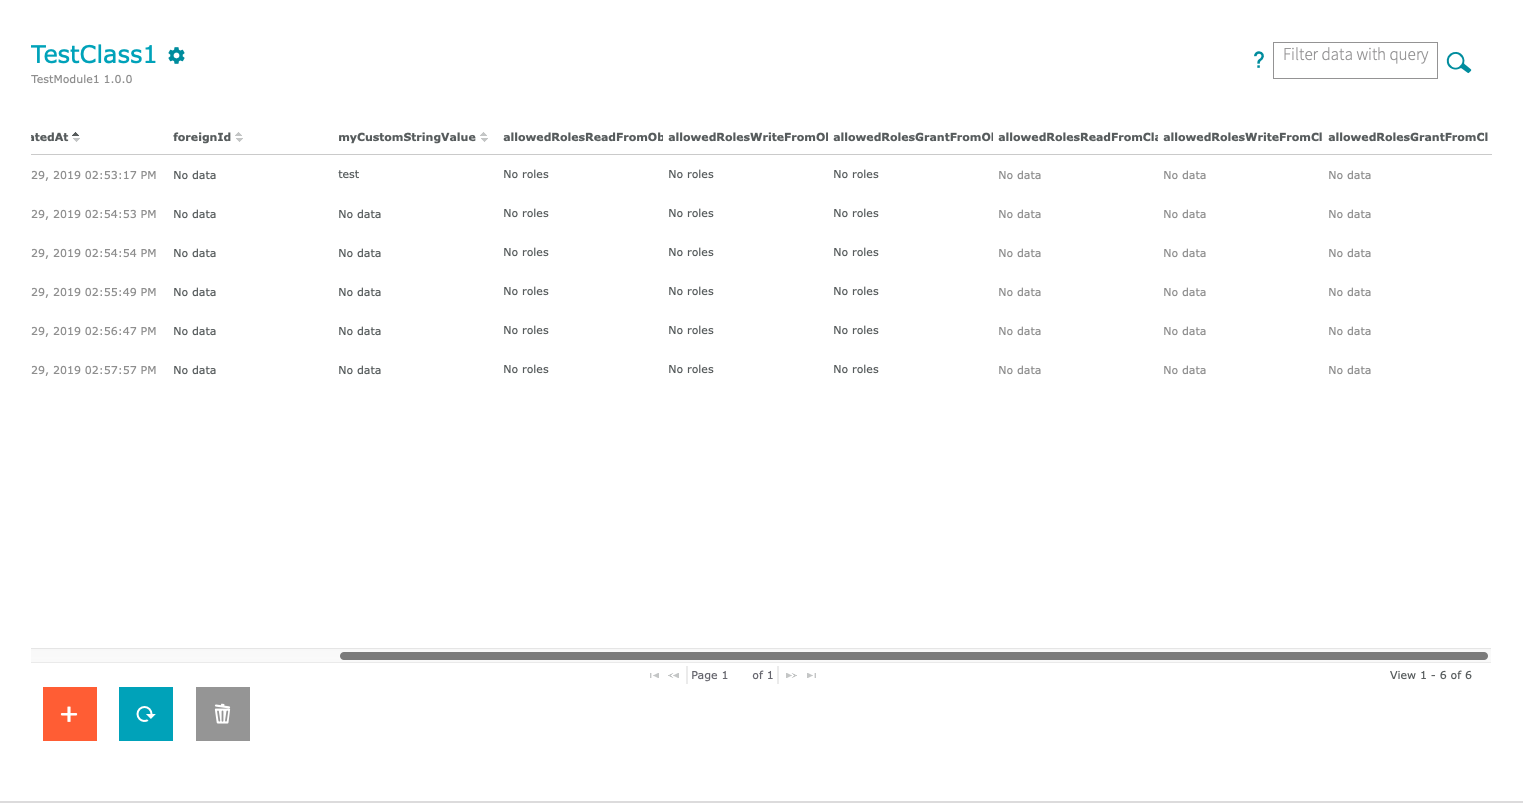
For each entity that is being created, the debugger will now jump to the breakpoint we set in the hook method.

This way we can closely observe what ist happening when native module code is executed e.g. from the Dashboard or ApiDocs. Now you are ready to go. Set the breakpoints you need, and trigger the according functionality for example by using the Dashboard or the ApiDocs.
Further information: http://wiki.apache.org/tomcat/FAQ/Developing