Non-Transient Hook Methods
The tutorial How to Create and Use Classes showed you how to create and use classes inside your native module. The question it opened up was: "how to do more advanced tasks, such as setting default-values or prohibiting certain values for class attributes?". This tutorial answers these questions. This tutorial also uses the grocery-example from the other tutorials of this series, so make sure you have already completed them!
-
First, you need to download the native module and import the project into eclipse. This tutorial shows you how.
-
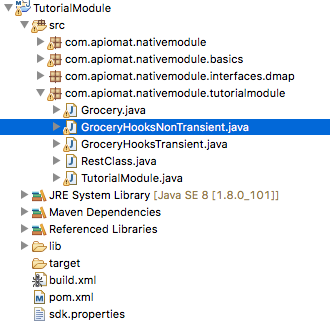
Go to the "com.apiomat.nativemodule.[moduleName].[dataModelName]hooksNonTransient" class. In this example, this is the "GroceryHooksNonTransient.class"
So, what is a Non-Transient-Hook?
-
"Hook" means that you can implement methods that autmatically trigger when a CRUD-Method (Create, Read, Update, Delete) is executed for any instance of this data model. For example, you can impement that something is done whenever a new instance is created or deleted.
-
"Non-Transient" means that changes you apply to an instance takes permanent effect on that instance when it's saved in the database
-
Keep in mind that every data Model you create has it's own hook-classes, so you can set the hooks for every data model seperatly!
-
-
You are now
-
"beforePost" and "afterPost" --> Add logic before and after an instance of this class has been created.
-
"beforePut" and "afterPut" --> Add logic before and after an instance of this class has been modified.
-
"beforeGet" and "afterGet" --> Add logic before and after an instance of this class has been read.
-
"beforeDelete" –> Add logic before an instance of this Class has been deleted.
-
--> For more detailed informations about hook-methods, look here
-
Post-Examples
-
Suppose you want to implement the following changes when a grocery ist created: (a) It should have a default-price of 0.5, and (b) log a success-message.
-
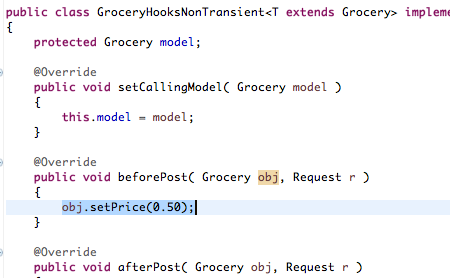
First you need to solve problem (a). You have to use the beforePost-Hook, because the default-price has to be set before a new grocery has already been saved into the database.
-
The beforePost-Hook provides the object and the request. Any change you apply to an object using a setter-method will affect that object before it enters the database. So, by putting "obj.setPrice(0.5)" evey newly created object will have a price of 0.5.
-
Let's solve problem (b), logging a success-message. The logic has to be put into the afterPost-Hook, because you can't be sure that the new instance actually arrived in the database before it has been saved (maybe your storage is full, or you lost connection into the database). The following code shows you how. The function log needs an application-name to know which application this log belongs to. The application-name can be retrived from the request.
@OverridepublicvoidafterPost( Grocery obj, Request r ){TutorialModule.AOM.log( r.getApplicationName( ),"Grocery has been created");} -
For the changes you made to actually take place, you have to upload your changes to the module currently deployed on the server! This tutorial shows you how.
-
Confirm that your changes took place: Inside the datamanager of the Grocery-class, a newly created grocery should have a price of 0.5 and log the success-massage.
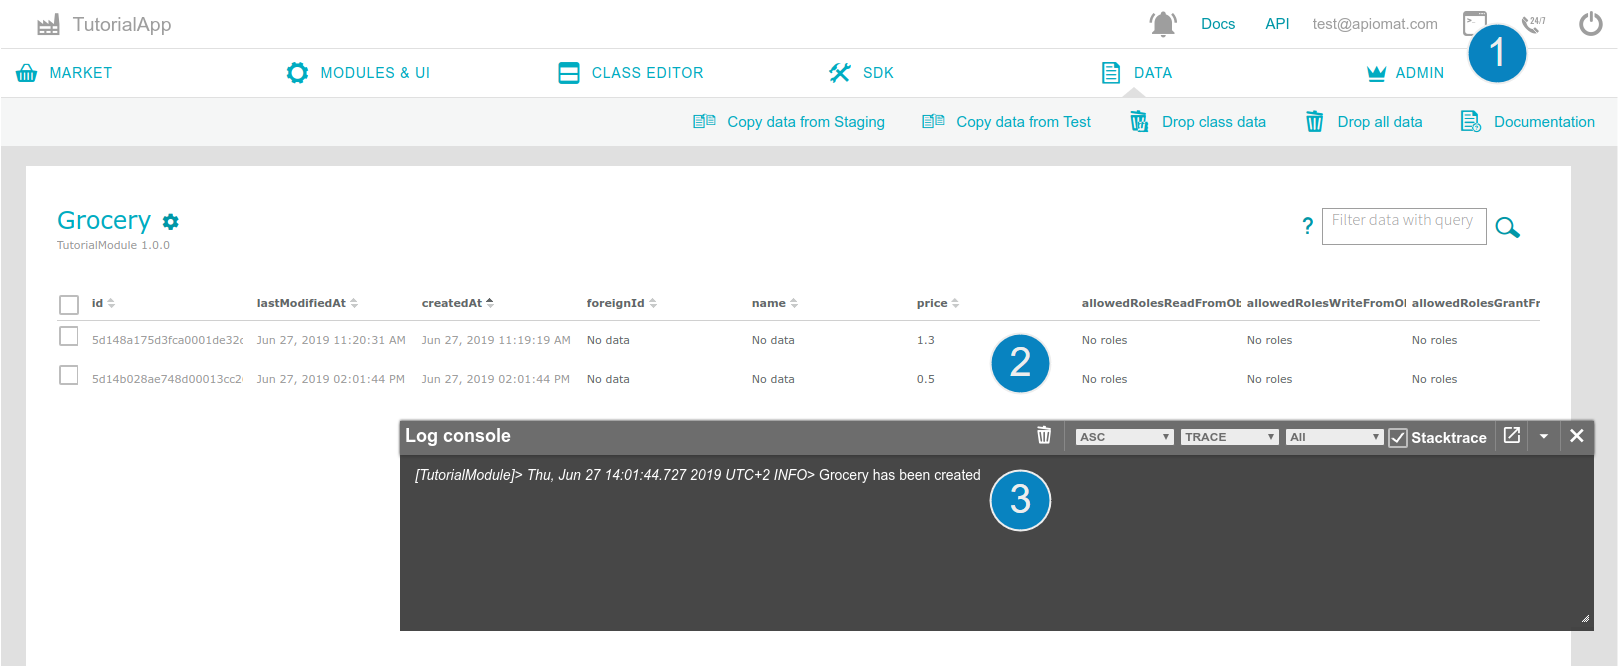
Open Log (1) → Create Object with default price (2) → Logged Message (3)
Put Examples
Let's solve this problem: If a grocery has a price of over 300 and someone tries to change the name, then throw an exception. Changing the name of a product with a lower price is okay.
-
You can do that by using the beforePut-Hook, because the exception has to be thrown before a change takes place. The following code solves the task:
@OverridepublicbooleanbeforePut( Grocery objFromDB, Grocery obj, Request r ){if((obj.getName( ) !=null) && ( objFromDB.getPrice( ) > 300D && !objFromDB.getName( ).equals( obj.getName( ) ) )){TutorialModule.AOM.throwException( r.getApplicationName( ),"Don't change the name of expensive groceries!");}returnfalse;}Some Explanations
-
objFromDB ist the object that currently resides in the database (before you tried to update it)
-
obj is a object which holds the changed value that will be applied to the object residing in the database
-
r is the request.
This means that the following is checked:
-
If the name of obj is null, some other value than the name must have been changed
-
If the price is above 300 and the name of the original object is not the same as in the incoming change (which means that the name has been changed), throw an exception!
-
Now, upload these changes and check the data-view of the dashboard to see if it all works fine. You should be able to change the name of any grocery with a price below 300, but if you set the price above 300, you can't change the name until you reset the price below 300.
Now, let's suppose you want to let the user of the module decide what the default-price of a grocery should be. The next tutorial shows you how.