Android Tutorial TaskManager
In this Tutorial you will learn how to:
-
set up a backend with a custom class “Task”.
-
deploy the backend
-
create a simple Android project with the generated SDK
-
set up the connection to the backend and create a User
-
have a look at the data in your backend
-
create Task objects in Java and store it in the backend
-
query data from the backend
1. Login with your existing account here to start using backend as a service.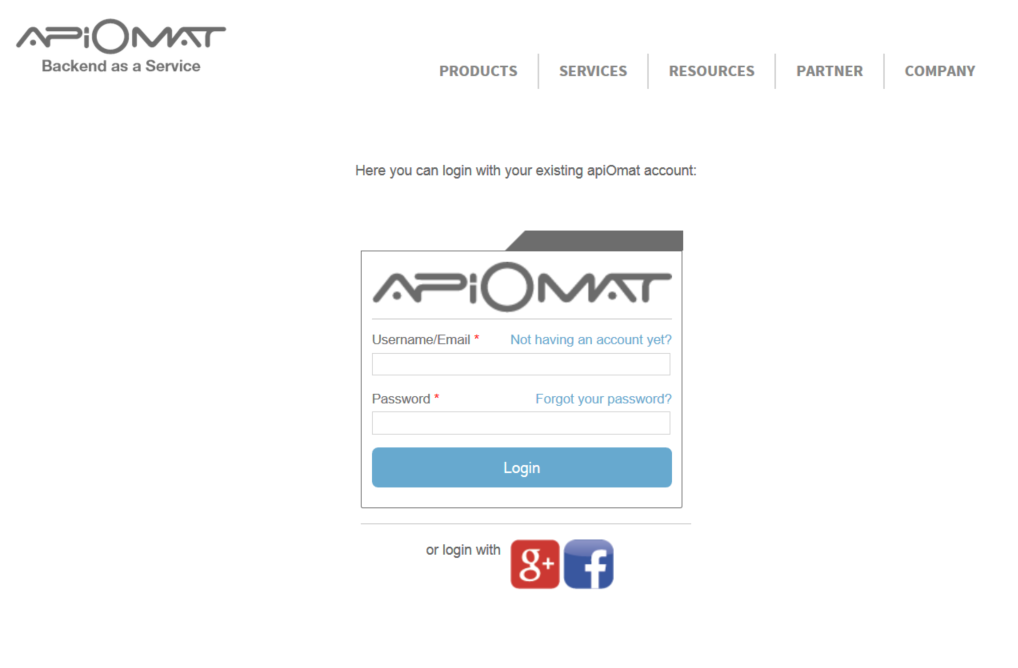
2. Now enter a unique name for your application e.g. “YourNameTaskManager”.
Since we plan to give developers the opportunity to share projects application names must be unique in the system. You do not need any of the predefined modules in this tutorial.
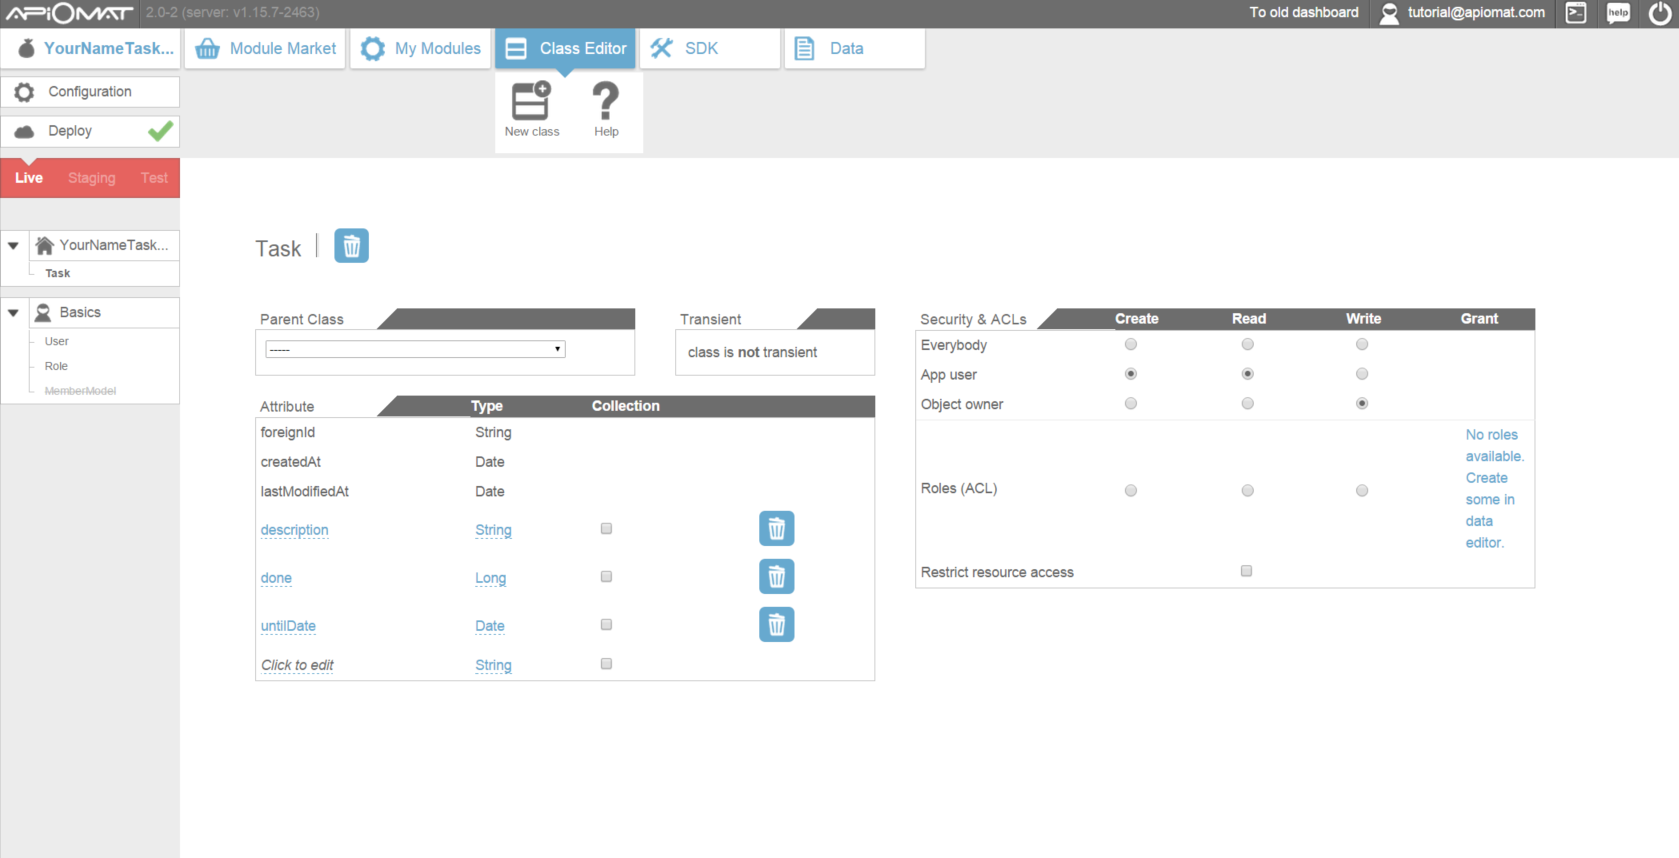
3. Go to the „Class Editor“- Tab to create a class in our backend. You will be asked for a class name after entering the tab. Just call the first class „Task“. Scroll down to the attributes and add a String “description”, a Number “done” and a Date “untilDate”.
4. Deploy your Backend by pressing the “Deploy”-Button.
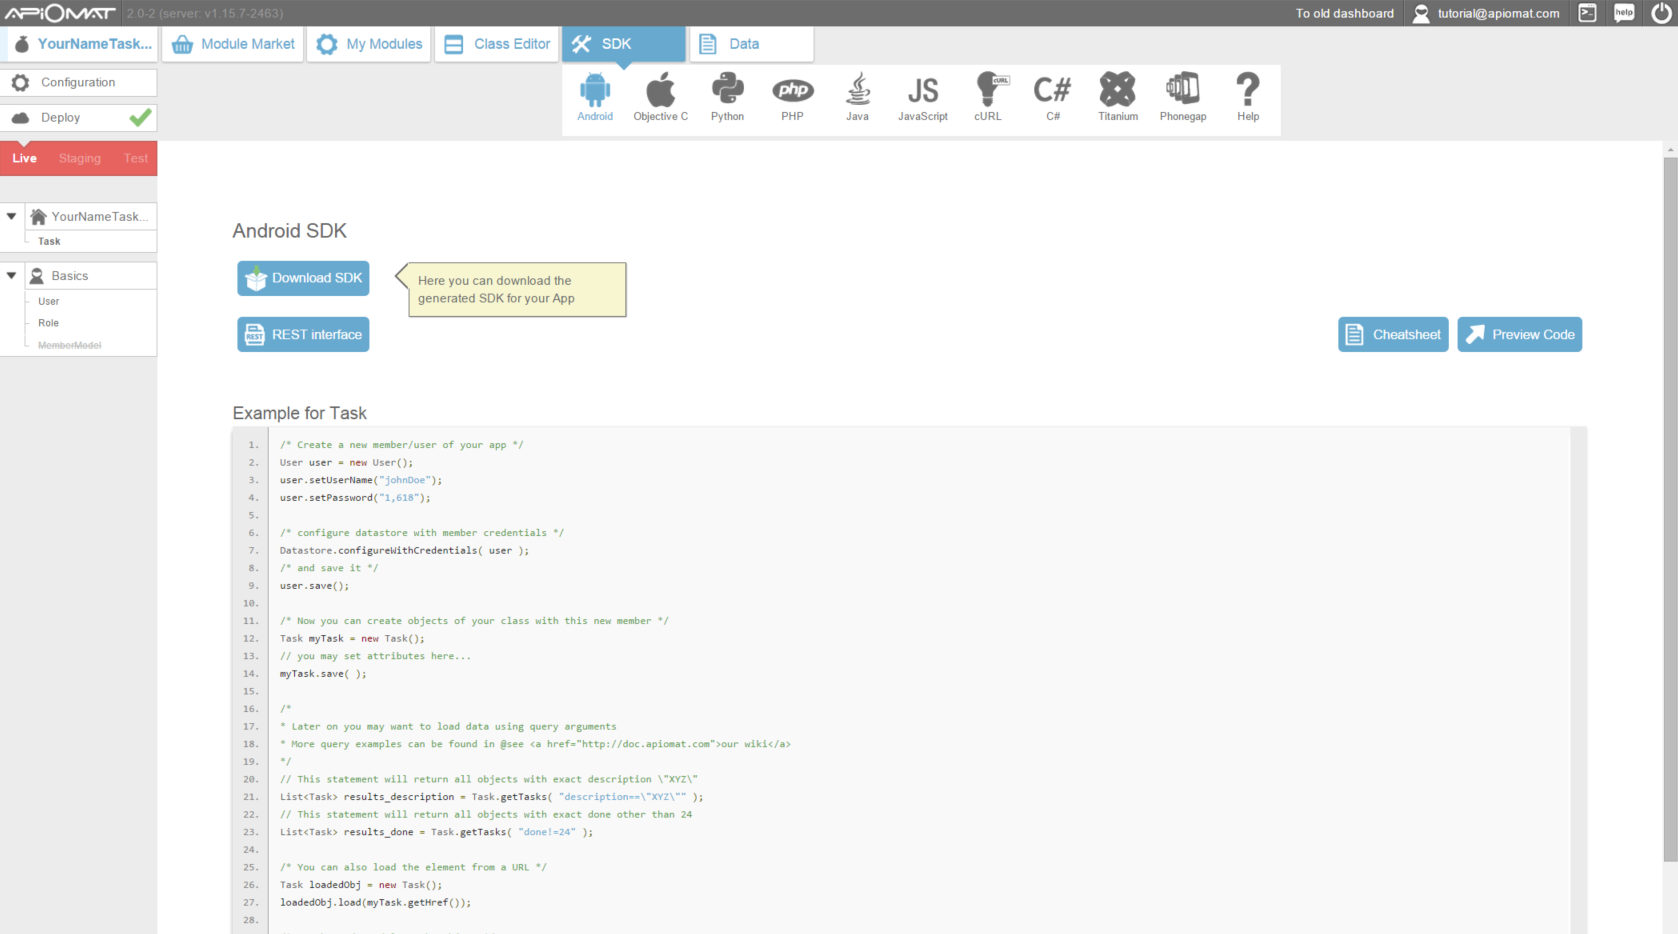
5. Go to SDK Tab and download the Android library by pressing „Download SDK“ button. You will get a zip file with your generated classes and all necessary libraries.
6. Go to your favorite IDE and start a new Android-Project with a single activity called “MainActivity” and min. SDK Version 8.
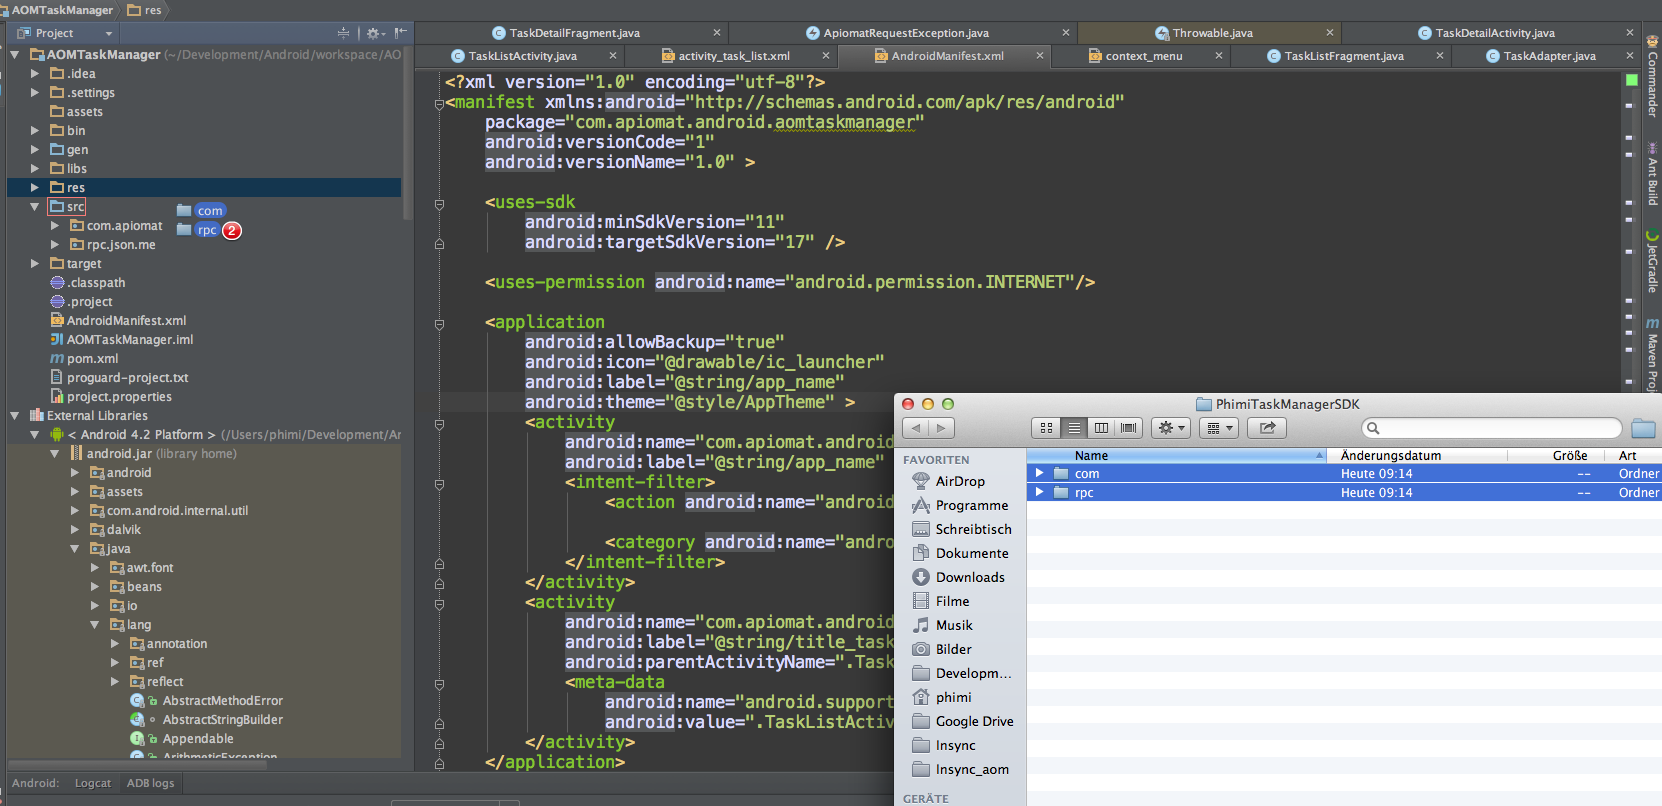
7. Now move the downloaded and unzipped library files to your Project by dragging the directories “com” and “rpc” into the source folder (src) of the project. Below you can see a screenshot of IntelliJ IDEA.
8. Open “AndroidManifest.xml” and add permission for INTERNET.
<uses-permission android:name="android.permission.INTERNET"/>
9. Now you are ready to go. Open your new activity “MainActivity”. Copy following code below your package definition.
We configure the Datastore and the user in the onCreate method.
Add user credentials by replacing _username_ & _password_ and text with your own and configure your DataStore.
import android.app.Activity;import android.content.Intent;import android.os.Bundle;import android.view.Menu;import android.view.View;import android.widget.Button;import com.apiomat.frontend.ApiomatRequestException;import com.apiomat.frontend.Datastore;import com.apiomat.frontend.basics.User;import com.apiomat.frontend.callbacks.AOMEmptyCallback;public class MainActivity extends Activity { @Override protected void onCreate(Bundle savedInstanceState) { super.onCreate(savedInstanceState); final User user = new User(); user.setUserName("username"); user.setPassword("password"); Datastore.configureWithCredentials(user); user.loadMeAsync(new AOMEmptyCallback() { @Override public void isDone(ApiomatRequestException exception) { if (exception != null) { //if the user is not found on the server just create it user.saveAsync(new AOMEmptyCallback() { @Override public void isDone(ApiomatRequestException exception) { } }); } } }); } @Override public boolean onCreateOptionsMenu(Menu menu) { // Inflate the menu; this adds items to the action bar if it is present. getMenuInflater().inflate(R.menu.main, menu); return true; }}
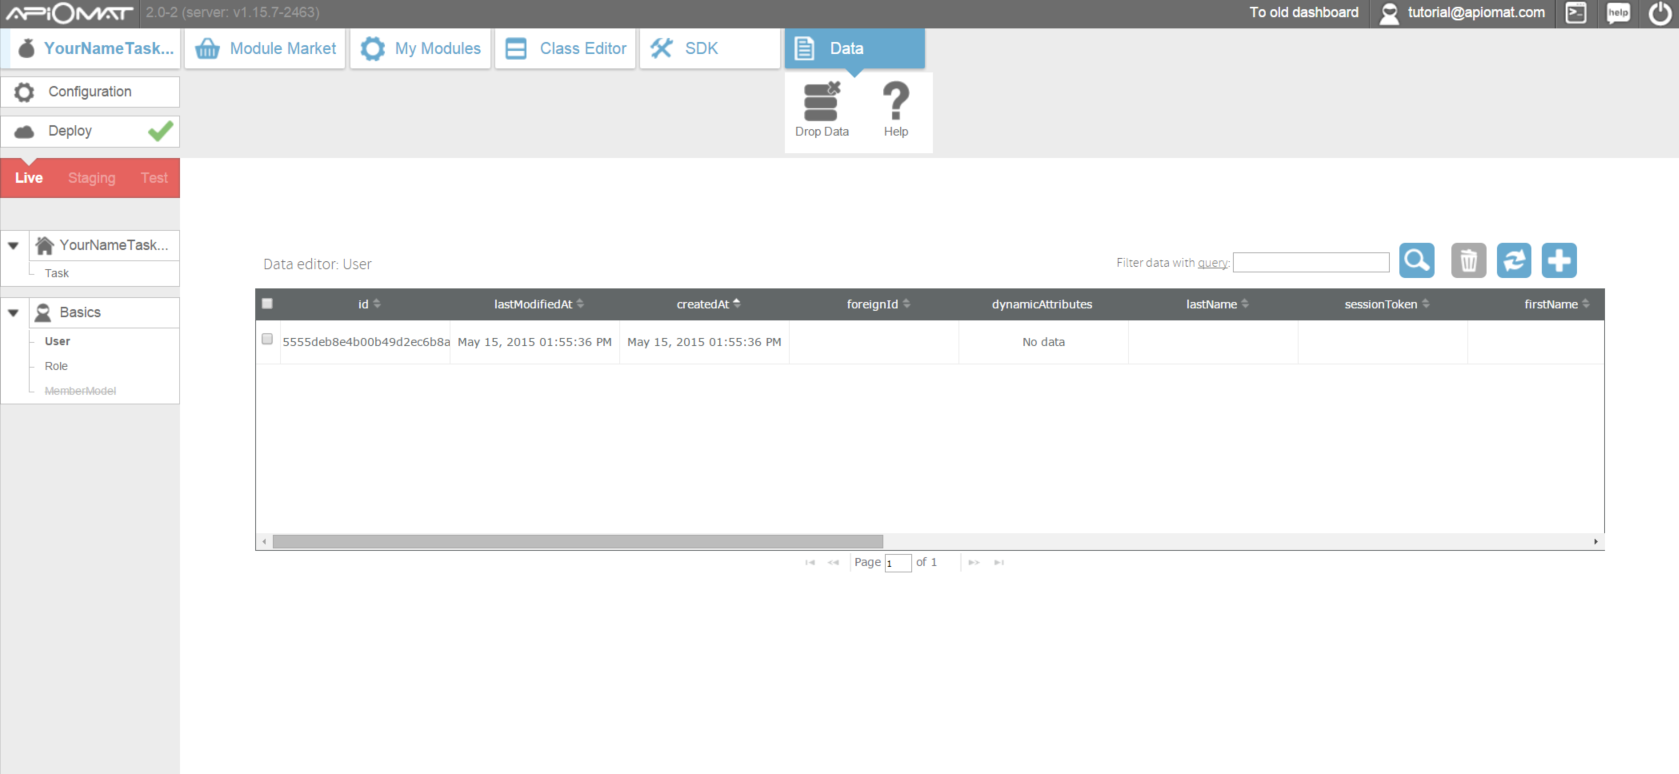
10. Congratulation. Your Backend and your connection are working now. Run the application and have a look in the Data-Tab of your Dashboard to see the created user in your Backend.
11. Now let’s create a new ListActivity called “TaskListActivity” and save a Task every time the onCreate-Method is called. Don’t forget to add your ListActivity to the manifest. You will also have to add the import for your Task-Class.
import java.util.ArrayList;import java.util.List;import com.apiomat.frontend.ApiomatRequestException;import com.apiomat.frontend.yournametaskmanagermain.Task;import com.apiomat.frontend.callbacks.AOMCallback;import com.apiomat.frontend.callbacks.AOMEmptyCallback;import android.app.ListActivity;import android.os.Bundle;import android.util.Log;public class TaskListActivity extends ListActivity { @Override protected void onCreate(Bundle savedInstanceState) { super.onCreate(savedInstanceState); // Create a new task object Task task = new Task(); task.setDescription("A new task"); task.setDone(0L); task.saveAsync(new AOMEmptyCallback() { @Override public void isDone(ApiomatRequestException exception) { if (exception != null) { Log.e("TaskListActivity", "Can't create tasks, cause of: " + exception.getMessage()); } } }); }}
Note that import com.apiomat.frontend.yournametaskmanagermain.Task; depends on the name of your Backend App. So in general: import com.apiomat.frontend.NAMEOFYOURAPP.Task;
12. To have an entry point for this activity we add a new button at the end of the onCreate Method in the “MainActivity”. It will send an intent on click.
Button startListBtn = new Button(this);startListBtn.setText("Show list");startListBtn.setOnClickListener( new View.OnClickListener() { @Override public void onClick(View view) { startActivity(new Intent(MainActivity.this, TaskListActivity.class)); } });setContentView(startListBtn);
13. Let’s create a new Adapter for the ListView which handles our task list. For that we create a new java class called “TaskListAdapter” with the following code:
import java.util.List;import com.apiomat.frontend.yournametaskmanagermain.Task;import android.content.Context;import android.view.LayoutInflater;import android.view.View;import android.view.ViewGroup;import android.widget.ArrayAdapter;import android.widget.TextView;public class TaskListAdapter extends ArrayAdapter<task> { Context ctx = null; public TaskListAdapter(Context context, List</task><task> tasks) { super(context, android.R.layout.simple_list_item_1, tasks); this.ctx = context; } @Override public View getView(int position, View convertView, ViewGroup parent) { Task task = getItem(position); LayoutInflater inflater = (LayoutInflater) this.ctx.getSystemService(Context.LAYOUT_INFLATER_SERVICE); View rowView = inflater.inflate(android.R.layout.simple_list_item_1,parent, false); TextView textView = (TextView) rowView.findViewById(android.R.id.text1); textView.setText(task.getDescription()); return rowView; }}
You have to adjust the import here as well.
14. Ok. Let’s go further. Now we will get all “Task” objects from the server and add them to a simple ArrayListAdapter to show them in our activity. We will override the “onResume” method of our TaskListActivity for this.
@Overrideprotected void onResume() { super.onResume(); // Get all tasks from server Task.getTasksAsync(null, new AOMCallback<list <Task>>() { @Override public void isDone(List<task> resultObject, ApiomatRequestException exception) { if (exception != null) { Log.e("TaskListActivity", "Can't get tasks, cause of: " + exception.getMessage()); } else { setListAdapter(new TaskListAdapter(TaskListActivity.this,resultObject)); } } }); }
15. If you run this app you will see a bunch of tasks in your listview.
16. Finally we want to use a query to get back all non-done tasks. For that let’s modify the “GET” request. Replace the following line
Task.getTasksAsync(null, new AOMCallback<list <Task>>() {
with
Task.getTasksAsync("done==0", new AOMCallback</list><list <Task>>() {
17. In your dashboard you change the value of field “done” of a “Task” object to 1 in the Data-Editor tab. If you run your application now you won’t see this task anymore.