Model your Service
In Introduction to Services, you created your first service named TutorialService. This part of the tutorial will guide you through the basic concepts of how to create and use classes, like you may already be used to from Native Module development. As this is just an introduction, links to more in-depth-articles will be given at the appropriate places.
In this tutorial we will build an application to organize your groceries. First you need to create a class, just as you would in object-oriented programming. Log in to the ApiOmat customer account you used to create TutorialService (as this account will have Admin rights for it) and do the following:
-
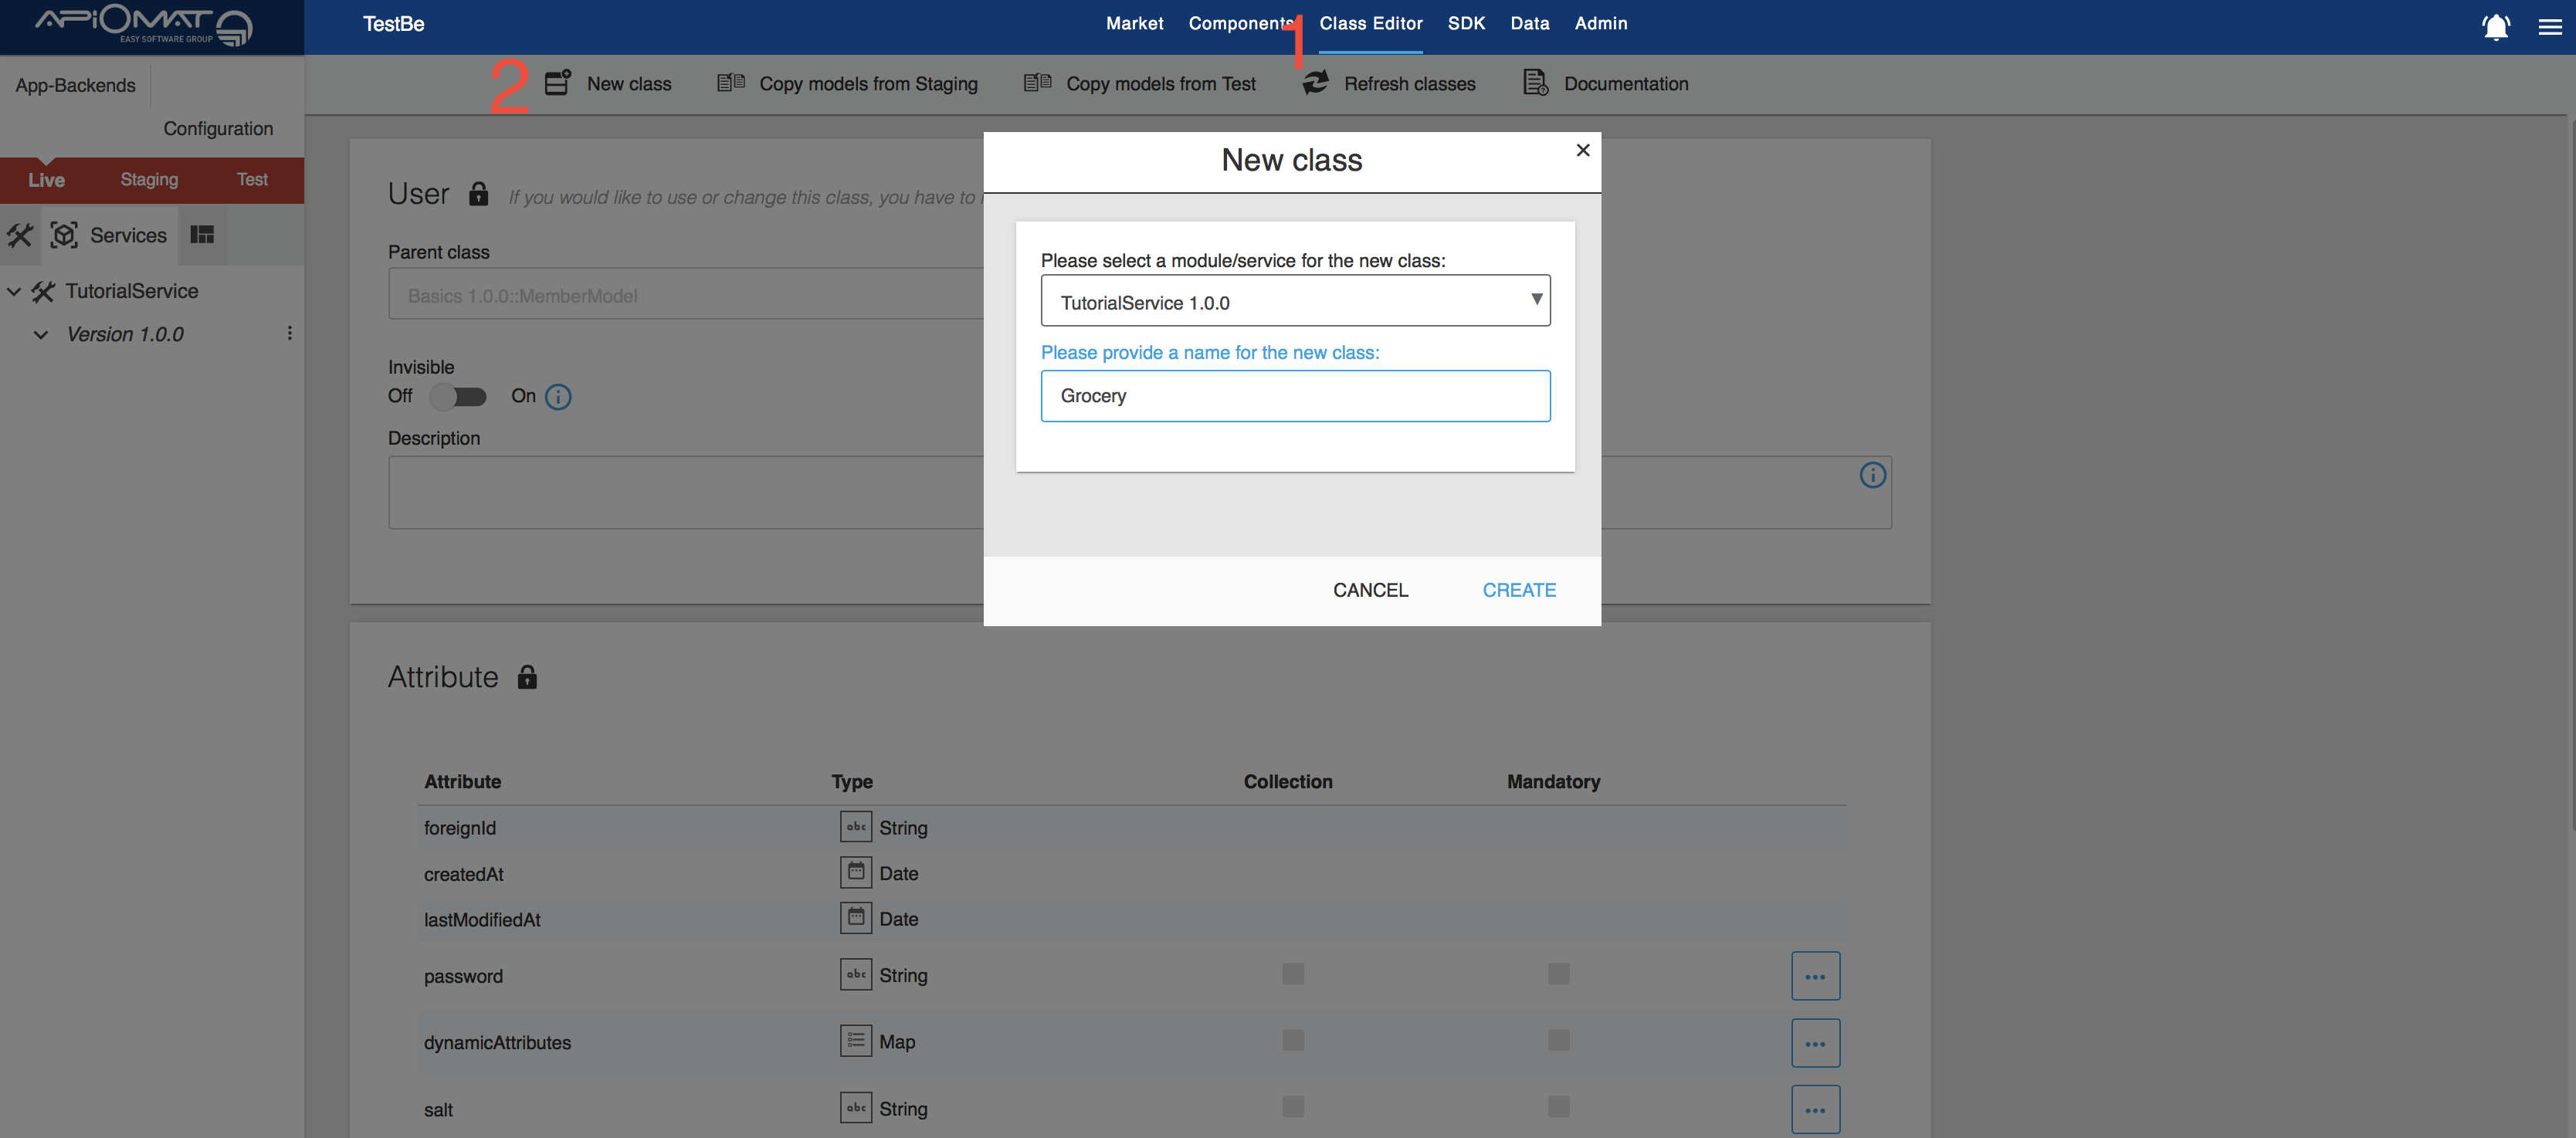
Click on Class Editor (1) > New class (2), in the popup select your TutorialService which was created with the default version 1.0.0, and enter the name "Grocery" for your new class:
-
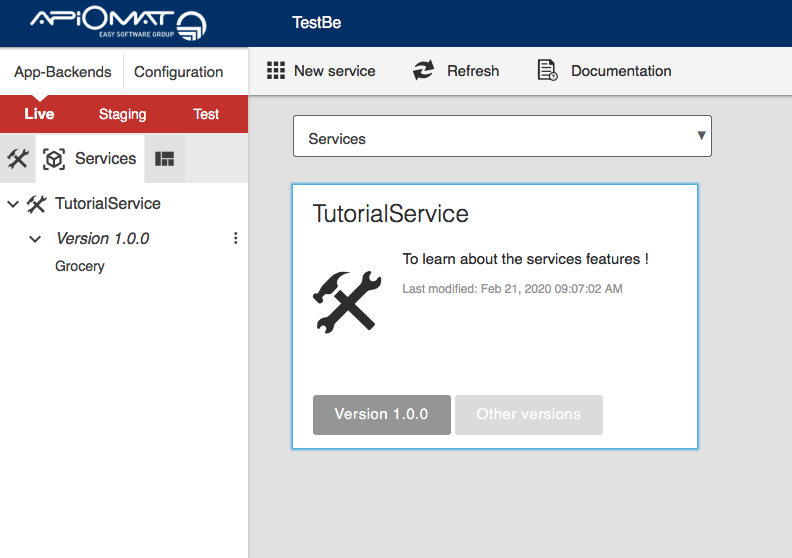
Your new class will appear below TutorialService, as it is part of that service:
-
Now you can access the class editor by clicking on the class. There you can set all the properties of your class, such as...
-
"Parent Class": Choose a class to inherit from, just like in object-oriented programming.
-
"Transient": If the class is set to "Not Transient", instances of this class will be saved permanently into the database. Instances of "Transient" classes are volatile and cannot be saved (at least not directly).
-
"Attributes" of the class, just as in object-oriented programming.
-
"Security": Here you can set authorization roles, i.e. define who can create, read and write instances of this class - everybody, only users of the app backend, only the object's owner or only users with a specific custom role.
Keep in mind that due to the restrictions of the first version of services, service to service dependency is not possible. In other words, you can't set a class from another service as the parent class, or add any references to classes of another service. See Service Limitations for more information.
For a more detailed explanation of classes, look at the Class Editor Guide. -
-
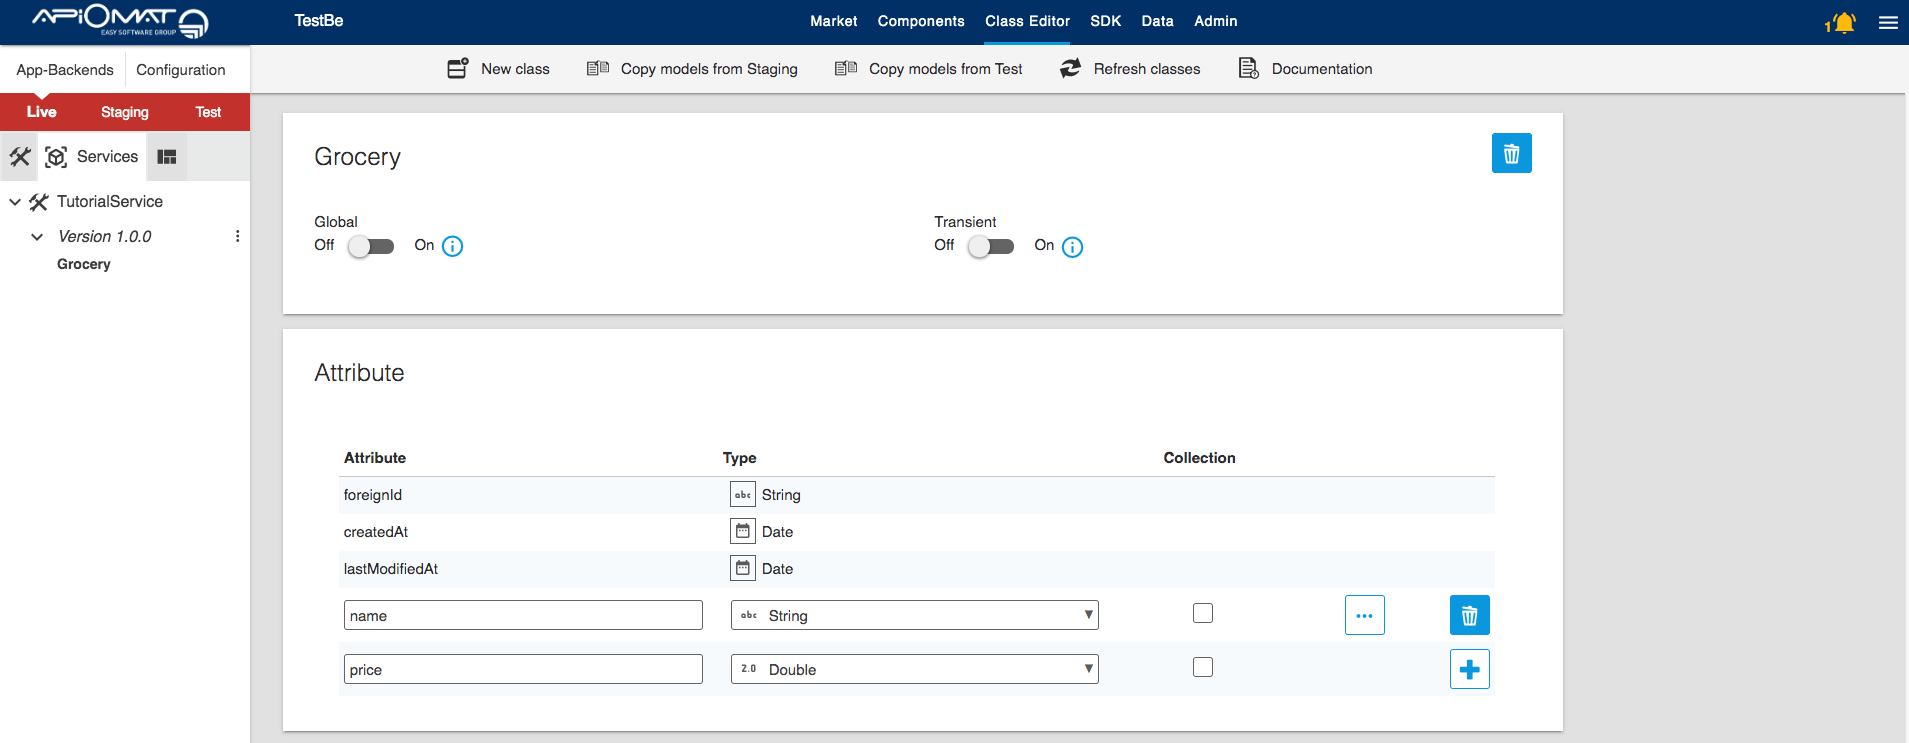
The Grocery class should not be transient, because we want to save the instances into the database. Now we will create two attributes, a String called "name" and a Double called "price":
-
Build your service by clicking on the notification bell (1) in the upper right corner and then BUILD (2). This operation may take some time because in the background, your service is being deployed to Innkeeper. This means, that the service gets generated and the builded artifact is pushed to Innkeeper.

-
If you want to proceed with the following steps to create some data over your service, you need to Start your Service first. Otherwise you could also do these steps later and learn about Downloading and uploading your Service and Implement your logic in your service.
-
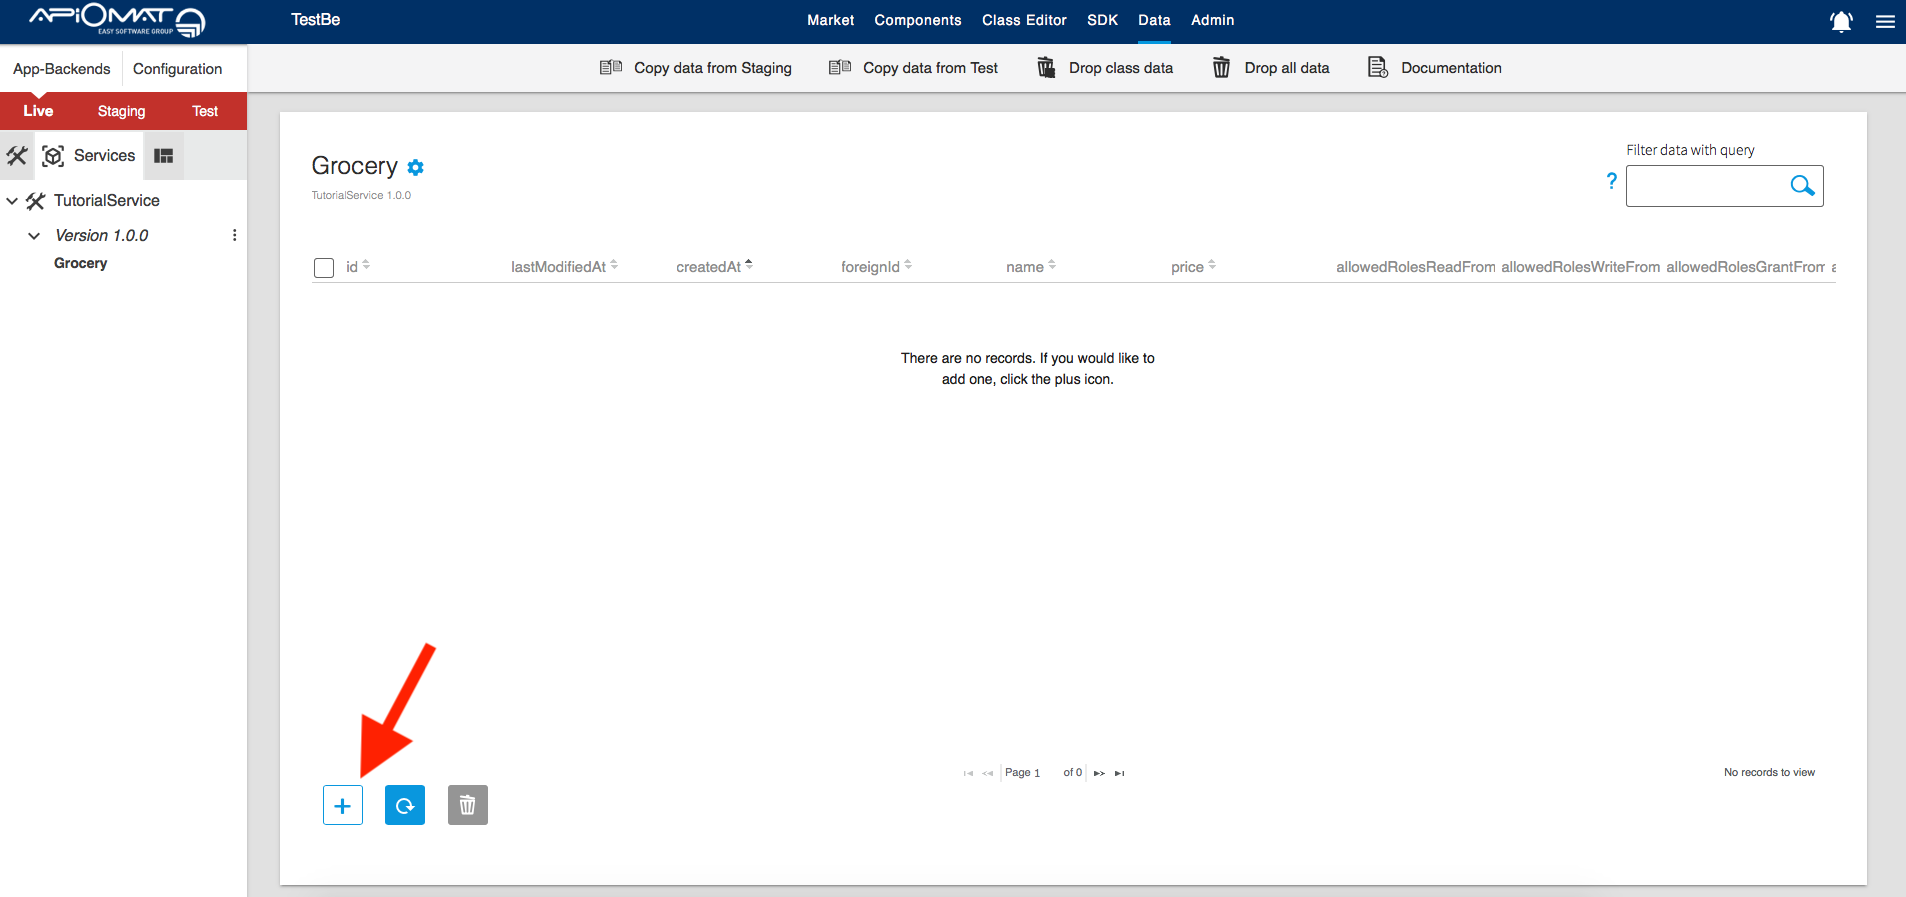
Now that your class has been created, you can create instances of it and save them to the database (as long as the class is not transient). Click on Data in the top menu to go to the data editor and create a new Grocery instance by clicking on the "+" button on the lower left part of the screen:
-
You can now edit the data directly from the data editor view, for example by setting the name to "Milk", and the price to "1.30":

-
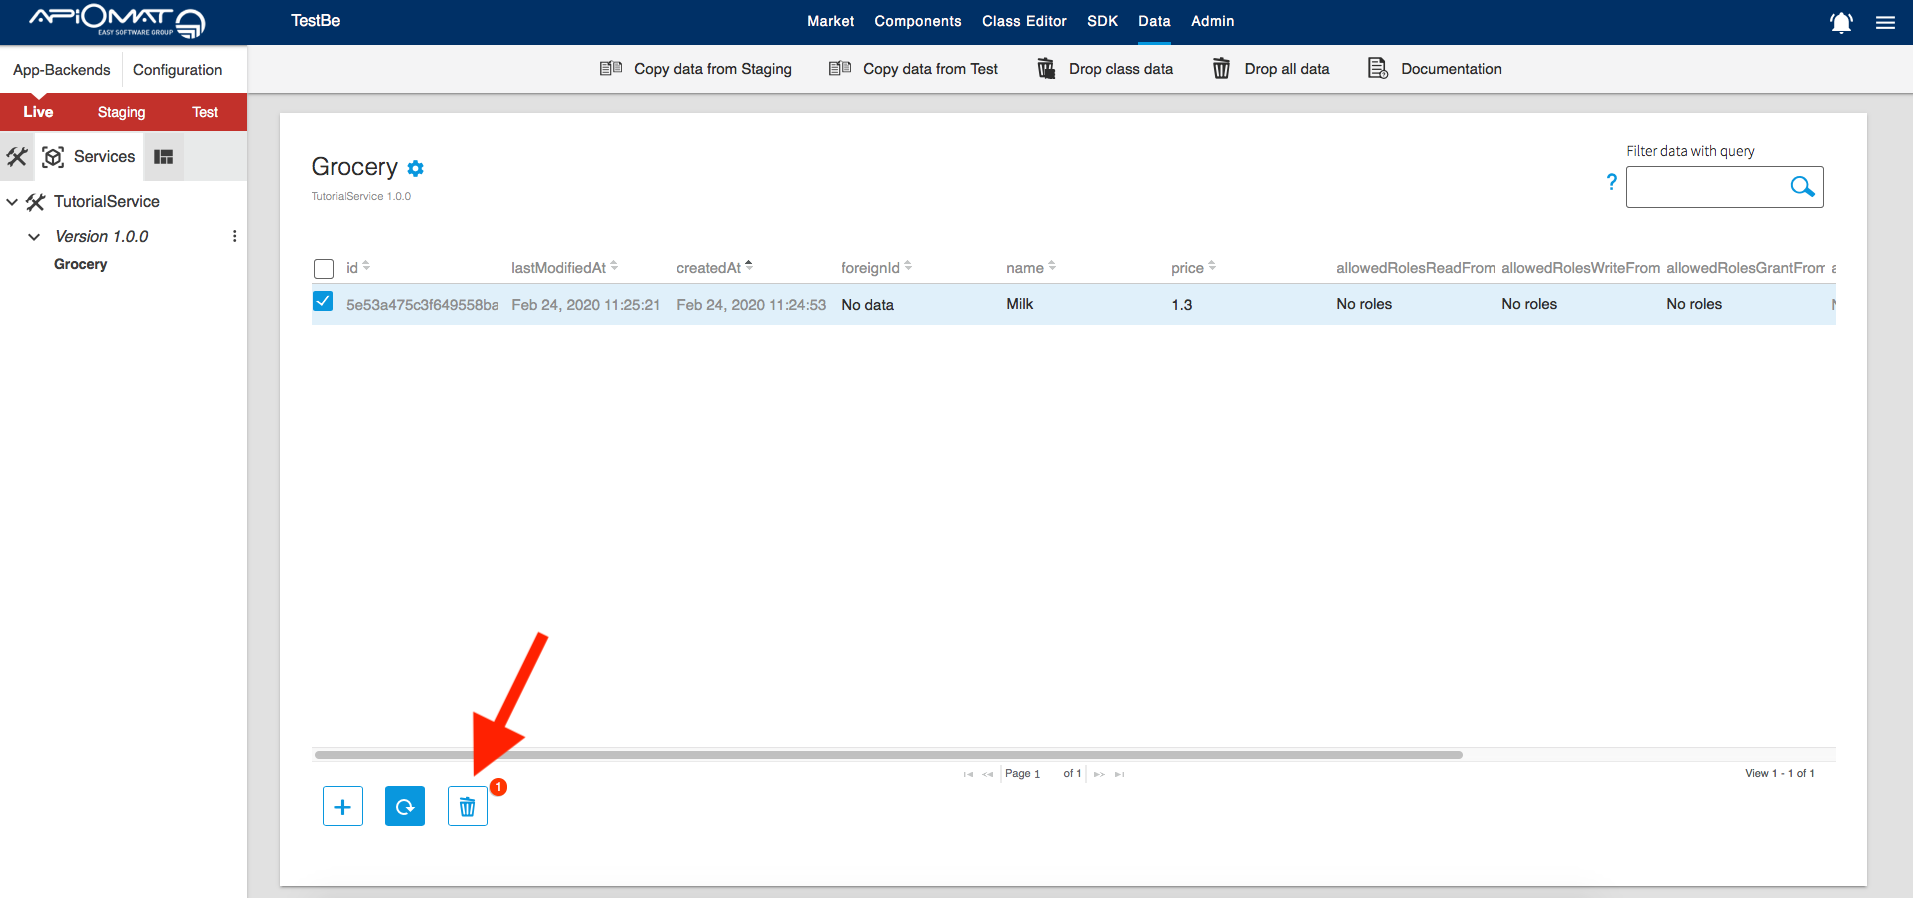
Play around with it and add more groceries as you like! You can also try deleting groceries by selecting instances and using the trash can button on the lower left part of the screen:
-
Let's suppose you created a lot of grocery instances and it's getting hard to see them all. That's what the query field is for!
For example: If you want to search for all groceries with a price greater than 1, you can do so by entering the query:price >1ApiOmat uses its own query language. For more details on this query language, look here.
In this tutorial you learned how to create a service, model classes and create, edit and delete data. But now suppose you want to do something more advanced, like setting a default price for your groceries or preventing multiple groceries from having the same name. To do that, you would download the service code and add your logic there.