Titanium Quickstart
On the Titanium website there is a Quickstart tutorial for creating simple book management app. The app uses a local SQLite database for storing the books. In our tutorial we’ll show you how little there is to do to change the storage from the SQLite database to using the ApiOmat backend.
What you will learn how to do in this Tutorial:
-
create a working app with the code from Titanium’s guide
-
set up a backend with the custom class “Book”
-
deploy the backend
-
customize the Titanium project with the generated SDK
-
set up the connection to the backend
-
query data from the backend
-
create Book objects in JavaScript and store them in the backend
-
take a look at the data in your backend
Create a working app with the code from Titanium’s guide
1. Download the completed project from the Titanium guide. It’s also available on Appcelerator’s github page.
2. Start the Titanium IDE and import the existing project. Read the guide if you want. You should be able to run the example app.
Set up and deploy the backend
1. Sign Up or log in with your existing account here to start using Backend as a Service.
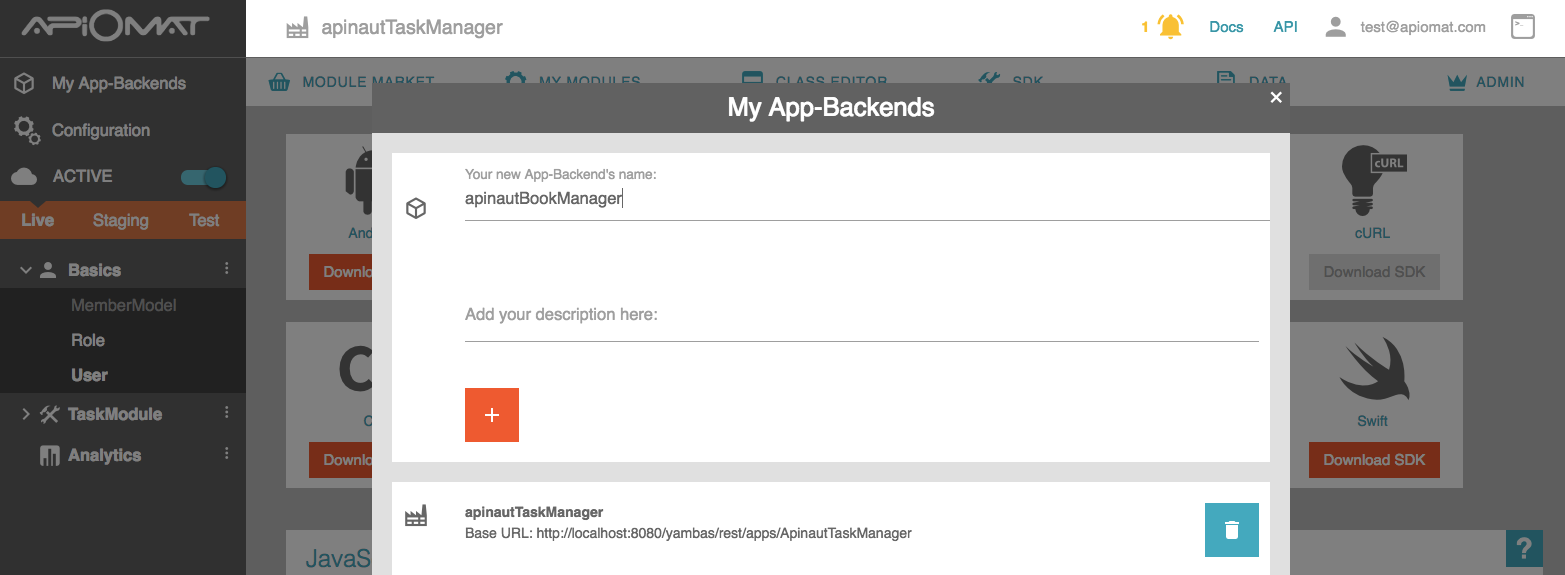
2. Now enter a unique name for your application e.g. “YourNameBookManager”. Since we plan to give developers the opportunity to share projects, application names in the system must be unique. You do not need any of the predefined modules in this tutorial.
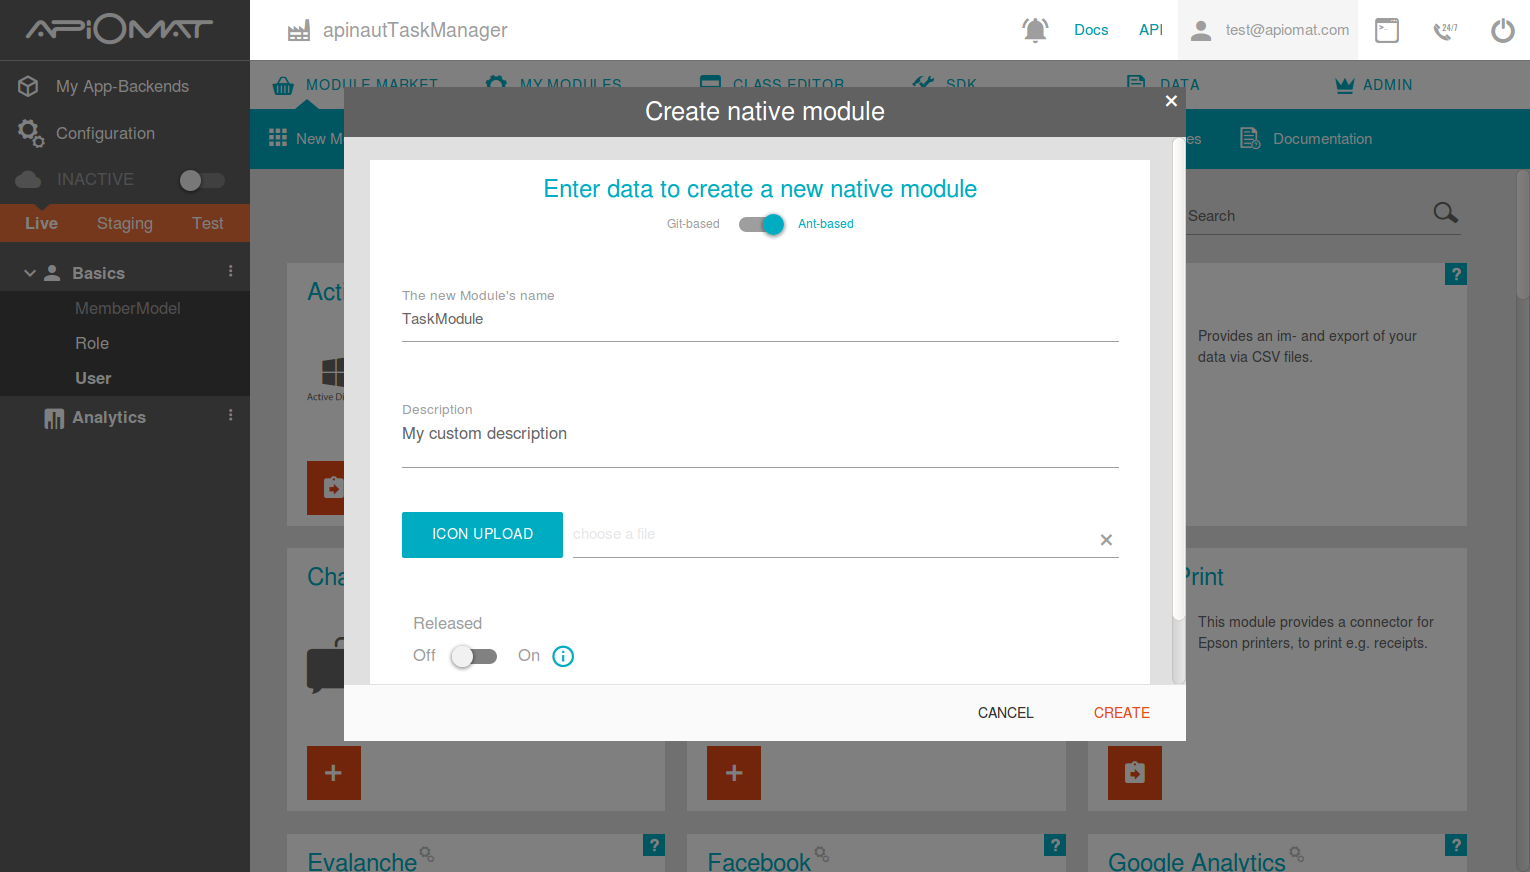
3. Create a new module by going to the Module Market and clicking on "New Module" in the submenu. Choose a name and description and click "CREATE".
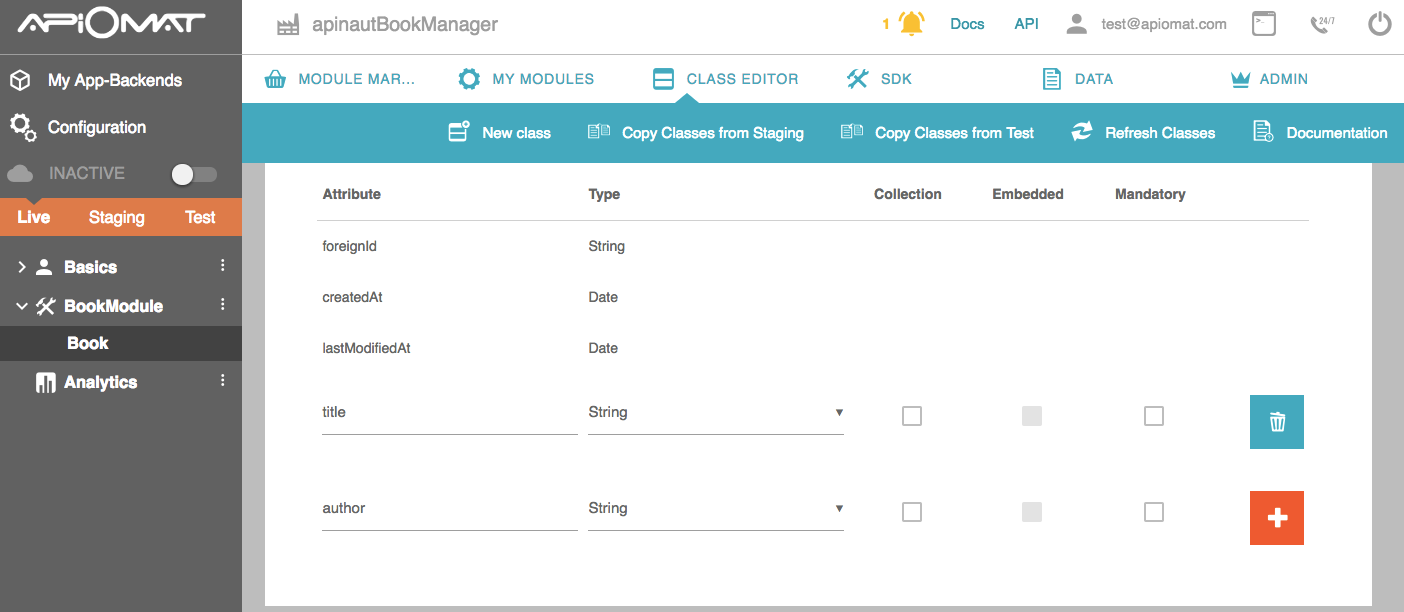
4. Go to the „Class Editor“- Tab to create a class in our backend. You will be asked for a class name after entering the tab. Just name the first class "Book". Scroll down to the attributes and add a String “title” and a String “author”.
5. Deploy your backend by clicking the “Deploy”-Button. Your backend is now live and ready to be used with the SDK or REST API.
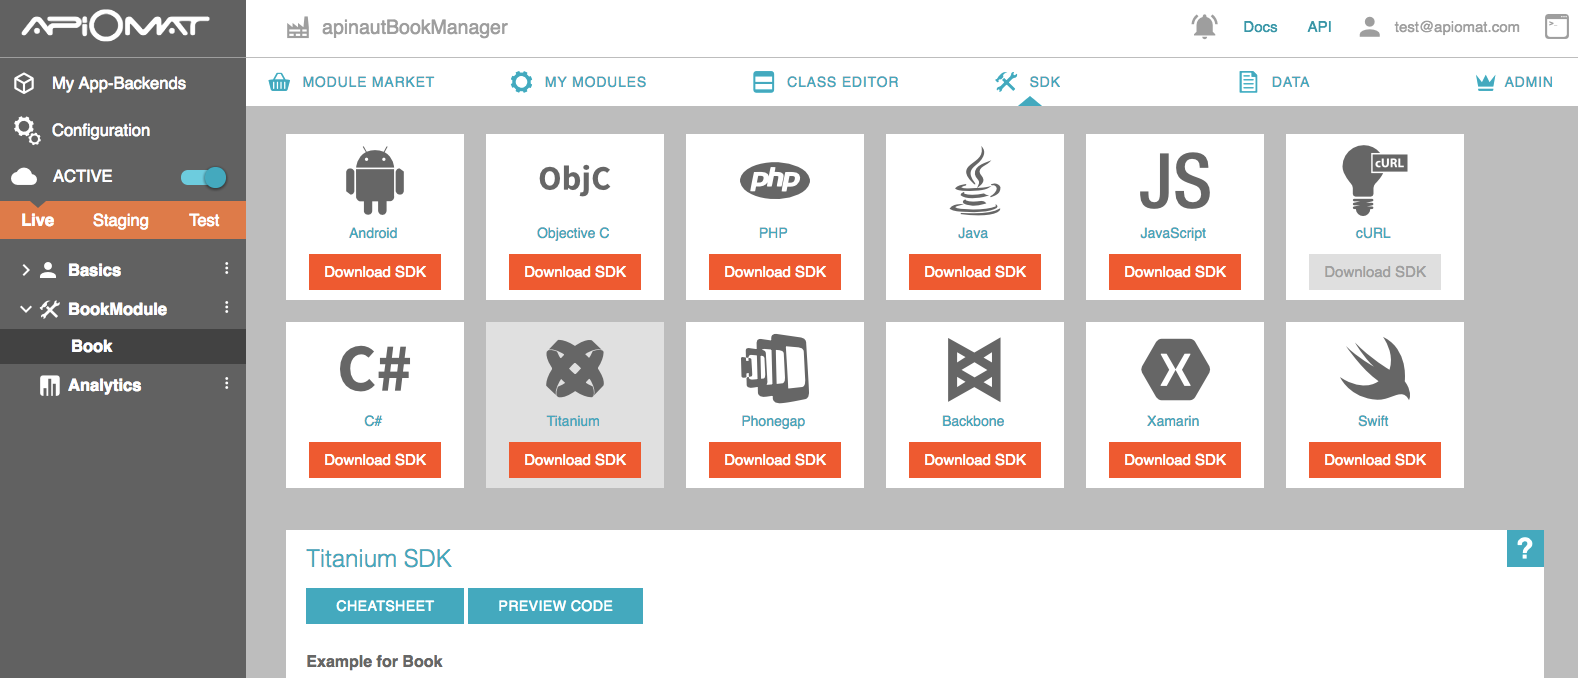
6. Go to the SDK Tab and download the Titanium library by clicking the "Download SDK" button. You will get a zip file with your generated classes and all necessary libraries.
Customize the Titanium project with the downloaded SDK
1. Open the Titanium project that you created at the beginning.
2. Unzip the downloaded library and copy only the apiomat.js (found under com/apiomat) to the folder /app/lib (create the lib folder if it doesn’t exist).
3. Make the library usable by adding the following line to the alloy.js:
var Apiomat = require(“/apiomat”);
4. Remove the SQLite-backed models and use a collection that’s ready to be ApiOmat-backed. First, delete books.js from the models folder. Then add the following two lines to the alloy.js:
Alloy.Collections.books = new Backbone.Collection();Alloy.Collections.books.reset();
This way you can access the central collection by working with references in the controllers. You could also create the collection in a controller.
5. In the index.xml remove the following line:
Collection src="books"
This is necessary because we’re not working with Alloy collections that need a syncing adapter (like the SQL or local storage adapter). Instead, we load and save our data using the ApiOmat library, as explained in the following steps.
Set up the connection to the backend
To be able to access the ApiOmat backend you need to configure the Datastore and the user with the function ‘signup’. Add the function in the index.js, which is the controller that gets loaded first:
function signup(){ var user = new Apiomat.User(); user.setUserName("user@example.com"); user.setPassword("pw"); Apiomat.Datastore.configureWithCredentials(user); var saveCB = { onOk: function() { alert('Saved user successfully'); loadBooks(); }, onError: function(error) { alert('Some error occured. ' + error.statusCode + ' --> ' + error.message); } }; user.loadMe({ onOk: function() { alert('Successfully logged in'); loadBooks(); }, onError: function(error) { alert('User doesn\'t exist. Will create new one...'); user.save(saveCB); } });}
Replace “user” and “pw” with your credentials.
Here you can see how the apiomat.js library gets accessed with the Apiomat variable that was declared in the alloy.js. You canalso see how at first a login attempt gets done, and if that fails, a new user gets created.
Query data from the backend
1. You probably already noticed the loadBooks() calls in the signup() function. The signup function is asynchronous, so if you want to execute a function that depends on the result of it, one way is to place the call inside of it. So now we need the loadBooks function:
// gets all books from the backendfunction loadBooks() { // filter if you want to. Like "Apiomat.Book.getBooks('author=="Author Newman"', ..." Apiomat.Book.getBooks(undefined, { onOk: function(loadedBooks) { myBooks.reset(); if (typeof loadedBooks !== 'undefined') { for (var i=0; i ' + error.message); } });}
Notice that this is where you can filter the results by adding a query string. Also notice that the change event gets triggered, so the GUI updates with the freshly filled collection.
2. We won’t use the Alloy model any more, so replace the following code:
var myBooks = Alloy.Collections.books;var book = Alloy.createModel('books', { title : 'Great Expectations', author : 'Charles Dickens'});myBooks.add(book);book.save();with:
var myBooks = Alloy.Collections.books;signup();
Create Book objects and store them in the backend
In the controller addbook.js, replace the function addBookToCollection() with the following code:
function addBookToCollection() { var book = new Apiomat.Book(); book.setTitle($.titleInput.value); book.setAuthor($.authorInput.value); // Save the book on ApiOmat book.save({ onOk: function() { myBooks.add([{title: book.getTitle(), author: book.getAuthor()}]); myBooks.trigger('change'); $.addbook.close(); }, onError: function(error) { alert('Some error occured. '+ error.statusCode + ' --> ' + error.message); $.addbook.close(); } });}
Have a look at the data in your backend
Congratulations. Your Backend and your connection are working now. Check it out by running the app in an emulator or on a device.
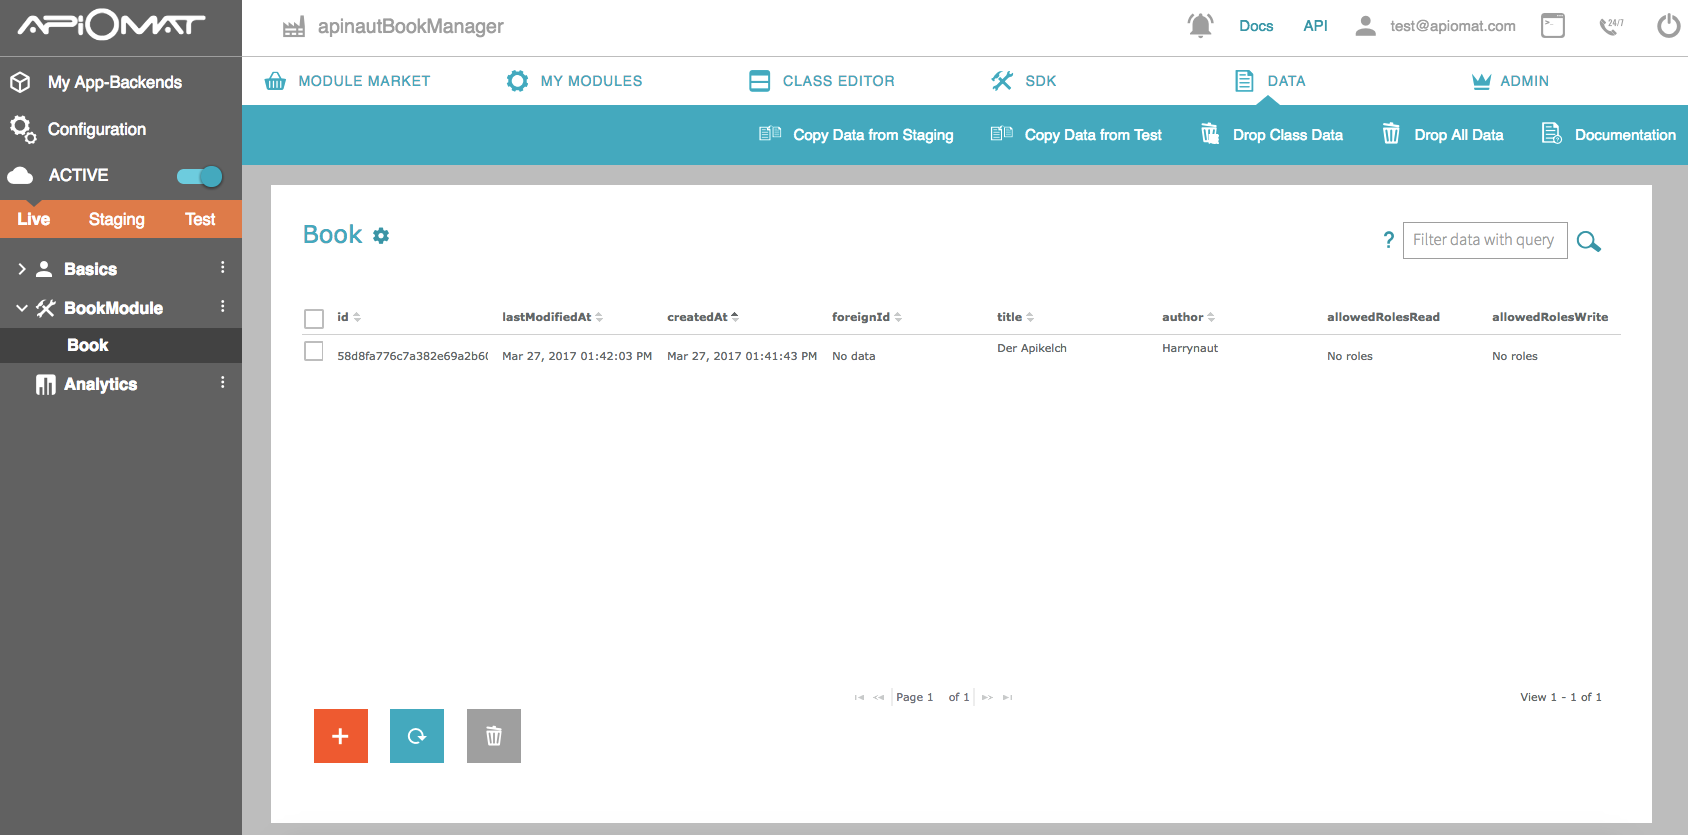
After adding some books, you can see the data in the ApiOmat Dashboard by going to the data tab.
Download the finished project
The finished project is available on our github page. To get it working you only need to set up the backend, copy the SDK into the project (/app/lib) and use your account credentials. All as explained above.