TypeScript Quickstart
TaskManager tutorial as ts-node script
In this tutorial you will learn how to:
-
set up a App-Backend with the custom class “Task”
-
deploy the App-Backend
-
create a simple TypeScript project with the generated SDK
-
set up the connection to the App-Backend and create a user
-
have a look at the data in your App-Backend
-
create Task objects in TypeScript and store it within the App-Backend
-
query data from the App-Backend
-
using the transpiling helper
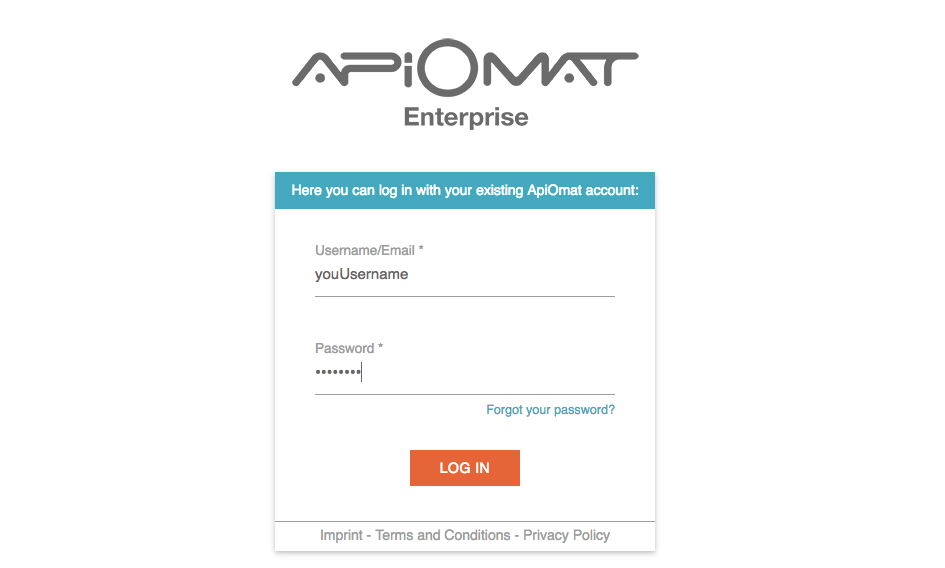
1. Sign Up or log in with your existing account here to start using Backend as a Service.

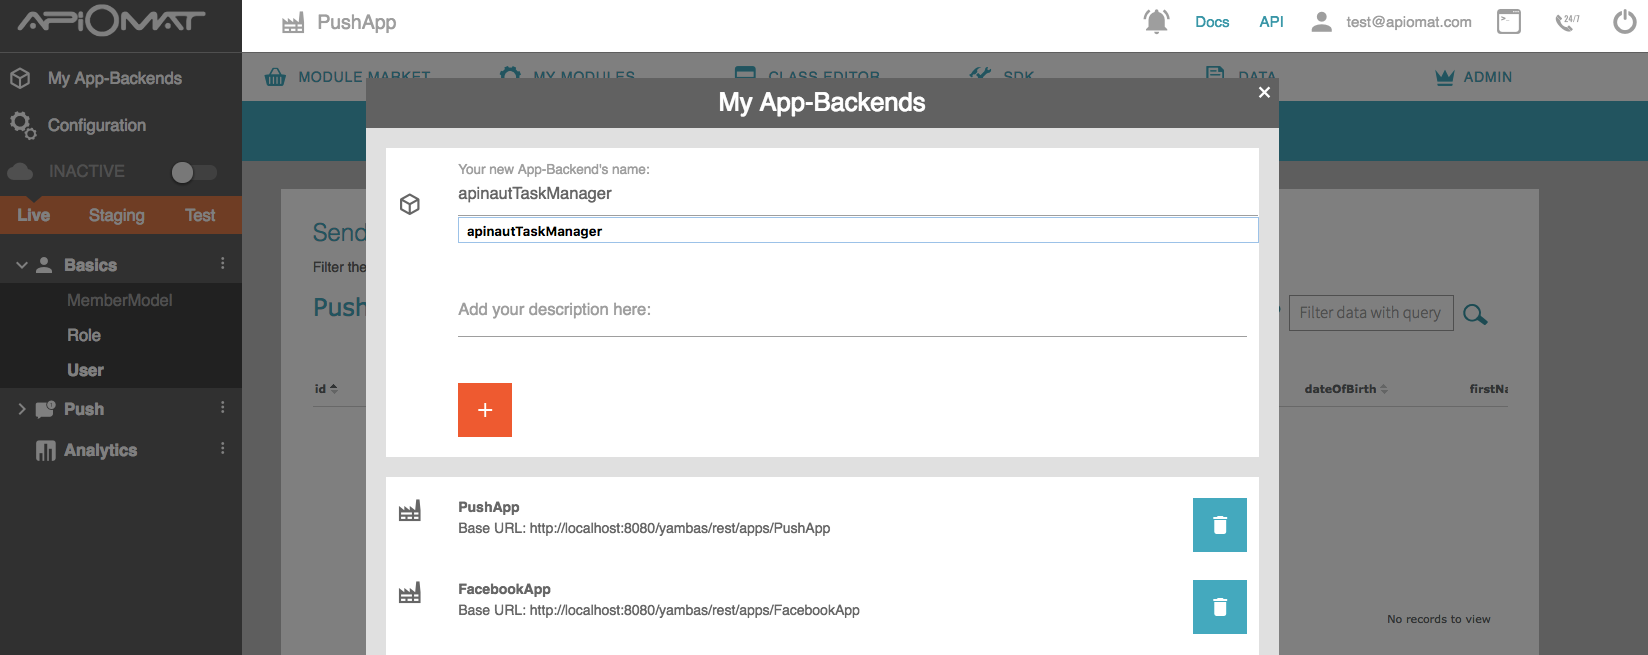
2. Now enter a unique name for your application e.g. “YourNameTaskManager”. Since we plan to give developers the opportunity to share projects, application names in the system must be unique. You do not need any of the predefined modules in this tutorial.

3. Create a new module by going to the Module Market and clicking on "New Module" in the submenu. Choose a name and description and click "CREATE".

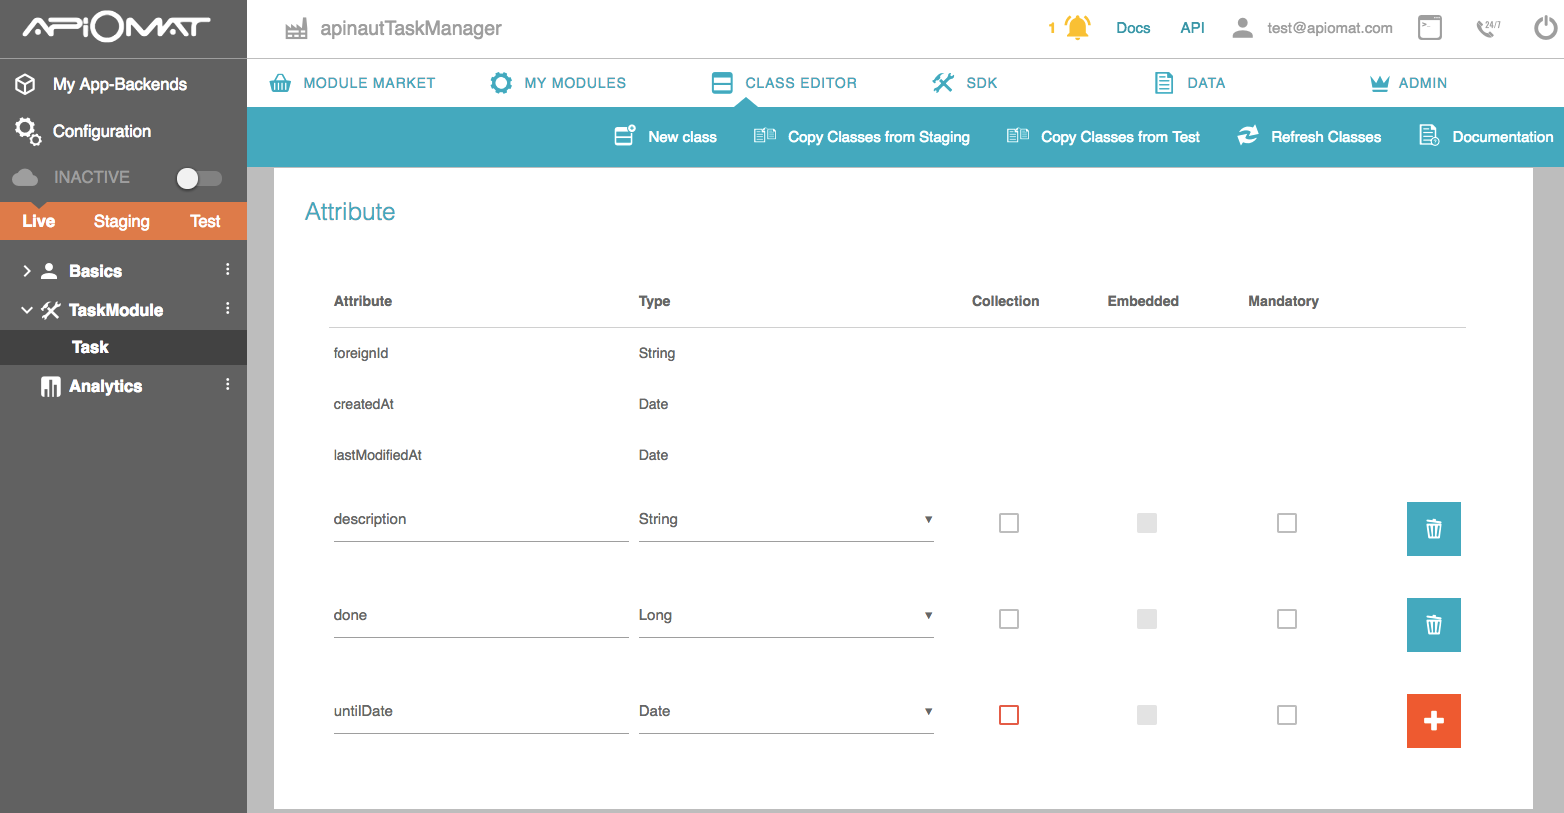
4. Go to the „Class Editor“- Tab to create a class in our App-Backend. You will be asked for a class name after entering the tab. Just name the first class "Task". Scroll down to the attributes and add a String “description”, a Number “done” and a Date “untilDate”.

5. Compile your Module by click on "..." and "compile" for your TaskModule in the Module-Menu.
6. Go to SDK Tab and download the TypeScript SDK by clicking the „Download SDK“ button. You will get a zip file with your generated classes and all necessary libraries.

7. Go to your favorite IDE/Editor and start a new TypeScript project.
8. Create a new empty TypeScript file "taskManagerScript.ts".
9. To run this ts file in your console, you need to install typescript und ts-node globally:
// you maybe need root permissions (sudo)npm install -g ts-nodenpm install -g typescript// to run the script:ts-node taskManagerScript.ts
10. Unzip the downloaded SDK and put the com folder in your project.
11. Now we are ready to go. We will create a simple example script where a User will be logged in or created, create a few new tasks and get all created tasks.
First of we’ll configure the Datastore and the user within the function ‘signup’.
Add the user credentials by replacing _username_ and _password_ with your own.
Pleas note, that we need an async function start() which will be the entrypoint of the script.
import Datastore from "./com/apiomat/frontend/Datastore";import User from "./com/apiomat/frontend/basics/User";start();async function start(){ await signup();}async function signup() { var user = new User(); user.userName = "_username_"; user.password = "_password_"; Datastore.configureWithCredentials(user); try { await user.loadMe(); console.log("Succefully logged in \n"); } catch (error) { console.log("No user there. Will create new one..."); await user.save(); console.log("Saved user successfully \n"); }}
12. Your App-Backend and your connection are working now. Run the application and take a look in the data tab of your dashboard to see the created user in your App-Backend.
13. Now we will create a async function to create new tasks and add the import for the task class:
import Task from "./com/apiomat/frontend/taskmodule/Task";//...async function addNewTask(description: string, done: boolean) { /* create a new task object */ var task = new Task(); task.description = "A new task"; task.done = done ? 1 : 0; /* save the task object and on callback add to html table */ try { await task.save(); console.log("new Task created:"); printTask(task); } catch (error) { console.log("Some error occured. " + error.statusCode + " --> " + error.message); }}// for simple printing on console linefunction printTask(task: Task) { console.log("Description: " + task.description + " || Is done: " + (task.done == 0 ? "false": "true"));}
13. If you added the above lines, you’ll have new items in your table and on the server.
But how do we get a list of task objects back from the server to show this list after every successful login?
You can get a list of objects by calling the class function ‘Task.getTasks()’.
To find out how we do this within the function ‘loadTasks()’, check out the code snippet below.
async function loadTasks(done: boolean = false) { const tasks = await Task.getTasks('done==' + ( done ? 1 : 0)); console.log((done ? "Done" : "TODO") + " Tasks:"); tasks.forEach((task: Task) => { printTask(task); });}
This function also uses a query to filter those tasks by their done states. If you want to load and print all tasks which aren't done yet, you simply need to call 'loadTasks(false)'. Use "true" to load and print all done tasks.
The complete example will look like this:
import Datastore from "./com/apiomat/frontend/Datastore";import User from "./com/apiomat/frontend/basics/User";import Task from "./com/apiomat/frontend/taskmodule/Task";// execute the start function and run the example codestart();async function start(){ await signup(); // add example tasks await addNewTask("Clean bathroom", true); await addNewTask("Clean kitchen", false); // load done tasks await loadTasks(true); // load todo tasks await loadTasks(false);}/* Helper Function *//** * will load or create a user */async function signup() { var user = new User(); user.userName = "_username_"; user.password = "_password_"; Datastore.configureWithCredentials(user); try { await user.loadMe(); console.log("Succefully logged in \n"); } catch (error) { console.log("No user there. Will create new one..."); await user.save(); console.log("Saved user successfully \n"); }}/** * creates a new task and saves it * @param description task description * @param done the done state of the task */async function addNewTask(description: string, done: boolean) { /* create a new task object */ var task = new Task(); task.description = "A new task"; task.done = done ? 1 : 0; /* save the task object and on callback add to html table */ try { await task.save(); console.log("new Task created:"); printTask(task); } catch (error) { console.log("Some error occured. " + error.statusCode + " --> " + error.message); }}/** * simply print the tasks details to command line * @param task the task to print */function printTask(task: Task) { console.log("Description: " + task.description + " || Is done: " + (task.done == 0 ? "false": "true"));}/** * load and print existent tasks * @param done true to load done tasks, false for todo tasks */async function loadTasks(done: boolean = false) { const tasks = await Task.getTasks('done==' + ( done ? 1 : 0)); console.log((done ? "Done" : "TODO") + " Tasks:"); tasks.forEach((task: Task) => { printTask(task); });}
Using the transpiling helper
With the transpiling helper you can transpile the typescript SDK to a ES5 or ES6 SDK.
1. navigate into the folder com/apiomat/transpilingHelper and run the following commands
npm install -g gulpnpm install// to build the ES5 SDKnpm run build-es5// to build the ES6 SDKnpm run build-es6
This will create the folder structure com/apiomat/frontendES5 or for ES6: com/apiomat/frontendES6. This folder will contain the ES5/ES6 SDK files.
2. If you have transpiled the ES5 SDK the com/apiomat/frontendES5 folder will contain a bundled JavaScript file `apiomat.js` and a minified file `apiomat.min.js`. The ES6 SDK will simply contain all classes as .js files.
Initializing an OfflineHandler
The TypeScript SDK currently supports offline handling for GET requests. This means, that all objects which are loaded when your device is online can be stored in the cache or persistent storage - this also depends on your offline strategy. To get a more detailed overview over this topic, you can see the page Offline Handling in SDKs.
To use the persistent storage, the storage can be configured with serveral options and since it is possible to use the TypeScript SDK in an node environment and in a browser environment you have to be careful of the following things:
await Datastore.Instance.initOfflineHandler();This will configure the OfflineHandler with its default configuration, which is:
{ type: "sqljs", // represents the node module sql.js location: "apiomat.db", // the file name of the sqlite file autoSave: true, // automatically save the database, when a change happens entities: ["../**/*DAO.ts"], // load all data access object (DAO) classes, to create the database schema logging: false, // disable or enable logging with console.log()}This configuration works out of the box for a node environment and creates a database schema with all classes, because it can search the filesystem for *DAO.ts files.
As the browser isn't capable of searching the filesystem, the OfflineHandler needs an other configuration:
{ type: "sqljs", // represents the node module sql.js location: "apiomatdb", // the key of the LocalStorage, where the sqlite database is stored autoSave: true, // automatically save the database, when a change happens entities: [UserDAO, RoleDAO, MyClassDAO, ...], // Entities now need to be set manually! logging: false, // disable or enable logging with console.log()}The main difference is, that you need to configure all dao classes of your classes, which should be stored later in your app. With the initialization of the OfflineHandler, it will automatically synchronize the database schema - so you can adjust the configuration even if you have app users which already have a database initialized in their LocalStorage.
You can see all possible configuration options here, even other databases as mongoDB and mysql can be configured.
An example configuration could be look like this:
Datastore.Instance.setOfflineUsageForClass(Conference, true);Datastore.Instance.setOfflineUsageForClass(Session, true);await Datastore.Instance.initOfflineHandler(null, { type: "sqljs", location: 'apiomatdb', autoSave: true, entities: [ConferenceDAO, SessionDAO], logging: false,});const allConferences = await Conference.getConferences(); // loads all Conferences in the persistent storageconst allSessions = await Sessions.getSessions(); // loads all Sessions in the persistent storage// now you have access to all conferences and sessions while the device is offlineIn this example, two objects are created in ApiOmat: one instance of "Conference" and one instance of "Session". Also the persistent storage should be used for both classes: the `setOfflineUsageForClass` Datastore-method is used to configure that. With initializing the OfflineHandler, the ConferenceDAO and SessionsDAO are set as entities in the configuration. This creates a sqlite database in which all conferences (line 10) and all sessions (line 11) will be stored.