Tutorial Importing / Exporting Data
We offer to upload images to your backend. Both are up- and downloadable from a client app or the dashboard. While you use images or files, remember the space limitation that comes with your chosen plan.
via Dashboard
Upload
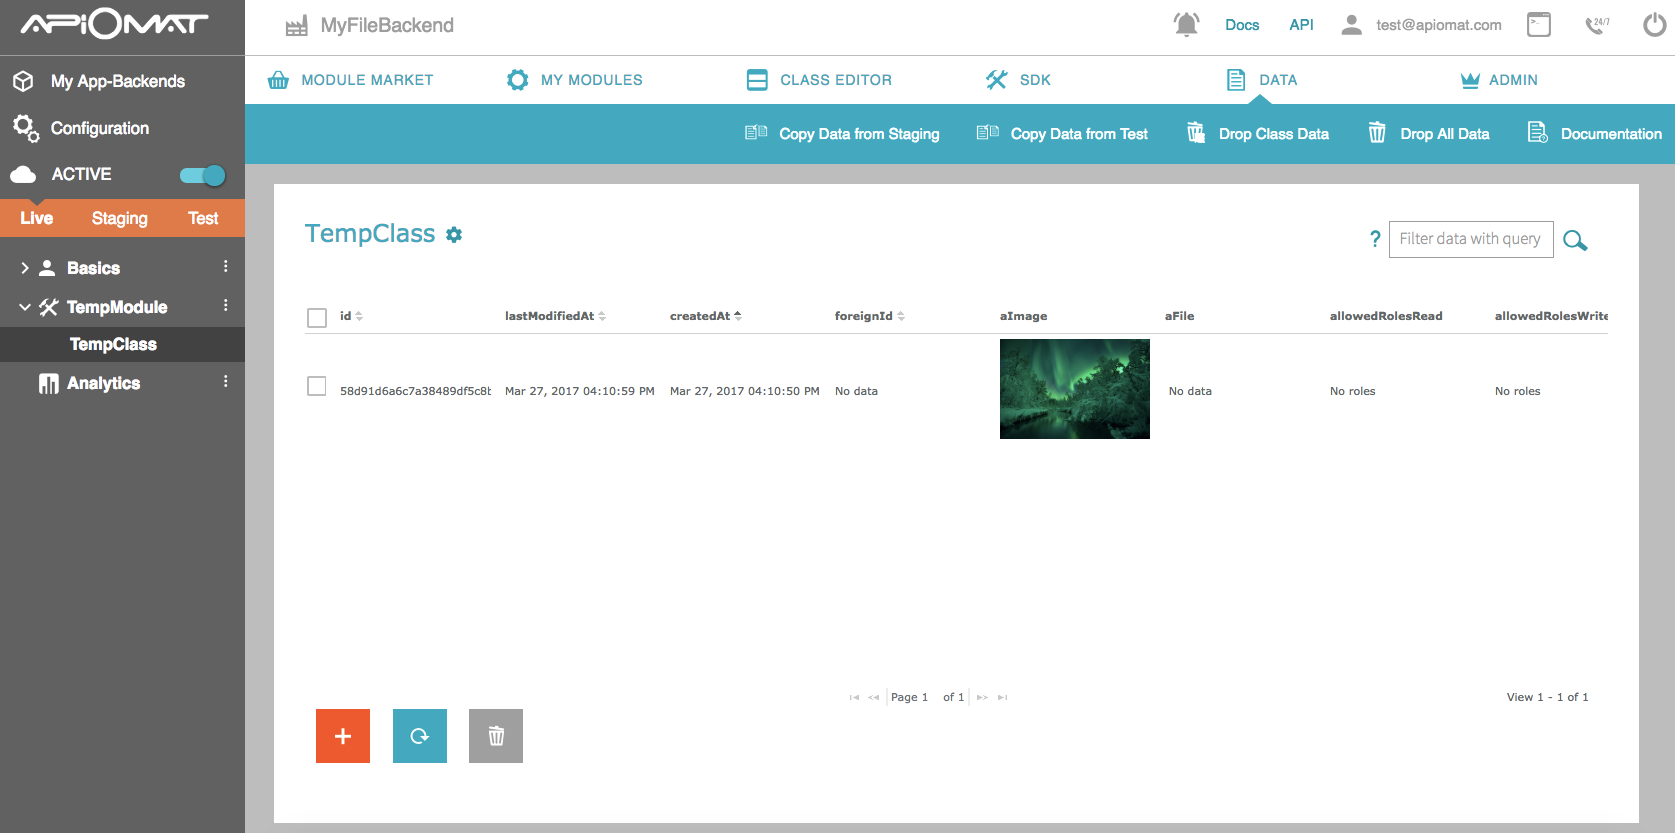
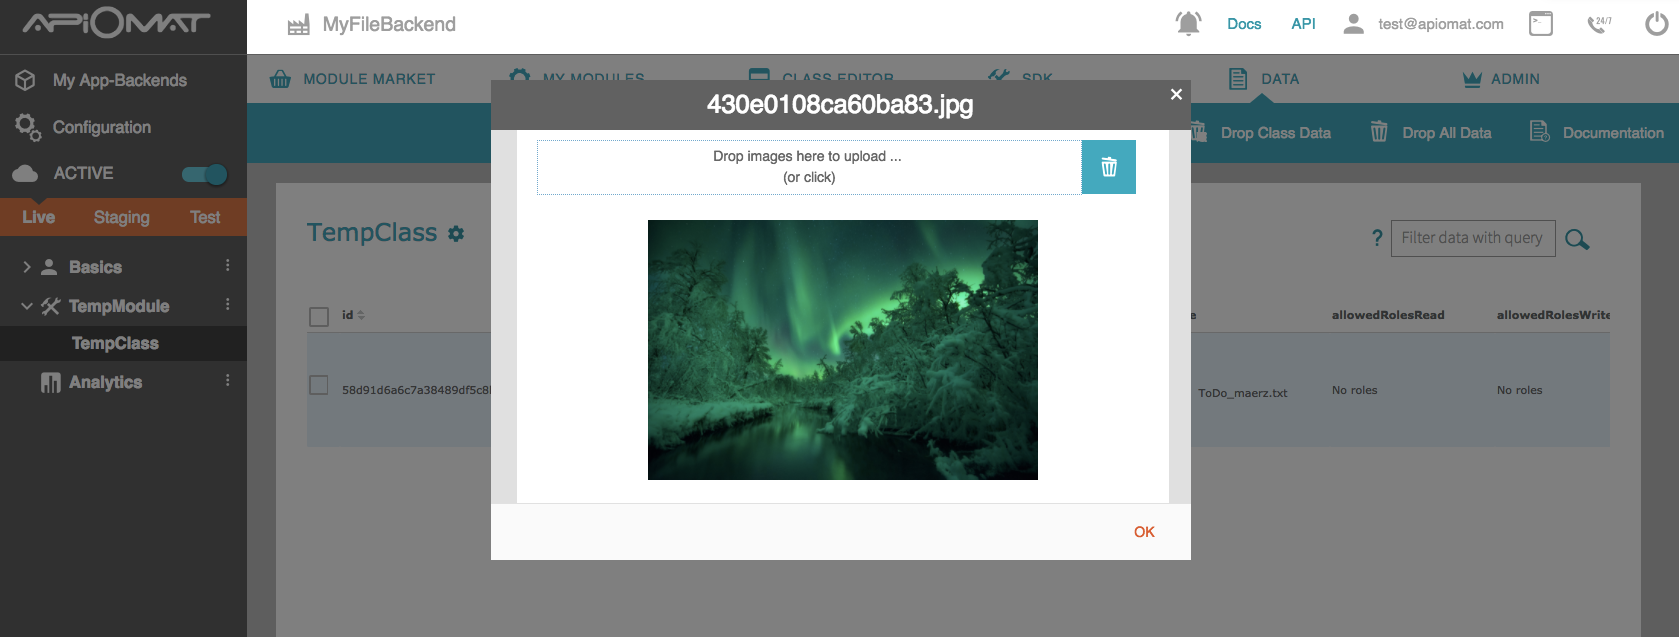
If you want to upload images you can use the dashboard. Just create a new Module with a class, which has an attribute of the type “image” and deploy your app. Now go to the “Data” Tab, add an object of that class and click into the table cell of the “Pictures”-Column. Choose the image you want to upload and confirm.
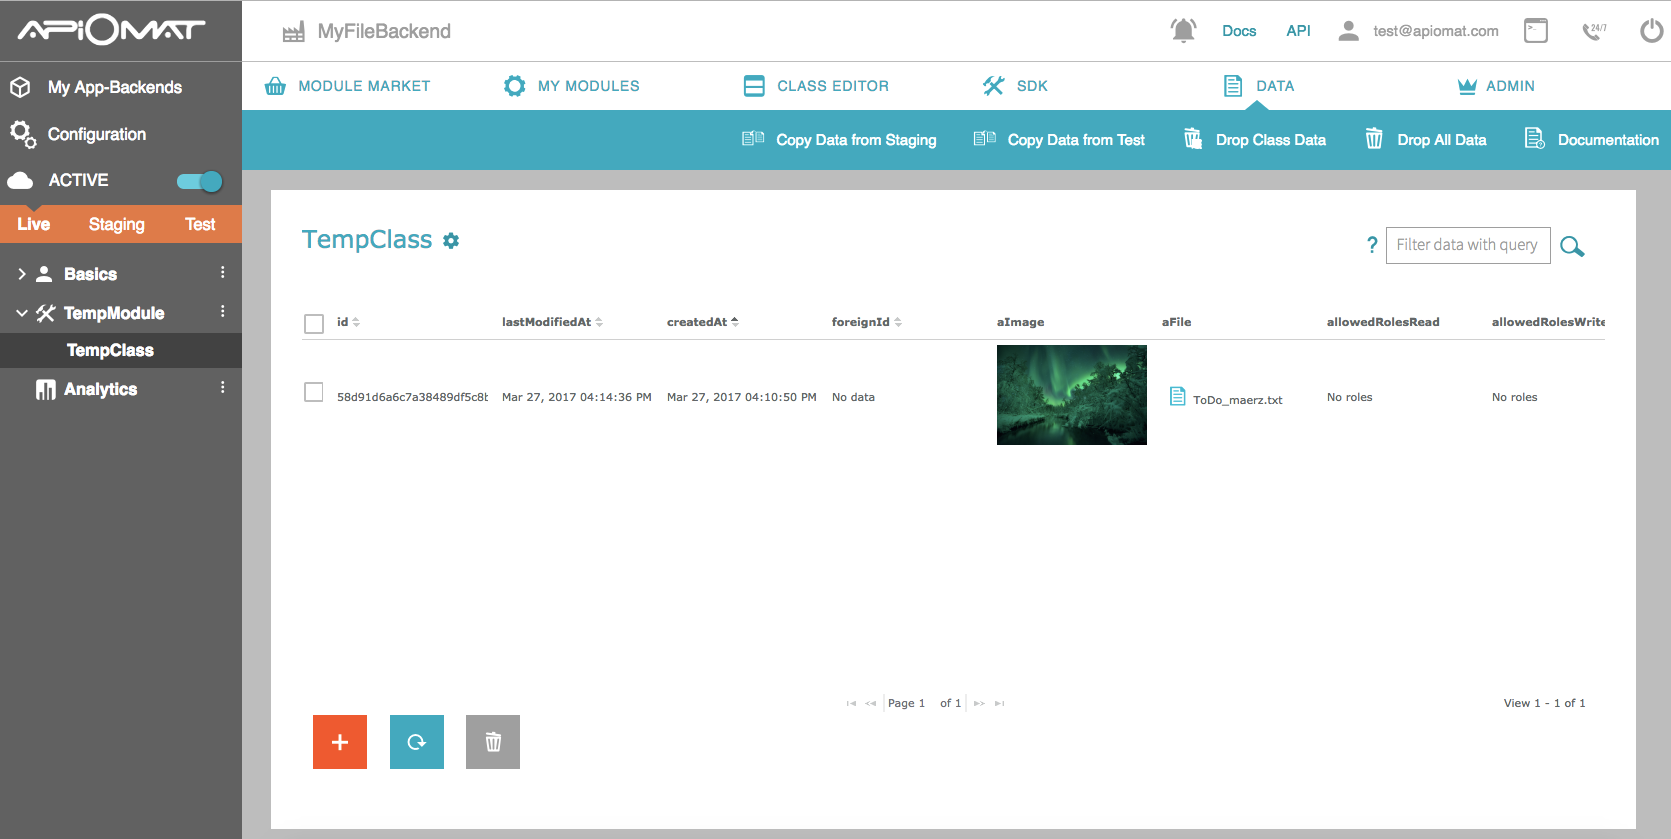
For files it’s pretty much the same.
Download
If you want to download a file or picture click on the picture icon in the dialog or on the clip.
via SDK
Upload
To upload an Image or a File from local storage , you have to convert it into a bytearray. If you already have your picture as bitmap you can convert it to a bytearray like this (android):
ByteArrayOutputStream stream = new ByteArrayOutputStream();bitmap.compress(Bitmap.CompressFormat.JPEG, 100, stream);final byte[] byteArray = stream.toByteArray();final Pictures picture = new Pictures();//For Objective-C we use NSData instead of a byte array NSData* imageData = [[NSData alloc] initWithContentsOfURL: [NSURL URLWithString: @"http://www.apiomat.com/wp-content/uploads/2012/07/logo.png"]];//For Swift we use Data instead of a byte arrayvar imageData: Data?if let url = URL(string: "http://www.apiomat.com/wp-content/uploads/2012/07/logo.png") { imageData = NSData(contentsOf:url)}var picture= new Apiomat.Picture();var imgArr = [0,2,6,2];const picture = new Picture();// normally this is a byte-array:const imgArr = [0,2,6,2];
Next, save an object of the class which should contain the picture on the server and post the picture after:
picture.saveAsync(new AOMEmptyCallback() { @Override public void isDone(ApiomatRequestException exception) { picture.postPictureAsync(byteArray, new AOMEmptyCallback() { @Override public void isDone(ApiomatRequestException exception) { });[picture saveAsyncWithBlock:^(NSError *error) { [picture postImageAsync:imageData andWithBlock:^(NSError *error) { }];}];picture.save { (error) in picture.postImage(imageData) { (error) in }}var picturePostCB = { onOk : function() { console.log("saved"); }, onError : function(error) { console.log("Some error occured: (" + error.statusCode + ")" + error.message); }};picture.postImage(imgArr,picturePostCB);await picture.postImage(imgArr);
That’s it. If you want to upload a file, it’s pretty much the same:
final File file = new File(); file.saveAsync(new AOMEmptyCallback() { @Override public void isDone(ApiomatRequestException exception) { file.postDataAsync(byteArray, new AOMEmptyCallback() { @Override public void isDone(ApiomatRequestException exception) { } }); } });NSData *fileData = [[NSData alloc] init]; //Get file data from anywhereFile *file = [[File alloc] init];[file saveAsyncWithBlock:^(NSError *error) { [file postDataAsync:fileData andWithBlock:^(NSError *error) { }];}];let fileData = NSData() //Get file data from anywherelet file = File()file.save { (error) in file.postData(fileData) { (error) in }}var file=new Apiomat.File();var fileArr = [0,2,6,2];var filePostCB = { onOk : function() { console.log("saved"); }, onError : function(error) { console.log("Some error occured: (" + error.statusCode + ")" + error.message); }};file.postFile(fileArr,filePostCB);const file = new File();// byte-array of file:const fileArr = [0,2,6,4];await file.postFile(fileArr);
Download/Share
You can download or share your image, using the image URL. To get the URL do the following:
picture.loadAsync(new AOMEmptyCallback() { @Override public void isDone(ApiomatRequestException exception) { Log.i("MainActivity", "LoadAsync is done"); Log.i("MainActivity", picture.getPictureURL()); } });[picture loadAsyncWithBlock:^(NSError *error) { NSLog(@"LoadAsync is done"); NSLog(@"%@", [picture pictureURL]);}];picture.load { (error) in print("LoadAsync is done") print(picture.pictureURL)}var loadCB = { onOk : function() { console.log("loaded"); console.log(picture.getImageURL()); }, onError : function(error) { console.log("Some error occured: (" + error.statusCode + ")" + error.message); }};picture.load(loadCB);await picture.load();const imgURL = picture.imageURL;// now you can use this URL to display the image
If you want to scale you image on the server side adding following statements to the getPictureURL method:
picture.getPictureURL(100, 200, "ffffff", null,"png"));[picture scaledImageURLWithWidth:100 andHeight:200 andBGColor:@"ffffff" andAlpha:NULL andFormat:@"png"];picture.loadScaledImage(width: 100, height: 200, backgroundColorAsHex: "ffffff", format: "png") { (data, error) in}picture.getImageURL(100, 200, "ffffff", null,"png"));picture.getImageURL(100, 200, "ffffff", undefined, "png")
or in general:
picture.getPictureURL(width, height, "backgroundcolorinhex", transparencyinfloat, "format"));[picture scaledImageURLWithWidth:width andHeight:height andBGColor:@"backgroundcolorinhex" andAlpha:transparencyinfloat andFormat:@"format"];picture.loadScaledImage(width: width, height: height, backgroundColorAsHex: "backgroundcolorinhex", alpha: transparencyinfloat, format: "png") { (data, error) in}picture.getImageURL(width, height, "backgroundcolorinhex", transparencyinfloat,"format"));picture.getImageURL(width, height, bgColorAsHex, alpha, format);
To get the URL of a file use this:
final File file = new File(); file.loadAsync(new AOMEmptyCallback() { @Override public void isDone(ApiomatRequestException exception) { file.getDateiURL(); } });File *file = [[File alloc] init];[file loadAsyncWithBlock:^(NSError *error) { NSLog(@"%@", [file dataURL]);}];let file = File()file.load { (error) in print(file.dataURL)}var loadCB = { onOk : function() { console.log("loaded"); console.log(file.getFileURL()); }, onError : function(error) { console.log("Some error occured: (" + error.statusCode + ")" + error.message); }};file.load(loadCB);await file.load();const myFileURL = file.fileURL;
via cURL
The REST API for managing images and files is documented here: http://www.apiomat.org/apidocs/index.html#!/apps
Upload
For uploading an image you send a HTTP POST request to the REST resource https://apiomat.org/yambas/rest/apps/{appName}/data/images. You have to replace {appName} by the name of your app and send the picture’s data in the HTTP body. Optional parameters are the name and format of the picture.
For uploading a file there’s another REST resource: http://apiomat.org/yambas/rest/apps/{appName}/data/files, which works the same way.
To upload an image use this cURL command:
curl -F "file=@MYPICTURE.JPG" -F "apiKey=MYAPIKEY" -F "system=LIVE" -F "name=myimage" https://apiomat.org/yambas/rest/apps/MYAPPNAME/data/images
MYPICTURE.JPG stands for the location of your image while MYAPIKEY is a placeholder for the APIKey of your app which you can find in the App Setup screen of your dashboard. Also you have to replace MYAPPNAME within the URL with the name of your app.
If you want to upload a file just replace “images” with “files” within the URL.
This command returns the IMAGEID. You need this ID to access this image later.
Download
If you upload a file or picture you receive the IMAGEID. You need the ID and the APIKey of your app to get the picture.
Then you can download the image as json from the resource http:apiomat.org/yambas/rest/apps/{appName}/data/images/{imageId}.
Or download the image as mimetype image with appending “.img” to this resource.
curl http://apiomat.org/yambas/rest/apps/MYAPP/data/images/IMAGEID.img?apiKey=YOURAPIKEY
You can also send the API key as header instead of a parameter with the option -H “X-apiomat-apikey:YOURAPIKEY”.
As with uploading, downloading files instead of images works the same way, just use the resource http:apiomat.org/yambas/rest/apps/{appName}/data/images/{imageId}. Here you can append “.img” as well to download the file with its correct mimetype instead of json.
If you want to access a picture you’ve uploaded with cURL with an SDK, you can load the image from the href:
http://apiomat.org/yambas/rest/apps/MYAPP/data/images/IMAGEID.img?apiKey=MYAPIKEY
Again replace MYAPP with the name of your app, IMAGEID with the ID you received after unloading and MYAPIKEY with the APIKey of your app.
Image scaling and re-sizing
When downloading or embedding an image you can adjust some parameters in the URL to scale and resize the image, as well as setting a background color, alpha channel and transcode the image to a different format. How you do that is documented in this REST API doc section.
The parameters width and height control the scaling and re-sizing. When you set both of them, the image gets re-sized and it’s up to you to keep or change the aspect ratio of the image. When you set just one of them, the image gets scaled with the other value automatically adjusted to keep the image’s original aspect ratio. For example, when you uploaded an image with 480×320 (w x h) pixel, and you download the image with the width set to 240 pixel, the height automatically gets set to 160 pixel and the aspect ratio of 4:3 stays the same.
The corresponding cURL command looks like this:
curl "https://apiomat.org/yambas/rest/apps/YOURAPPNAME/data/images/YOURIMAGEID.img?width=240&apiKey=YOURAPIKEY"