UIs for Developer
User Interfaces templates are created and shared by UI Developer before it can be attached to a backend application by an UI Orchestrator.
This step-by-step guide explains how an UI Developer can create, define, upload and share an UI template:
Create initial UI
You are able to create UI components either via ApiOmat Dashboard or ApiOmat REST Interface. The REST end points are documented within the Apidocs of your ApiOmat instance.
A step-by-step how you can create User Interface templates via Dashboard is shown here:
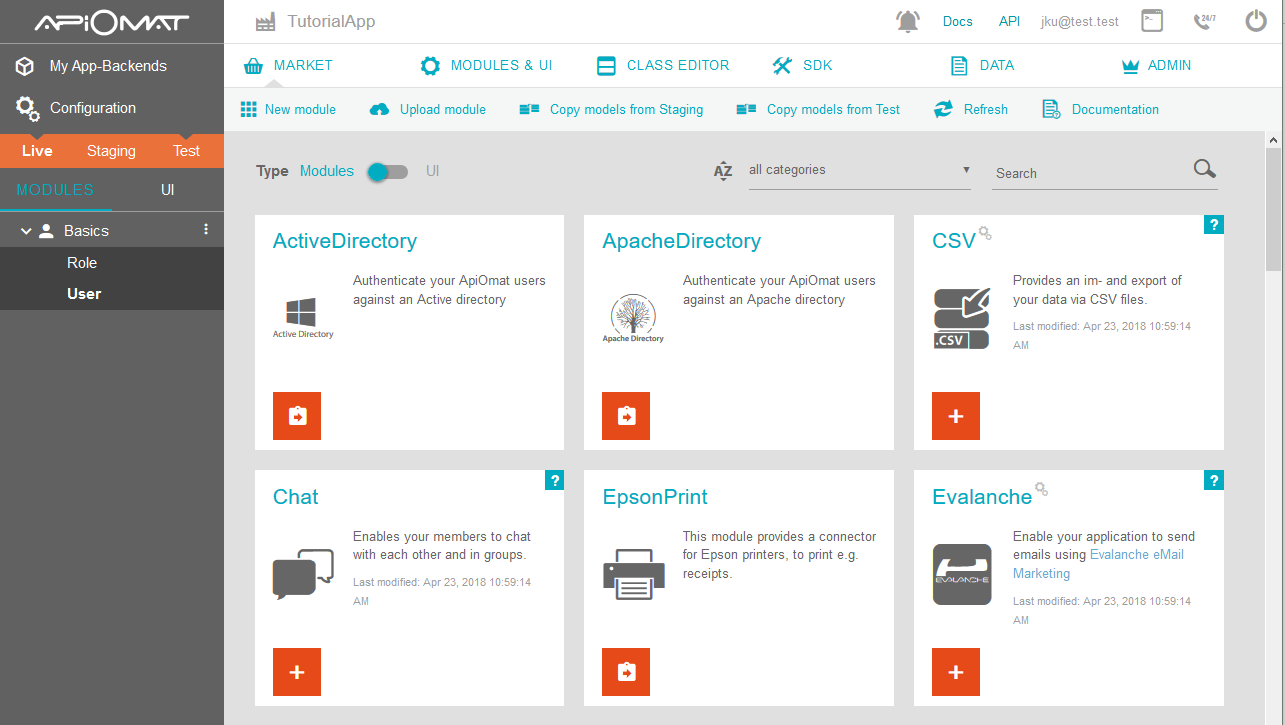
1.) If your UI requires a certain modul (or several modules), you have to upload the modules before you upload your UI. Go to [Market > Upload Module] :
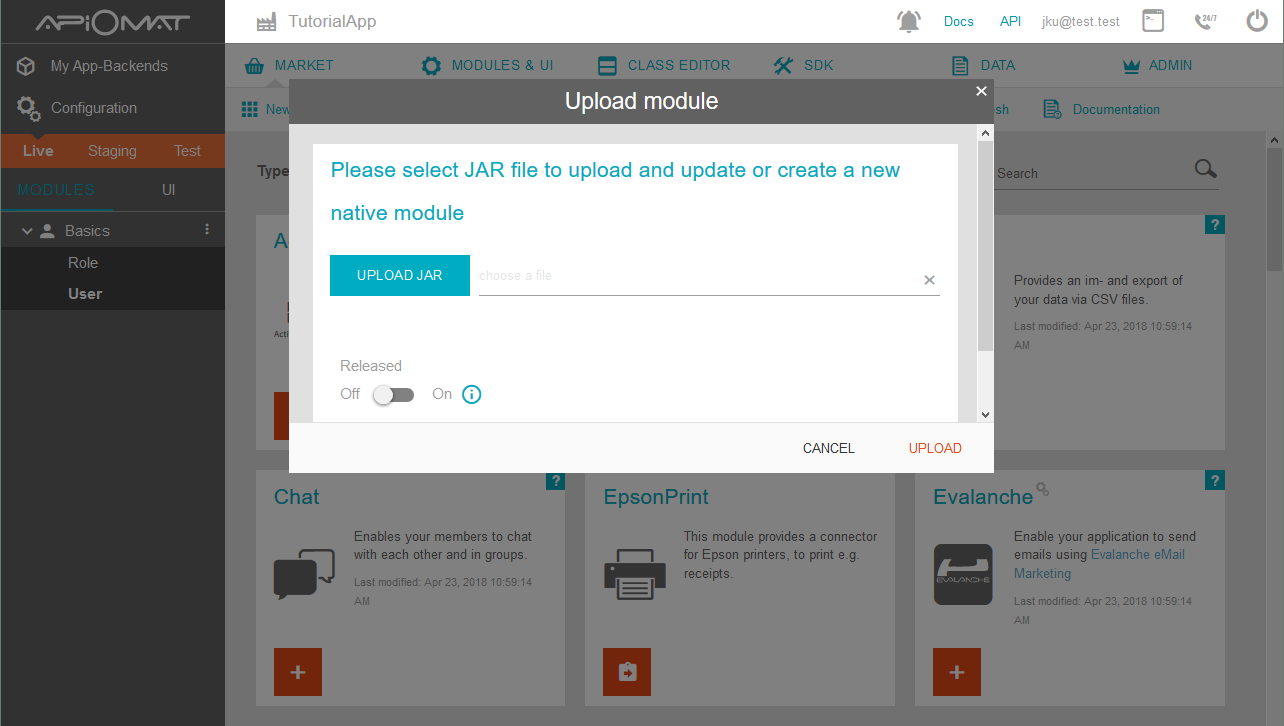
2.) Then choose the JAR-File and upload it:
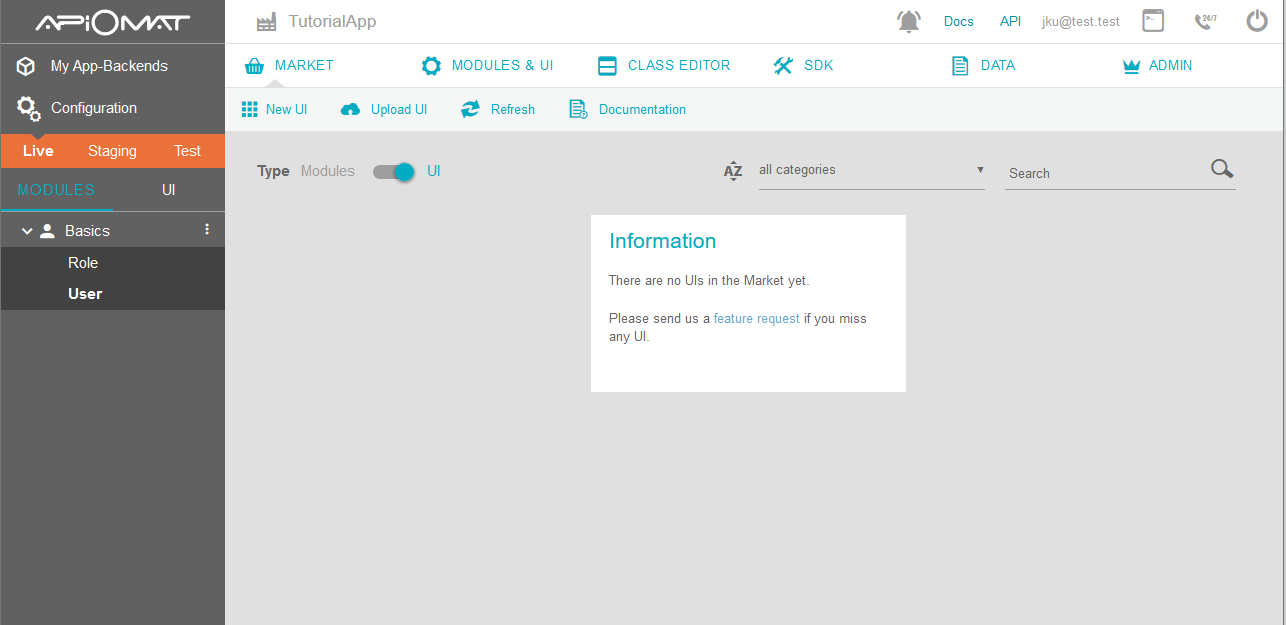
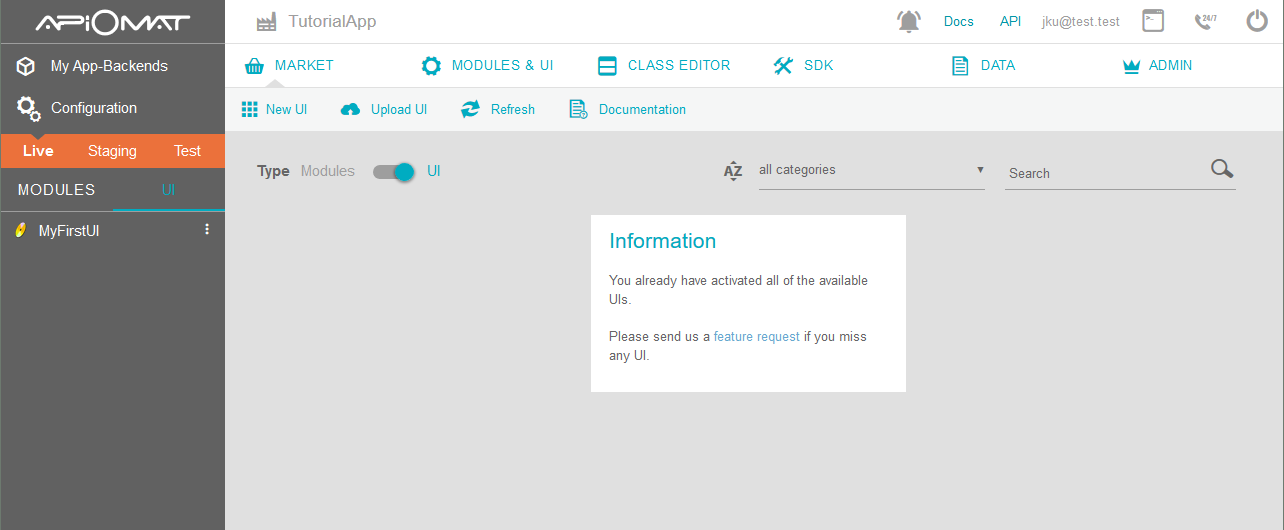
3.) To create the UI, change the switch inside the market to [UI] and hit [New UI]:
Fill the creation dialog and configure the UI's attributes in the next step.
4.) Configure the UI's attributes which are listed in the following table:
|
UI Attribute |
Description |
Example Value |
|
The new UI name |
Set the name of your new UI that is shown in UI Market |
"MyFirstUI" |
|
Description |
Insert some descriptive text to define your new UI. |
"Tutorial: my first user interface" |
|
Category |
Define a custom category for your UI. The category is used for filtering your UIs within the Market. |
"tutorials" |
|
Documentation URL |
Define an URL that contains documentation about your UI's frontend project. |
|
|
Used modules |
Select your modules you want to use within your UI. If a selected module contains other modules you don't need to choose all of them. Those inner used modules will be included automatically. |
CSV |
|
Icon upload |
Choose an icon of your UI component which will be shown beside your UI within the navigation bar. |
icon.png |
|
Released |
Similar to modules you are able to release your UI to share it with other customers within your app. |
Off |
Your UI template is now initially created and ready for some fine tuning within the next section.
Define the UI template
The mentioned UI configuration in step 3 of the section Create initial UI is included within the UI package. The following sub section gives you a more detailled explanation about the UI structure which is needed to fine tune your UI template.
ZIP Structure
Each UI is uploaded as ZIP container including a manifest.json within the root directory of the archive.
Example ZIP Hierarchy:
FirstUI.zip|___ myProjectFolder/ |___ ...|___ myProjectImages/ |___ img.png |___ ...|___ manifest.json Example ZIP Contents:
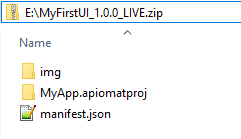
The example zip package contains the following optional and mandatory files:
-
img/ - a custom named directory that includes an UI logo and some preview images (optional)
-
MyApp.apiomatproj/ - a custom named directory that contains the actual frontend code (here created with ApiOmat Studio)
-
manifest.json (mandatory)
The meta data contents of the manifest.json are described later. In the next step you learn how to download your created UI template.
Download UI templates
You can download your UI template via Dashboard or REST. The REST end points are specified within the Apidocs.
To download your created User Interface via Dashboard simply go to [Modules & UI > User interfaces] and press the download button beside the UI you want to download:
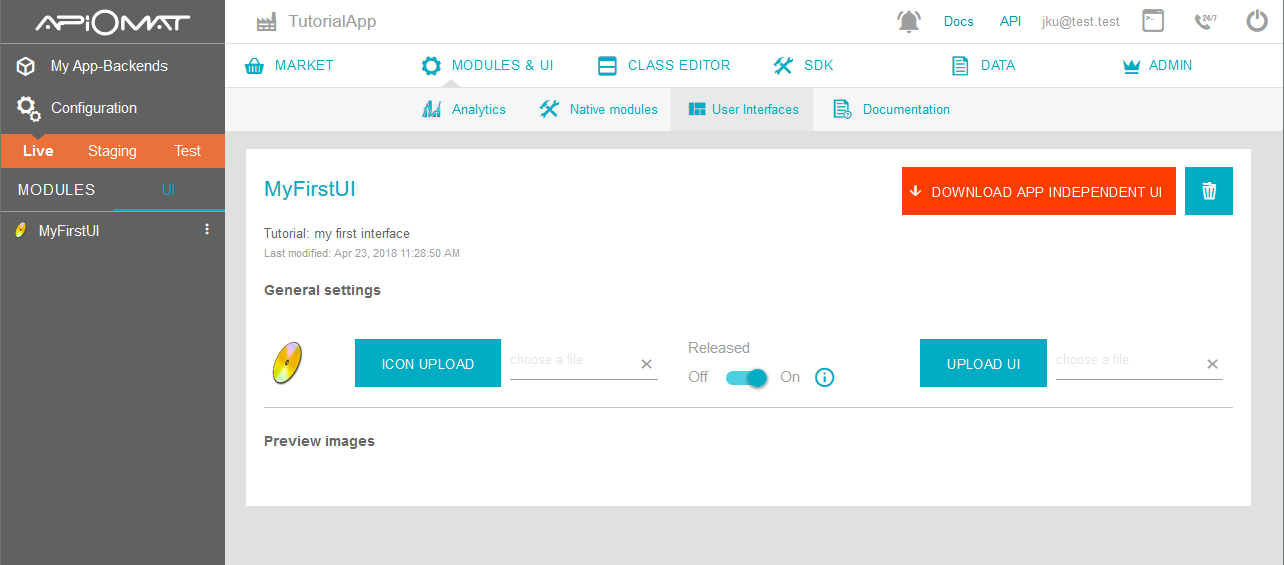
The downloaded ZIP archive also contains a manifest.json which is described in more detail within the section.
Manifest File
The manifest.json that is located within the root directory of the UI ZIP container defines your UI component. It contains information on how your UI is linked into an application.
The manifest.json looks like this:
{ "name": "MyFirstUI", "type": "other", "version": "1.0.0", "logopath": "img/logo.png", "description": "Tutorial: my first interface", "category": "tutorials", "documentationUrl": "http://example.url", "needsModules": [{ "name": "Push", "version": "1.0.0" }], "previewImagePaths": ["path/to/prev1.jpg", "path/to/prev2.jpg"], "uiConfigs": [{ "filePath": "example.conf", "parameters": { "TextKey": { "defaultValue": "DefAult", "type": "TEXTAREA", "description": "example description", "example": "myexample", "order": 3 } } }], "useSDK": { "path": "path/for/sdk", "type": "javascript" }}
The following table describes each manifest entry and gives an example configuration:
|
Configuration |
Description |
Value |
Example |
|
name |
Internal name of the UI. Needs to start with a letter followed by letters and numbers. Note that these names have to be unique across UIs and modules. |
String |
"MyFirstUI" |
|
type |
Type of the UI which is needed for furture features like automatic UI deployment on selfhosted websites |
specific String |
current Types: "SELFHOSTED_WEBSITE" |
|
version |
Version of the UI which is needed for future features. Currently, you can only use 1.0.0 as Version. |
number as String |
"1.0.0" |
|
logopath |
Path to the UI logo within the UI ZIP package |
String |
"logo.png" |
|
description |
Description of your UI component |
String |
"Tutorial: my first interface" |
|
category |
Self-defined category of your UI. The category is used for filtering your UIs within the Market. |
String |
"tutorials" |
|
documentationUrl |
URL that contains documentation about your UI's frontend project. |
String |
"http://exampleurl.com" |
|
needsModules |
List of modules that are needed to run your frontend code. These values are automatically appended to your backend, if you attach the UserInterface. The version gets ignored currently. |
List of modules |
[{"name": "Push", "version": "1.0.0"}] |
|
previewImagePaths |
A list of paths to preview images. |
List of image paths |
["img/prev1.jpg","img/prev2.jpg"] |
|
uiConfigs |
Further information and parameters that are needed by your UI component. |
List of mapped parameters |
... see upper example |
|
useSDK |
Path to include an SDK your UI can use. The specified SDK will automatically be included an the specified path location when you download a backend specific UI. |
SDK path and type as JSON object |
{ "path": "path/for/sdk", "type": "javascript" } |
UserInterface Configurations
The manifest.json allows you to define one or more UI configuration files that will be generated when downloading the backend specific UI.
To explain the UI configurations the next excourse shows how an UI Orchestrator will use your configuration from template.
The backend specific UI is later downloaded by the UI Orchestrator e.g. via following REST end point:
curl -X GET --header 'Accept: application/octet-stream' --header 'X-apiomat-system: LIVE' --header 'If-None-Match: false' --header 'X-apiomat-apikey: <insertApiKey>' --header 'Authorization: Basic <insertAuthString>' 'http://localhost:8080/yambas/rest/customers/<accountName>/apps/<appName>/ui/<uiName>/v/<uiVersion>?usedSystem=<system>'
The response is the created backend specific UI as ZIP file which contains the frontend code and a generated configuration file (from upper manifest example it is named example.conf).
The generated configuration file contains on the one hand some default values of the application (customerName, customerEmail, appName, apiKey, baseUrl, system, sdkVersion) and on the other hand the custom defined parameters that were set by the UI Developer within the UI configuration ("TestKey" in the example above).
The upper example will produce the following example config:
{ "baseUrl": "http://localhost:8080/yambas/rest/apps/TutorialApp", "system": "LIVE", "apiKey": "3235046049793526820", "appName": "TutorialApp", "TextKey": "New Value", "customerEmail": "jku@test.test", "sdkVersion": "3.0.0-", "customerName": "jku"}
Example Explanation:
You defined the following uiConfigs within your manifest.json:
..."uiConfigs": [{ "filePath": "example.conf", "parameters": { "TextKey": { "defaultValue": "DefAult", "type": "TEXTAREA", "description": "example description", "example": "myexample", "order": 3 } } }]...This entry means that a downloaded backend specific UI will contain a file named "example.conf" within the root directory of the UI ZIP. Subdirectories have to be defined with Unix-styled paths, like "path/to/example.conf". This "example.conf" file contains the backend specific values like system, appName, customerName, etc. (see example.conf in excourse above).
It also includes the attribute named "TextKey" which is mapped to the value that was set by the UI Orchestrator as UI configuration within the backend application (e.g. via Dashboard > MyFirstUI > Configure > Configuration: TextKey).
If the UI Config value wasn't set within the application the specified default value from manifest.json is returned.
Logos and Preview Images
It is possible to include a logo icon and some preview images of your UI component.
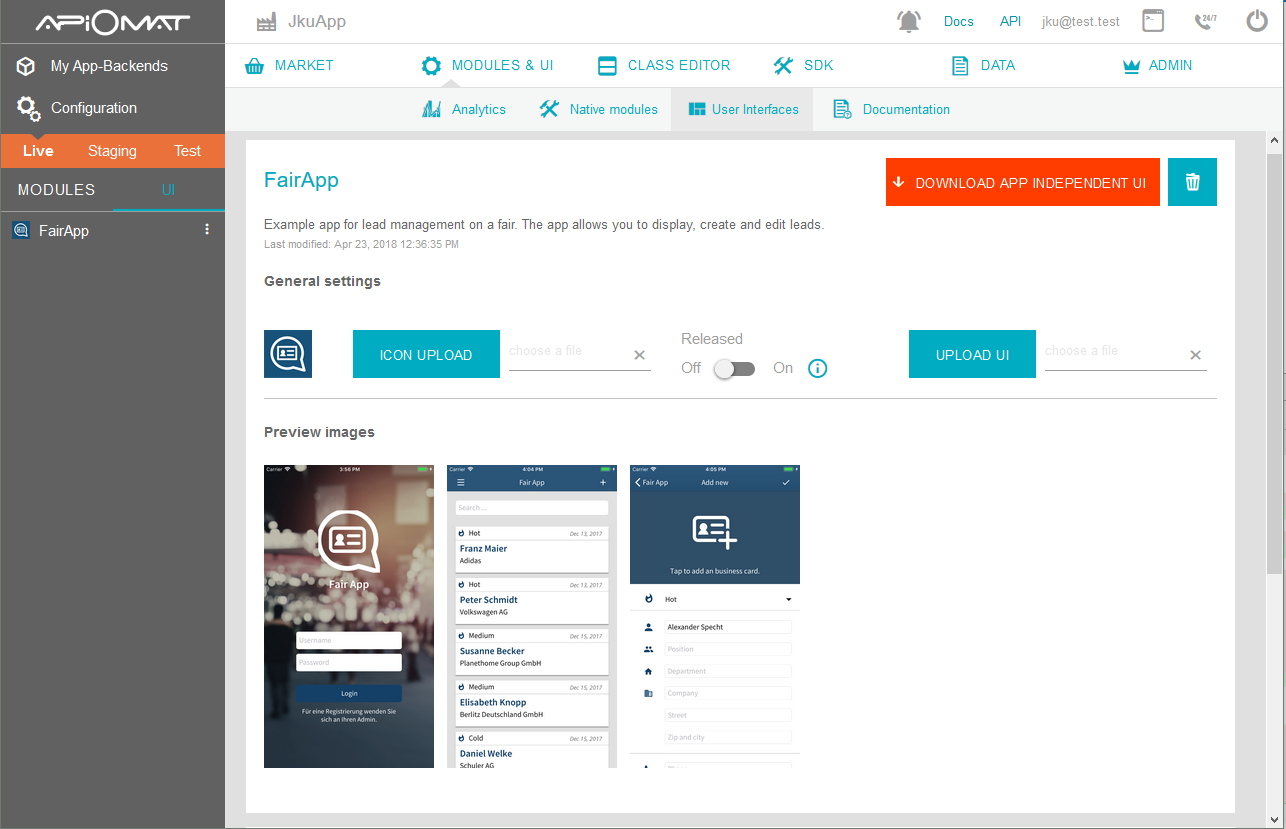
Simply include the images within your UI ZIP package and define their paths within the manifest.json. (see logopath and previewImagePaths in manifest.json)
After uploading the UI ZIP package (next step) you are able too see a preview within your dashboard like this:
Upload the UI template
After finalized your UI template configurations you may want to upload your UI template to ApiOmat to see if your module is still integratable or to share it later among your projects.
Remind: your UI template ZIP have to match the required ZIP structure shown above before uploading.
Apidocs provides a documentation on how to upload your UI template ZIP via REST.
To upload your UI template via Dashboard just follow the next steps:
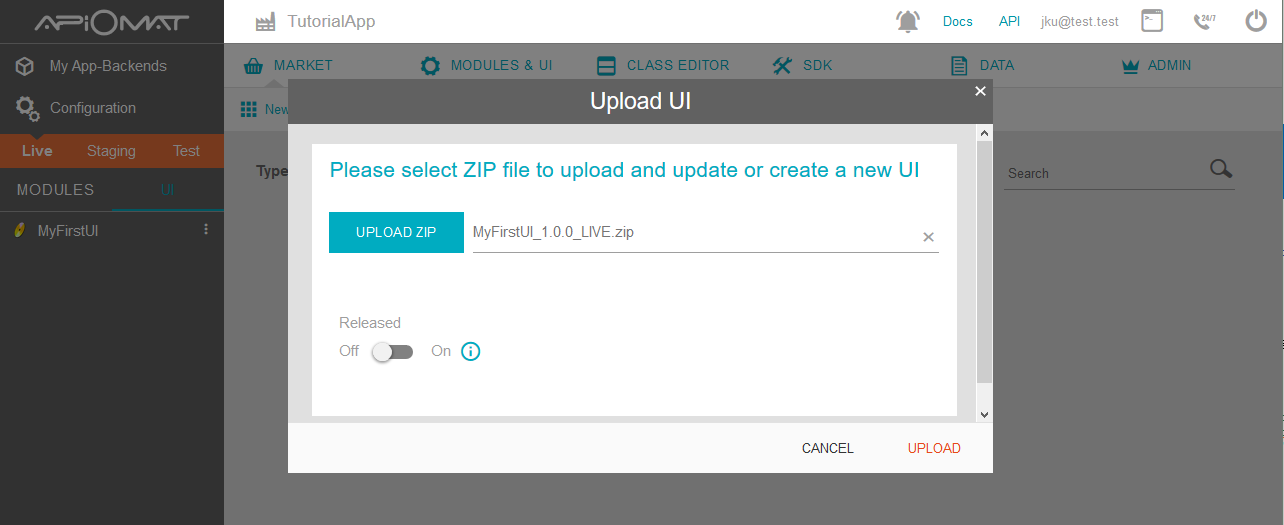
1.) To upload the UI, change the switch inside the market to [UI] and hit [Upload UI]:
Choose the ZIP file and upload it:
After your UI template ZIP package was successfully uploaded you are ready to share it with others.