Using Server Code
In this tutorial, we would like to show you, how to automatise specific processes within your backend, and how to respond to external APIs by the usage of code injection. The backend should assign an object of the class “City” automatically with the actual temperature, as soon as it is being loaded.
Create the backend
1. Go to web.apiomat.org and log in with your account. If you don‘t already have an account, create one by clicking on "Not having an account yet".
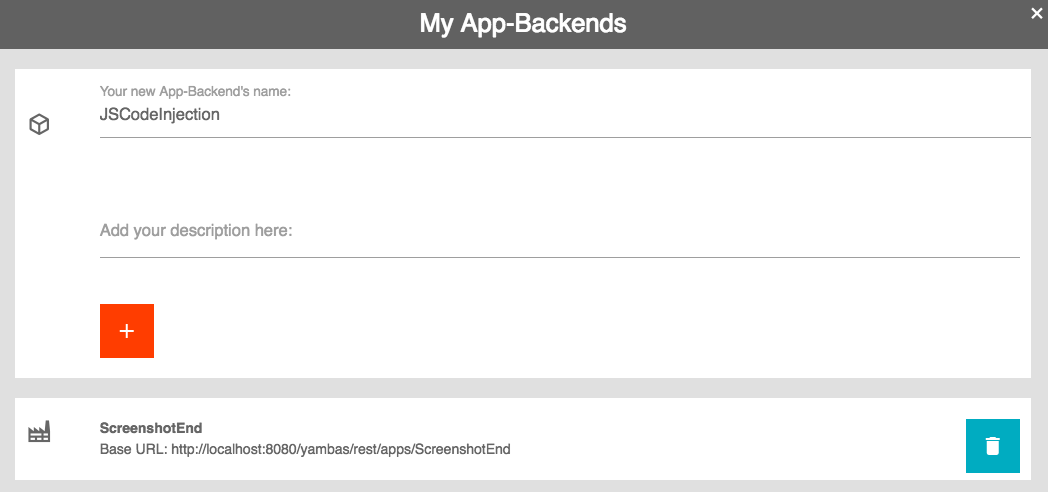
2. You are now in the dashboard. If you haven‘t already created an app, you will be asked to give your first app a name and a short description. In our example, the app is called “JSCodeInjection”. However, your app should have a unique name.
3. On the first dashboard page, you‘ll see all the available modules. Chose the Server Code Module by clicking plus, which is located next to the name of the module. Confirm the configuration dialogue, that has popped up.

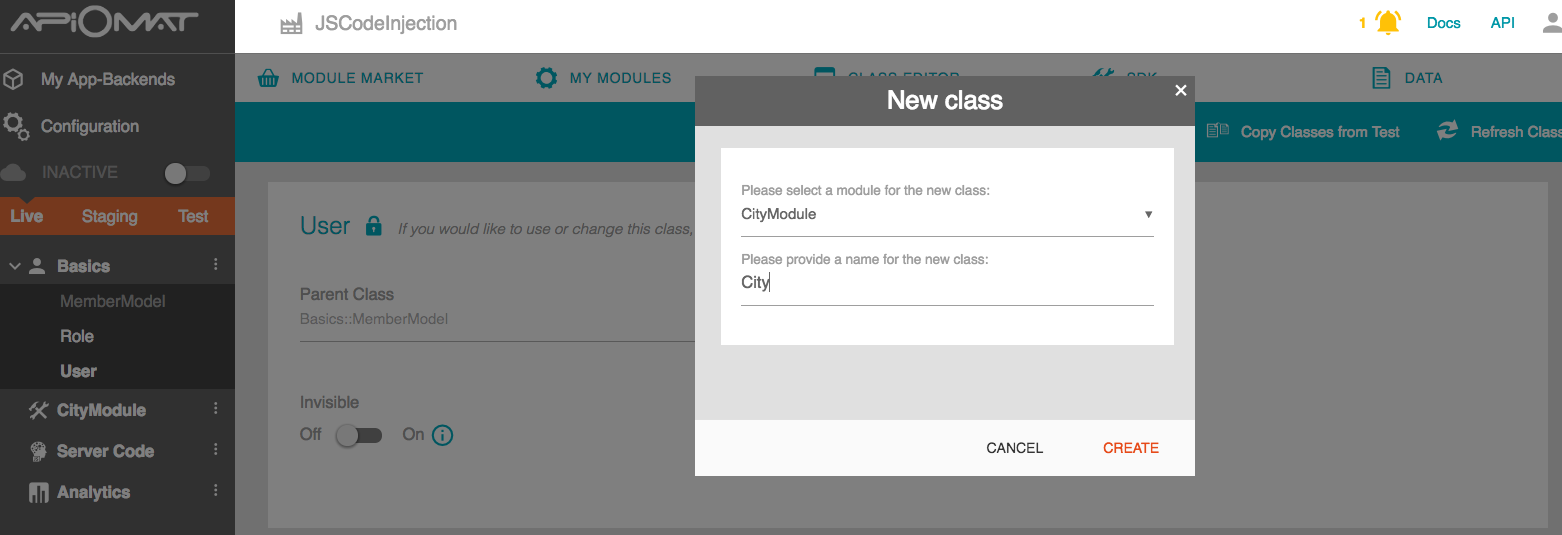
4. To use the Server Code Module, we have to create a new class. To do that, go to the Class Editor via the Main Menu.
5. Click “New Class” to create a new class. As we can‘t use the code injection with the User class, we‘ll create a separate class. We will call it “City”.
6. This class will receive the following attributes: A string “cityName”, a string “country”, and a number of type double called “temperature”.
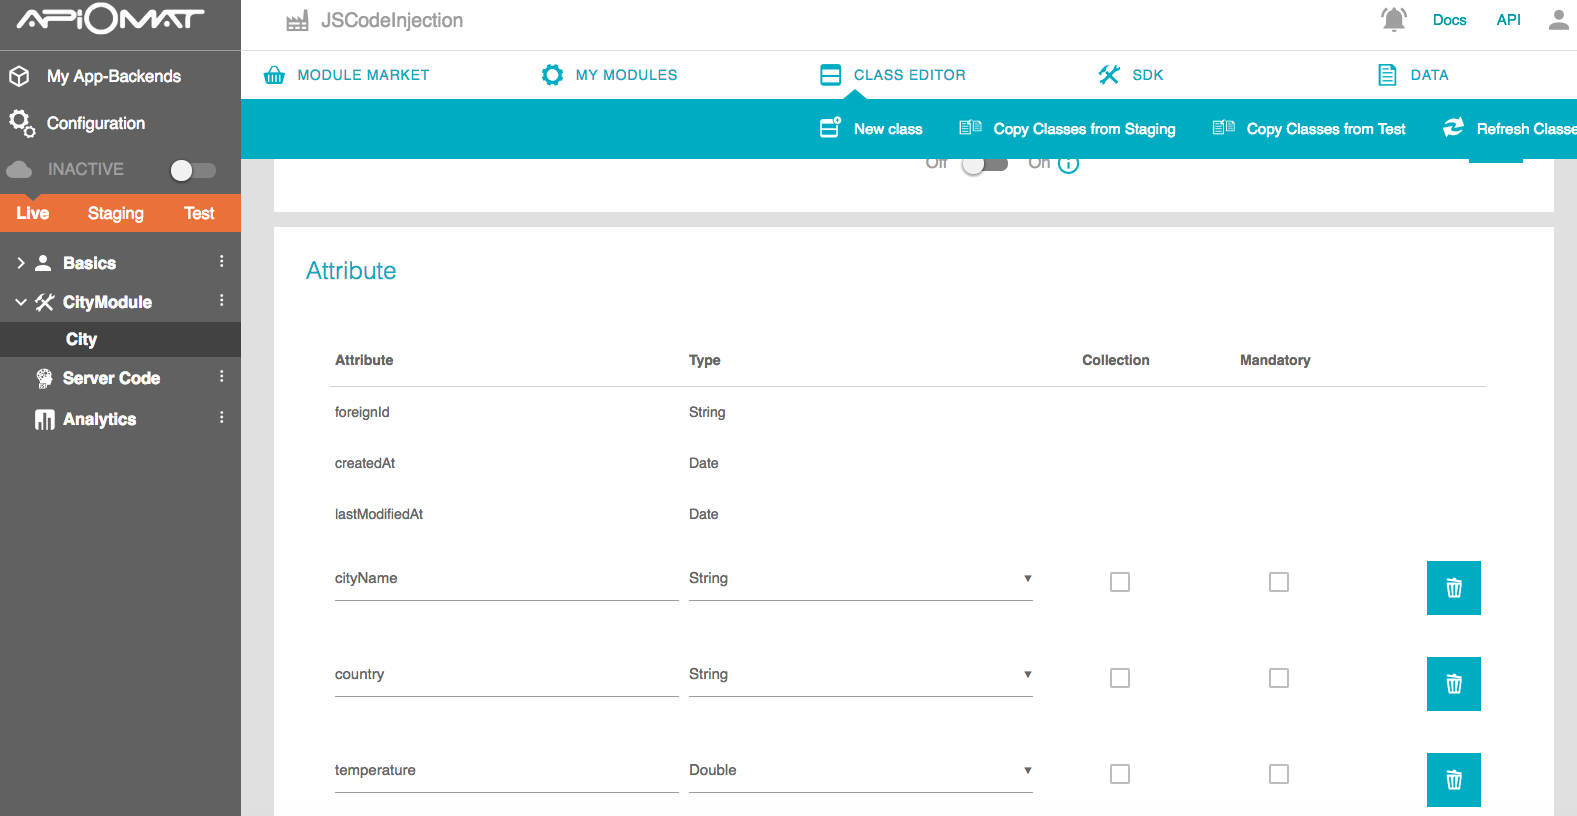
7. As we can only authenticate ourselves against the server via the class “User”, the class “City” will inherit from “User”.
Inject the server code
8. Switch to the new tab “Server Code” within the Class Editor. Here you can adjust the JavaScript code of your app. The server logic should load from the server every time an object of the class “City” is used.This will provide it with the actual temperature before it is sent.
9. Now, we want to respond to the external API of openweathermap.org. To do this, we need a getRequest method within the method “function aom_beforeGet(obj){}”:
obj.getRequest("http://api.openweathermap.org/data/2.5/weather?q="+obj.cityName +"," +obj.country, headers, function (result,status) { obj.log("result: "+ result + " status " + status ); var weather=JSON.parse(result); var jTemp = weather.main.temp; obj.setTemperature(Number(jTemp) + Number(-273.15)); obj.log(obj.jTemp); obj.save(); }, function (x,y) {obj.log("error"+ x);});
In this way, the string we get when calling the URL is being written into our variable “result”. Naturally, we don‘t want to display the whole string, but merely the temperature. To do this, we parse the variable “result”.After that, we can obtain the temperature and write it into our class attribute “temperature”. In this approach, we have to save the “Person” manually.
10. Next, you‘ll have to deploy the app. To do this, simply click “Deploy”.
Create a client for testing
11. To test our code injection, we have to write an easy Java application. To do this, we‘ll need the Java SDK. So switch to the tab “SDK”. You‘ll find the Java SDK listed in the main menu. Click “Download SDK”, then save the .ZIP file at any desired place.
12. Open your IDE and create a new Java project. The name of the project is not important.
13. Open the file manager and look for the folder of your new Java project in the workspace of your IDE. Then, copy the folders “com” and “rpc” from the unzipped .ZIP file into the “src” folder. Copy the “lib” folder into your project‘s root folder. Afterwards in the IDE, refresh your Java project. Thereby, several errors will appear.
14. To remove them, go to the settings of your Java project. Now, look for the configuration to the Java build path. Click “Add JARs…” there. Also, add the four JAR files, located at NAMEOFYOURPROJECT/lib/. Afterwards, refresh your project again.
15. Create the “Main” class for your Java project. In the process of doing that, the “public static void main” method can be created, as well.
16. At first, we will create one city in it.
final City city = new City(); city.setUserName("USERNAME2"); city.setPassword("PASSWORD"); city.setCityName("berlin"); city.setCountry("de"); Datastore.configureWithCredentials(City.baseURL, City.apiKey, city.getUserName(), city.getPassword(), City.sdkVersion, City.system);
17. The following code block acts as query, if the “Person” with this username already exists. This procedure is intended to ensure, that a user is not being created more than once.
city.loadMeAsync(new AOMEmptyCallback() { @Override public void isDone(ApiomatRequestException exception) { // TODO Auto-generated method stub if (exception != null) { city.saveAsync(new AOMEmptyCallback() { @Override public void isDone(ApiomatRequestException exception) { // TODO Auto-generated method stub output(city); } }); } else { output(city); } }});
18. Both of the branches of the if-connection call the method “output”. We‘ll now create this method:
public static void output(City city) { System.out.println(city.getUsername() + " " + city.getTemperature());}
If we start the application now, we‘ll get, as an example, the following Console output:
USERNAME 24.54000000000002