Writing a simple Messenger App with ApiOmat
As you might have heard, ApiOmat provides an array of useful modules with packaged functionality which is ready to use. This tutorial will show how simple it is to use this type of module in your app. In this example, we choose Andoid as language.
Creating the app in ApiOmat
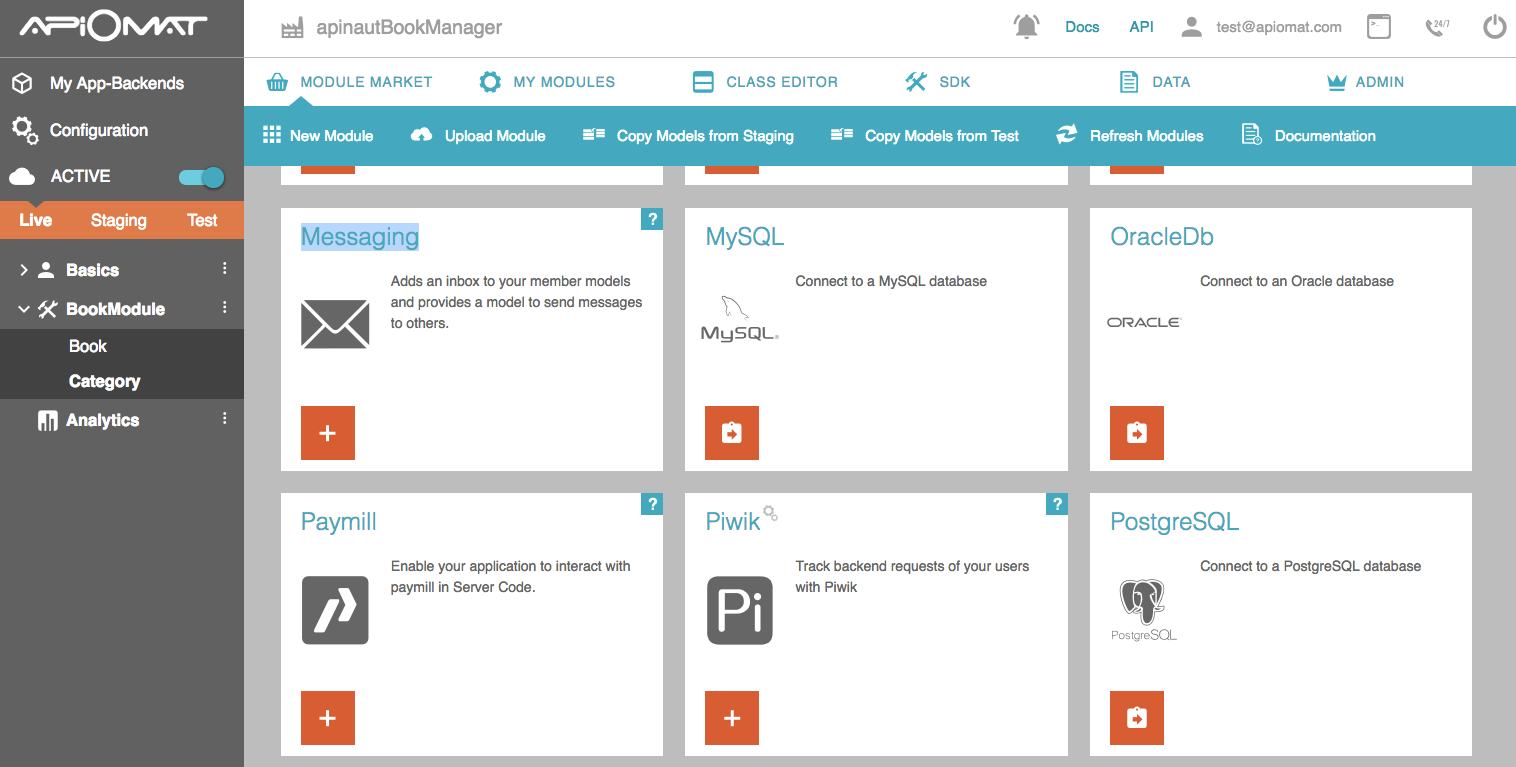
First you have to login and wait until the dashboard has loaded. Create a new app and add the "Messaging" module from the Module Market.
Deploy the app after the module has been added.
Now your app is up and running. Download the SDK for Android in the SDK screen.
Creating an Android App
First, unzip the downloaded SDK to your src folder. com.apiomat.frontend.basics.MemberModel should be now accessible as Java class.
The messaging module enables users (members) of your app to send messages to each other, each message is stored in the recipients inbox. The app consists of four screens (or "activities" in the android world):
-
Account screen - where members can log in to the app
-
Inbox screen - the inbox / received messages of the member
-
Send screen - where the member can send a new message
-
Main screen - starting point of the app
The connection from the SDK to ApiOmat has to be initialized once to set up the credentials. You can do this in the Main screen during the onCreate method:
public void onCreate( Bundle savedInstanceState ) {super.onCreate( savedInstanceState );Intent me = getIntent( );// Try to get user credentials from saved bundleBundle b = me.getExtras( ) != null ? me.getExtras( ) : savedInstanceState;//If no credentials were found, open account screenif ( b == null || !b.containsKey( USERNAME ) ) {Intent intent = new Intent( this, AccountActivity.class );startActivity( intent );}else {//Init your memberUser m = new User( );m.setUserName( b.getString( USERNAME ) );m.setPassword( b.getString( PASSWORD ) );//Initialize SDKDatastore.configureWithCredentials( m );//Load or create our member on server via a async taskCreateOrLoadMemberTask task = new CreateOrLoadMemberTask( );task.execute( m );...setContentView( R.layout.main );}
Now that the SDK knows which URL and credentials to use, we can try to load our member from server (if it already exists) or create a new one. Since requesting tasks are done asynchronously in Android, we use the CreateOrLoadMemberTask.doInBackground method:
protected User doInBackground( User... users ) {User user = users[ 0 ];//try to load memberuser.loadMe( );if ( user.getHref( ) == null ){//OK, does not exist, create a new oneuser.save( );}return user;}
Sending or receiving messages itself is very easy, just create a new thread for the request (requests in main thread raise an exception, as you might already know) and call the models methods, e.g. for sending:
MessageModel mm = new MessageModel( );mm.setMessageText( messageText.toString( ) );mm.setReceiverUserName( recipient.toString( ) );mm.save();The app is done.
Further documentation on the Messaging module can be found in our wiki.
Attention: If you use the code without unzipping your own SDK into it, you will have to change the base URL and apiKey in the MemberModel class to your own values. These can be found in the SDK or in the deploy screen.