Dashboard v.2
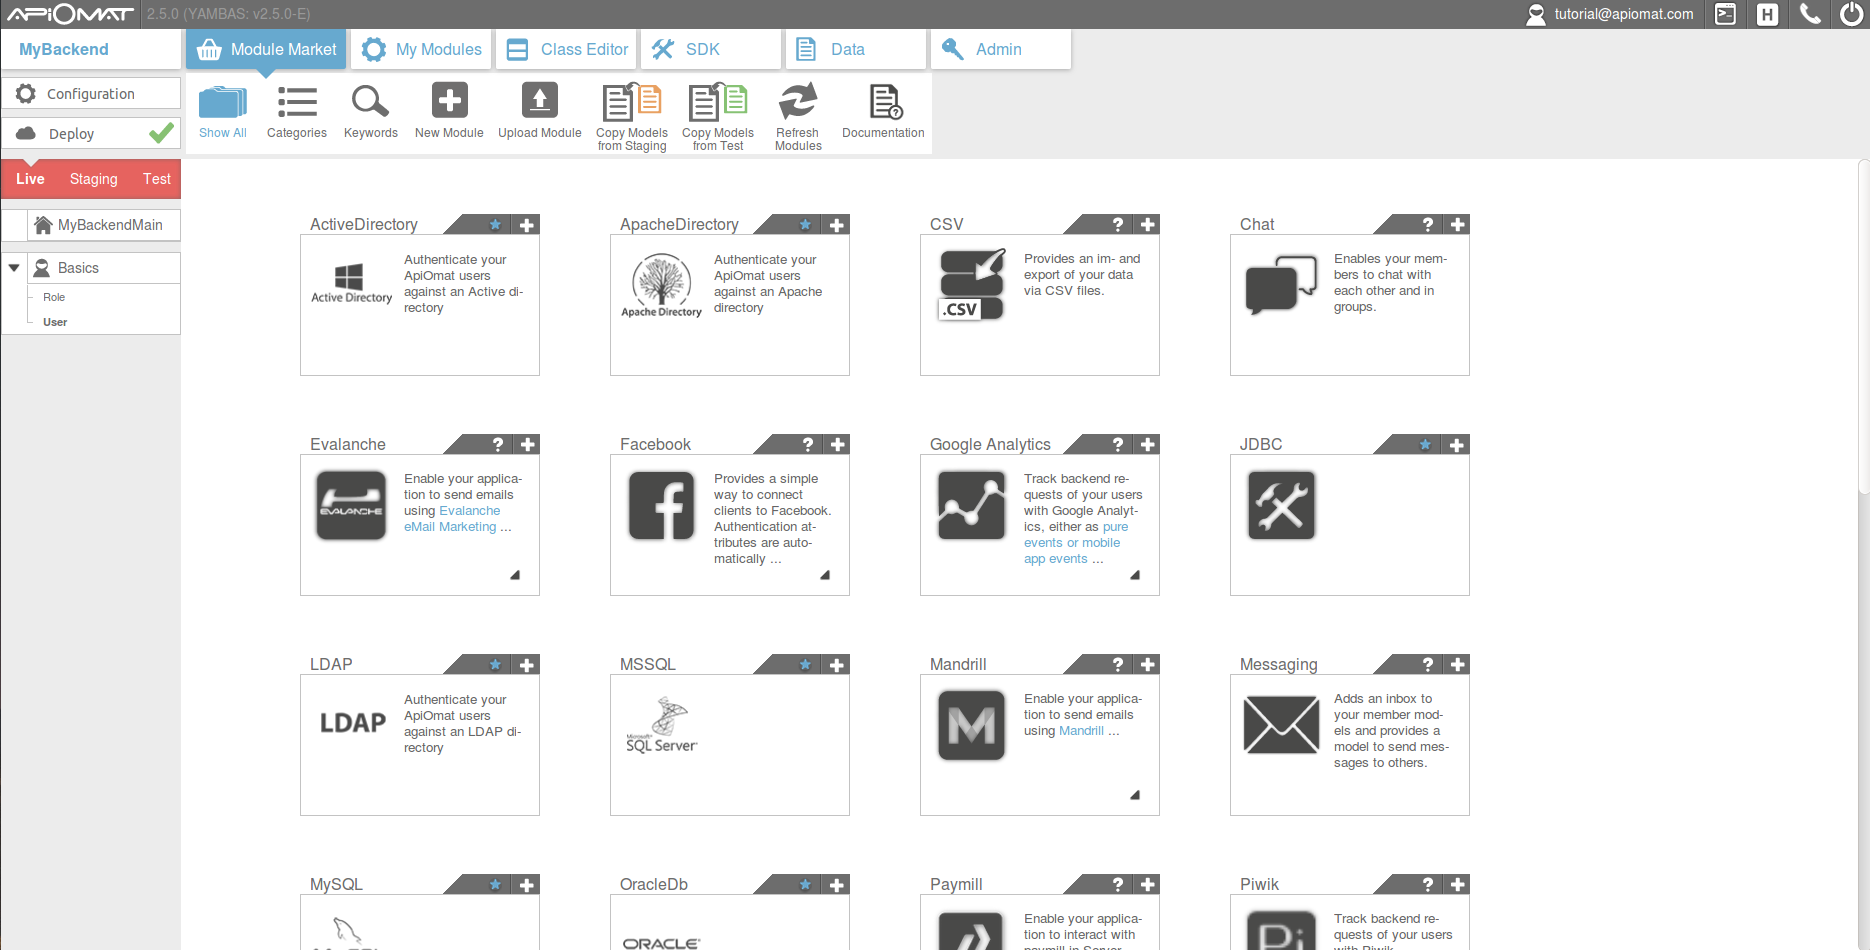
After logging in to ApiOmat, the dashboard opens and you can start building your backend.

The dashboard has a main menu on top where you can open each screen, beginning with the
-
Module Market : Select ready-to-use modules for your app as well as create and upload native modules
-
My Modules : Find tools to send push messages or export data if the corresponding module was previously added
-
Class Editor : Define own data models,
-
SDK : Download generated SDKs for your selected modules and your own models in your preferred language
-
Data : Take a look the existing data, copy, export, import and delete it
-
Admin: Give roles to other customers for your app

Each screen has a help icon in the ribbon bar where you can find more information about the screen.
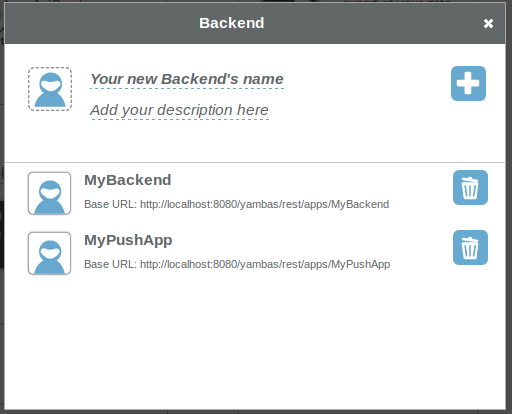
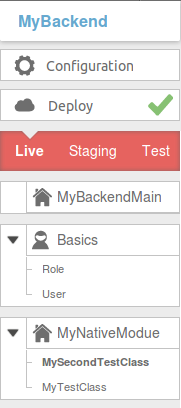
The navigation menu on the left side will let you switch between your Apps and the available systems. If you want to switch to another app, simply click on the current apps name and select another one from the popup menu.

Depending on your plan, you have between one and three systems available in ApiOmat where you can have different modules, classes, business logic and data:
-
a test system
-
a staging system
-
a live system

Ususally, you begin developing in the test system, move to staging afterwards and later to live. You can copy all settings and data from each system to another using the ribbon icons of the main menu in the current screen.
Please be aware that each system has its own SDK, and those SDKs will only have access to the data and models deployed in the same system.