Android Quickstart
Introduction
In this tutorial you will learn to:
-
Set up a backend with a custom class “Todo”.
-
Deploy the backend
-
Create a simple Android app project with the generated SDK
-
Set up the connection to the backend and create a User
Preparation
1. Log into your account. If you don't have an account, contact the administrator of the ApiOmat instance from your company.
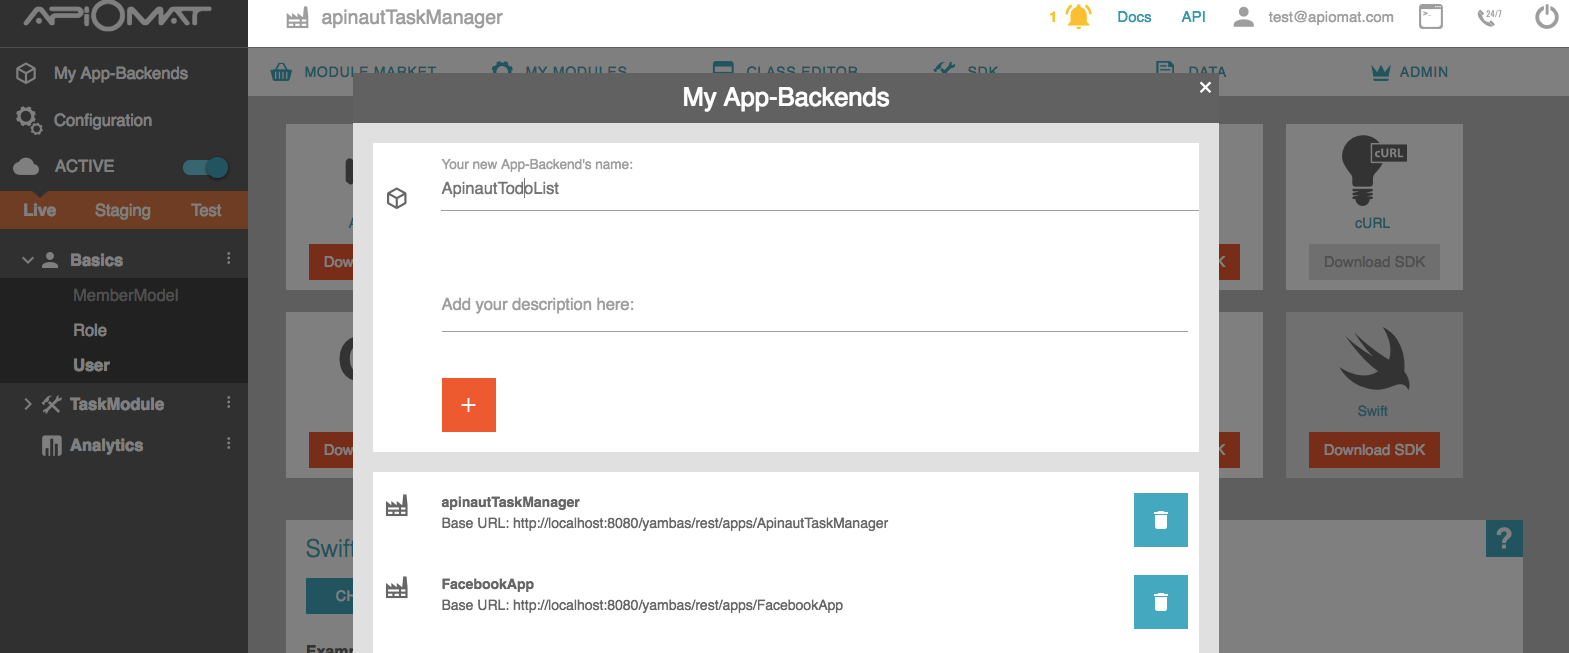
2. Now enter a unique name for your application e.g. “YourNameTodoList”.
Since we plan to give developers the opportunity to share projects, application names must be unique in the system. You do not need any of the predefined modules in this tutorial.
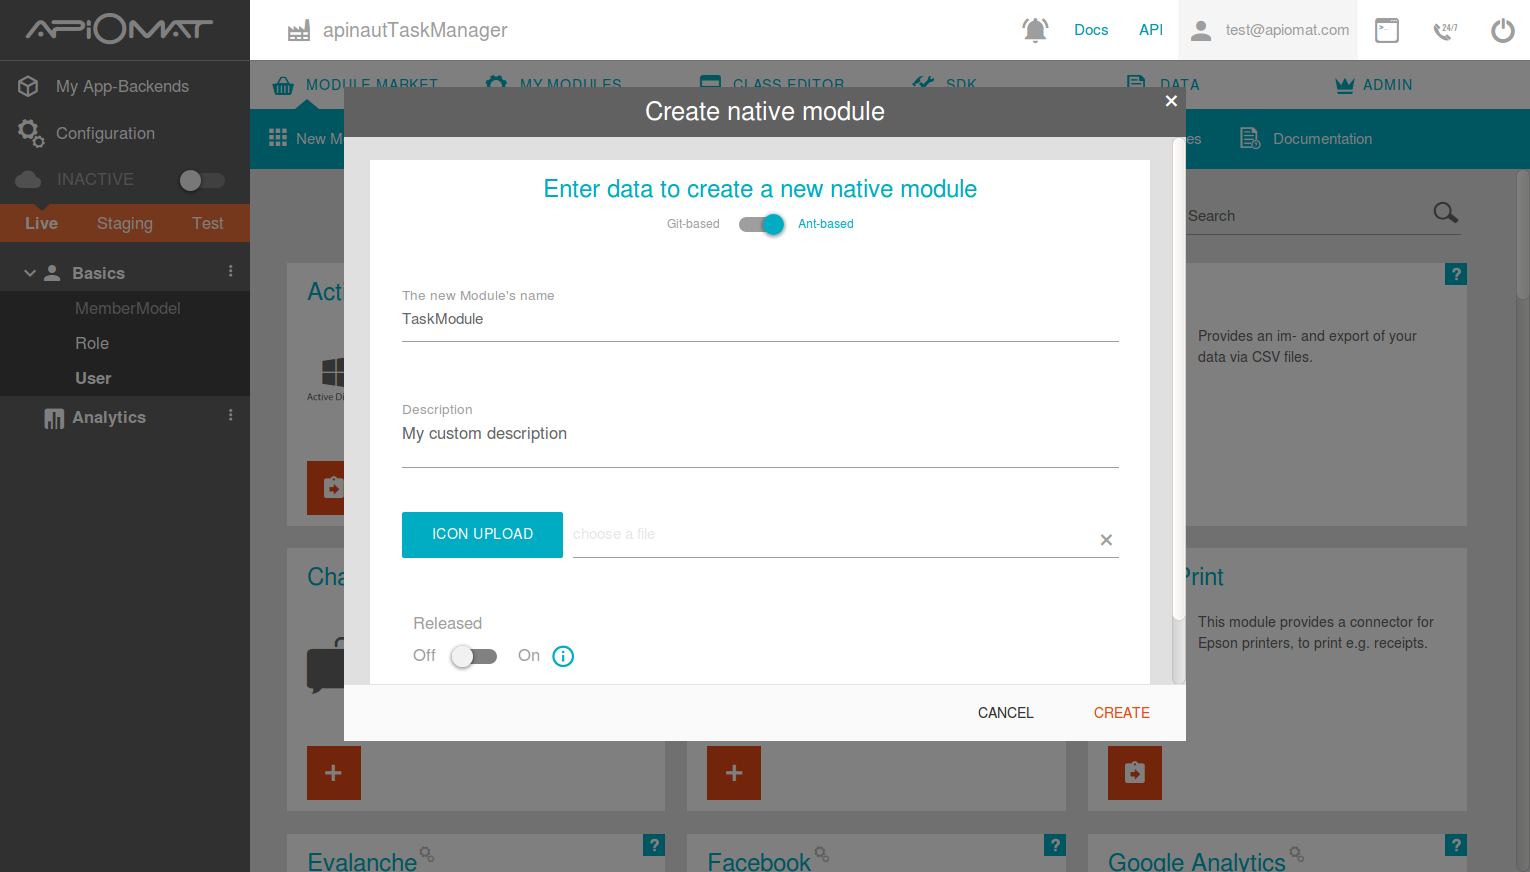
3. Create a new module by going to the Module Market and clicking on "New Module" in the submenu. Choose a name and description and click "CREATE".
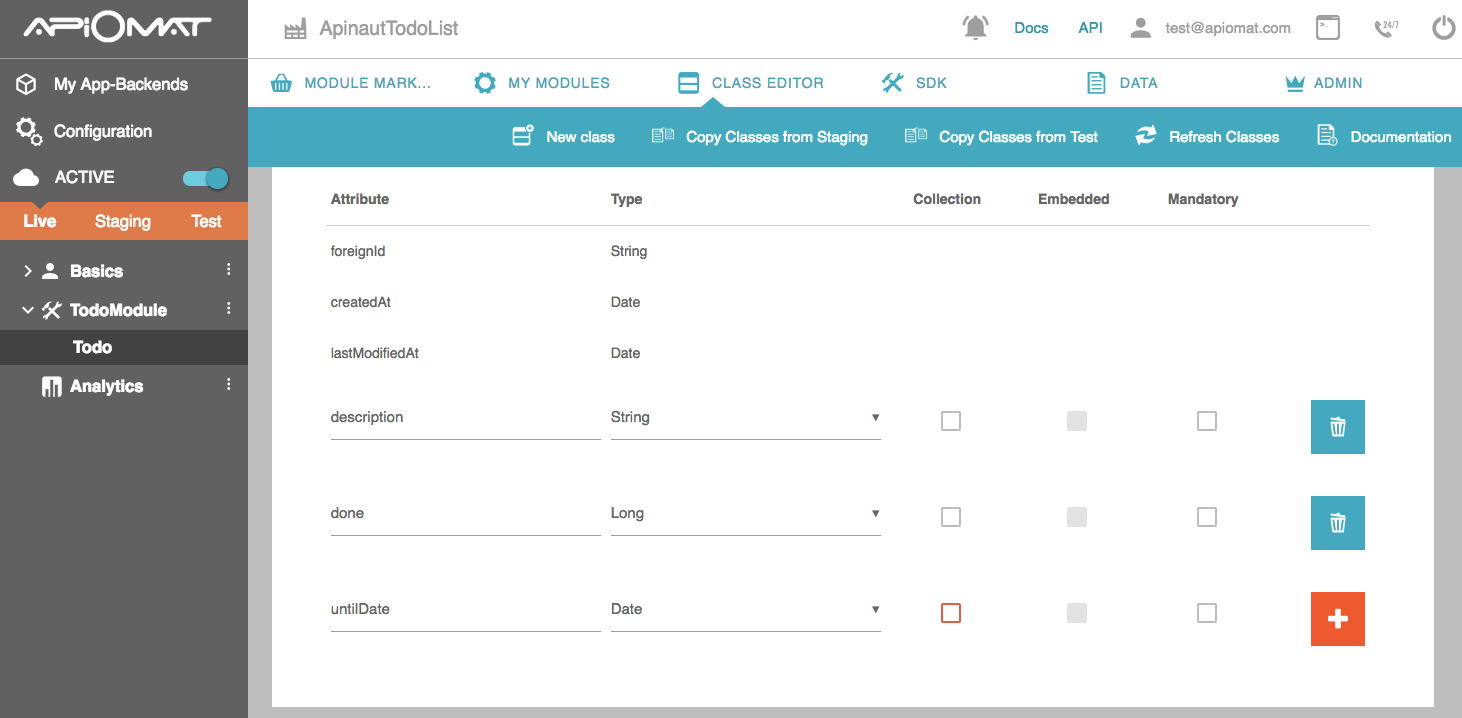
4. Go to the “Class Editor”-Tab to create a class in our backend. You will be asked for a class name after entering the tab. Call the first class “Todo”. Scroll down to the attributes and add a String “description”, a Number “done” and a Date “untilDate”.
5. Deploy your Backend by pressing the “Deploy”-Button.
6. Go to SDK Tab and download the Android or AndroidSQLite library by pressing “Download SDK” button. You will get a zip file with your generated classes and all necessary libraries.

7. Start Android Studio and create a new project. You should be able to run the project on an emulator or a connected Android device.
8. Copy the folder “com” from the downloaded SDK into the project (just drag and drop from the explorer). When you run the project with the Android SQLite SDK, there will be compile errors because some third-party libraries are missing.
Then you have to add the following third-party libraries to your gradle file (only needed when using the new Android SQLite SDK):
-
Jackson version 2.9.2
Add jitpack.io to your project's repositories: Gradle
allProjects { repositories { google() jcenter() maven { url "https://www.jitpack.io" } }}Add artifacts to your project: Gradle
dependencies { ... //DiskLlruCache implementation 'com.jakewharton:disklrucache:2.0.2' //Jackson implementation 'com.fasterxml.jackson.core:jackson-core:2.9.7' implementation 'com.fasterxml.jackson.core:jackson-annotations:2.9.7' implementation 'com.fasterxml.jackson.core:jackson-databind:2.9.7' //DBFlow annotationProcessor "com.github.Raizlabs.DBFlow:dbflow-processor:4.2.4" implementation "com.github.Raizlabs.DBFlow:dbflow-core:4.2.4" implementation "com.github.Raizlabs.DBFlow:dbflow:4.2.4"}