iOS Tutorial Push
This tutorial demonstrates how to write an iOS app with the ability to receive push messages. You can use either Objective-C or Swift for this tutorial, as ApiOmat supports both programming languages with SDKs and as code snippets are also included.
First, you have to register at the Apple Push Notification Service (APNS) to be able to receive push notifications.
1 Enabling Apple's Push Notification Service
Initially, you need to create an App ID in your developer account that has the push notification entitlement enabled. You can do this by creating and configuring the App ID in your Apple Developer Account, but it's easier to let Xcode do it for you.
Choose your app target in the Xcode project, go to Capabilities and turn on Push Notifications.
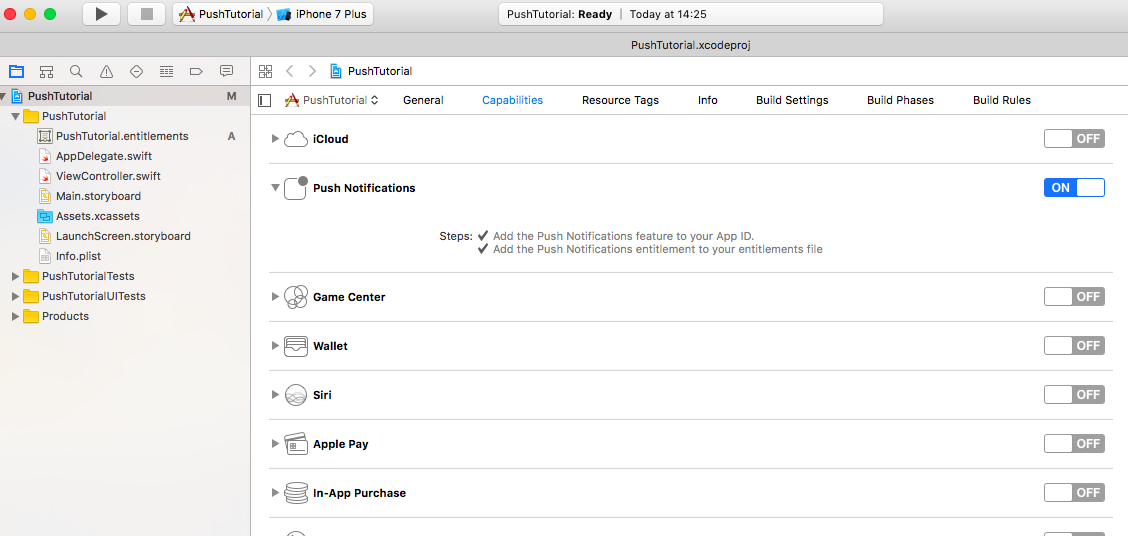
Behind the scenes, Xcode creates the App ID in your member center and adds the push notifications entitlement to it.
To check if it worked, login into Apples' member center and choose your App ID in Certificates, Identifiers & Profiles area. You should see a configuration like this:
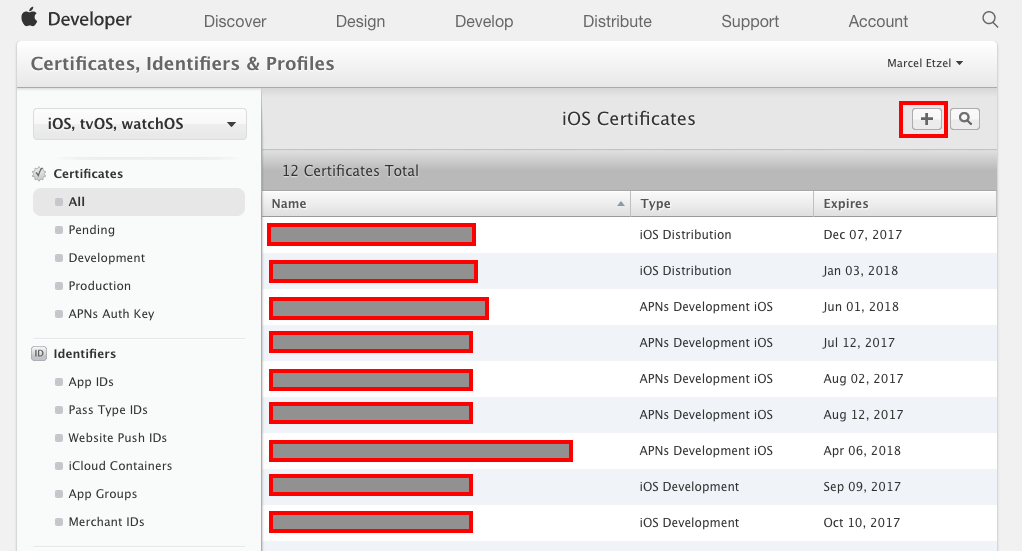
Click Edit and scroll down to Push Notifications. Here, you can obtain the SSL Certificate that you need for configuring the backend later. Follow these steps to do that:
-
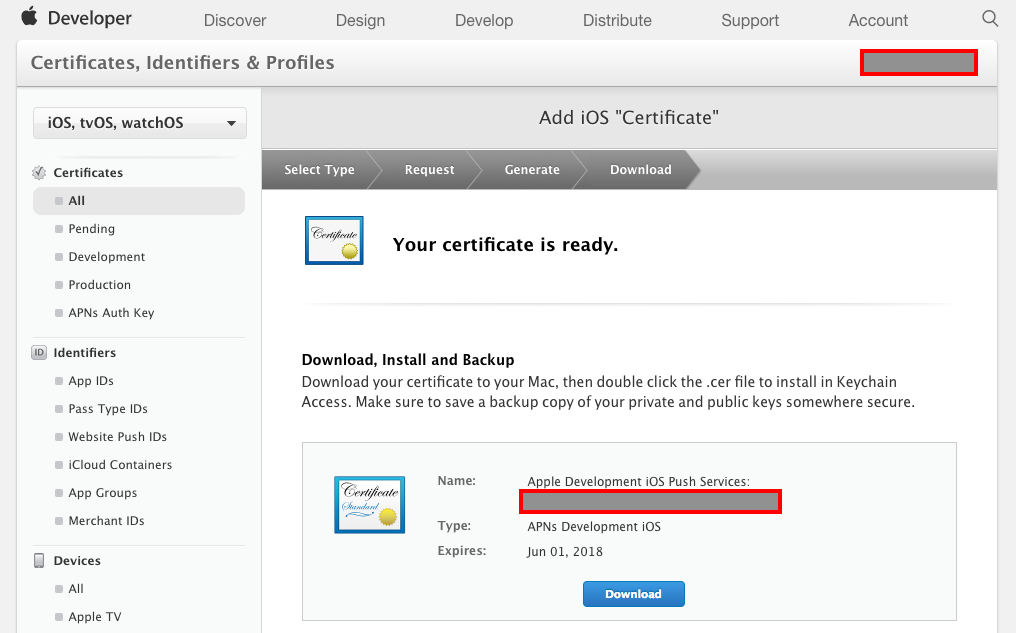
In Development SSL Certificate, click Create Certificate and follow the steps to generate and download the certificate.
-
Run (double-click) the downloaded certificate to add it to your Keychain.
-
Right-click on the generated certificate in your Keychain and choose Export. You will be prompted to enter a password. This generates a .p12 file, which you'll use for configuring the backend in the next step.
2 Setting up the Backend
-
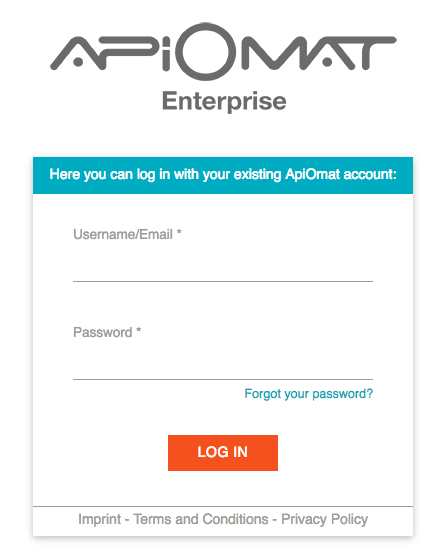
Log into your account. If you don‘t have an account yet, sign up by clicking "Don't have an account yet?”.
-
You're now logged into the dashboard. If you haven‘t created a backend yet, you will be asked to create one. Enter a name and description for your backend.

-
On the first dashboard page, called the module market, you see all the available modules. Add the Push Module to your backend by clicking "+" right next to the module's name.
-
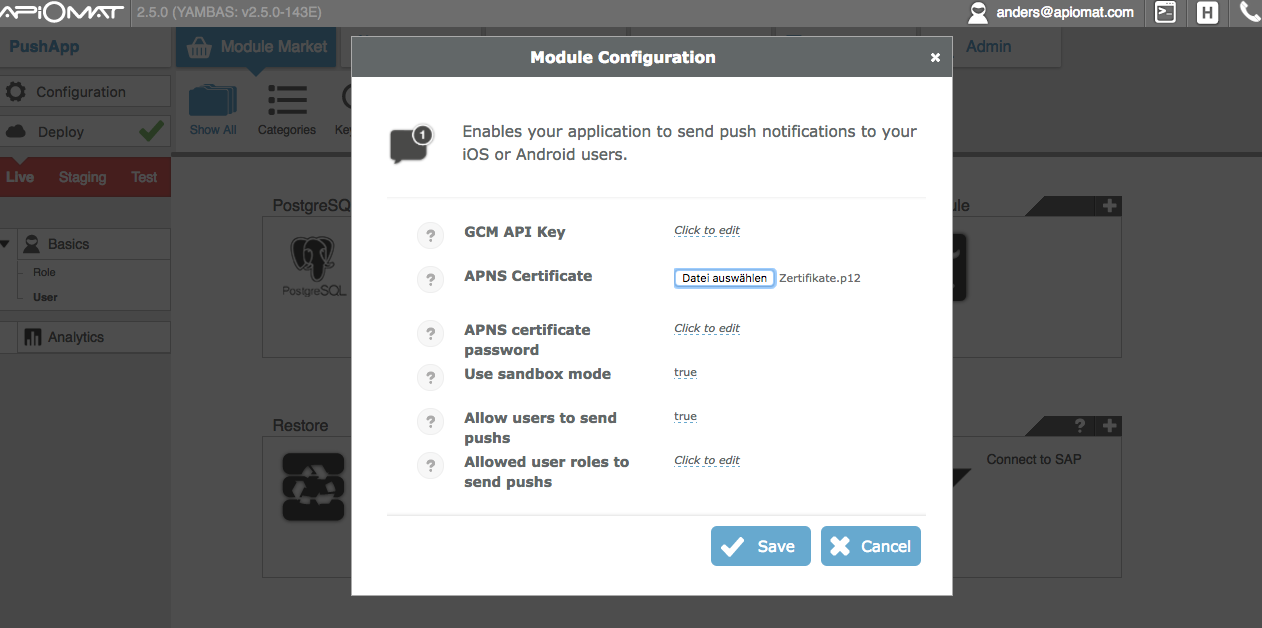
When the dialogue appears, upload the .p12 file that we have created in the last step in the field APNS certificate, enter the password and confirm with 'Save'.
Passwordless Certificates
Please note that passwordless certificates are not supported when sending push notifications with ApiOmat.
-
Go to the SDK tab, choose Objective-C or Swift and download the SDK. The downloaded .ZIP archive contains all classes and resources you'll need.
-
Unzip the .ZIP archive and drag the unzipped folder into your Xcode project.
Now you're ready to write code.
3 Registering for Push Notifications
Now in your app's code, you need to register for push notifications to be able to receive them.
First, you need to ask for the user’s permission. Open the project's AppDelegate and add the following code to do so:
Swift
@available(iOS 10.0, *)import UserNotificationsfunc application(_ application: UIApplication, didFinishLaunchingWithOptions launchOptions: [UIApplication.LaunchOptionsKey: Any]?) -> Bool { registerForPushNotifications(application) return true}func registerForPushNotifications(application: UIApplication) { if (@available(iOS 10.0, *)) { UNUserNotificationCenter.current().delegate = self UNUserNotificationCenter.current().requestAuthorization(options: [.badge, .sound, .alert], completionHandler: {(granted, error) in if (granted) { UIApplication.shared.registerForRemoteNotifications() } else{ //Do stuff if unsuccessful... } }) } else { let notificationSettings = UIUserNotificationSettings(forTypes: [.Badge, .Sound, .Alert], categories: nil) application.registerUserNotificationSettings(notificationSettings) }}Objective-C
- (void)registerForPushMotifications:(UIApplication *)app { UIUserNotificationSettings *settings = [UIUserNotificationSettings settingsForTypes:(UIUserNotificationTypeAlert | UIUserNotificationTypeBadge | UIUserNotificationTypeSound) categories:nil]; [app registerUserNotificationSettings:settings]; }
Call this method in AppDelegates didFinishLaunchingWithOptions method. Now, when you start the app, the following prompt should appear that asks the user for permission.

When the user accepts or declines permissions, the delegate method application(_:didRegisterUserNotificationSettings:) gets called. Add this method inside AppDelegate:
Swift
iOS < 10.0func application(application: UIApplication, didRegisterUserNotificationSettings notificationSettings: UIUserNotificationSettings) { if notificationSettings.types != .None { application.registerForRemoteNotifications() }}Objective-C
- (void)application:(UIApplication *)application didRegisterUserNotificationSettings:(UIUserNotificationSettings *)notificationSettings { if (notificationSettings.types != UIUserNotificationTypeNone) { [application registerForRemoteNotifications]; }}
Here, you first check whether the user accepted any notification permissions. If that's the case, you register for notifications.
If the registration was successful, another delegate method gets called, where you have access to the device token:
Swift
func application(_ application: UIApplication, didRegisterForRemoteNotificationsWithDeviceToken deviceToken: Data) { let deviceTokenString = deviceToken.map { String(format: "%02.2hhx", $0) }.joined() print("Device Token:", tokenString)}Objective-C
- (void)application:(UIApplication *)application didRegisterForRemoteNotificationsWithDeviceToken:(NSData *)devToken { NSString *tokenString = [[deviceToken description] stringByTrimmingCharactersInSet: [NSCharacterSet characterSetWithCharactersInString:@"<>"]]; tokenString = [token stringByReplacingOccurrencesOfString:@" " withString:@""]; NSLog(@"Device token: %@", tokenString);}
This device token is like a phone number, it contains information that enables APNs to locate the device in which your app is installed.
Add the following method to the AppDelegate to be notified if the registration has failed:
Swift
func application(_ application: UIApplication, didFailToRegisterForRemoteNotificationsWithError error: Error) { print("Failed to register:", error)}Objective-C
- (void)application:(UIApplication *)app didFailToRegisterForRemoteNotificationsWithError:(NSError *)error { NSLog(@"Failed to register %@", error);}
Be aware that you need to run the application on a real device to test this, as the registration won't work in a simulator.
After you've successfully received the device token, the only thing left to do is to create a user and attach the device token:
Swift
user.deviceToken = deviceTokenuser.save { (error) in // Handle error.}Objective-C
[user setDeviceToken:deviceToken];[user saveAsyncWithBlock:^(NSError *error) { // Handle error.}];
Let's go!
To test whether it works, we'll send a push message from the dashboard to our device
-
Start the app on your iOS device.
-
Switch back into the dashboard of ApiOmat.
-
Click the tab My Modules and then the button “Push”.

-
Click “Send”.
-
Check your iOS device for the notification.