Editing Canvas
By double-clicking on the screens within your project map the editing canvas will appear.
Here you can style and modify specific screens.
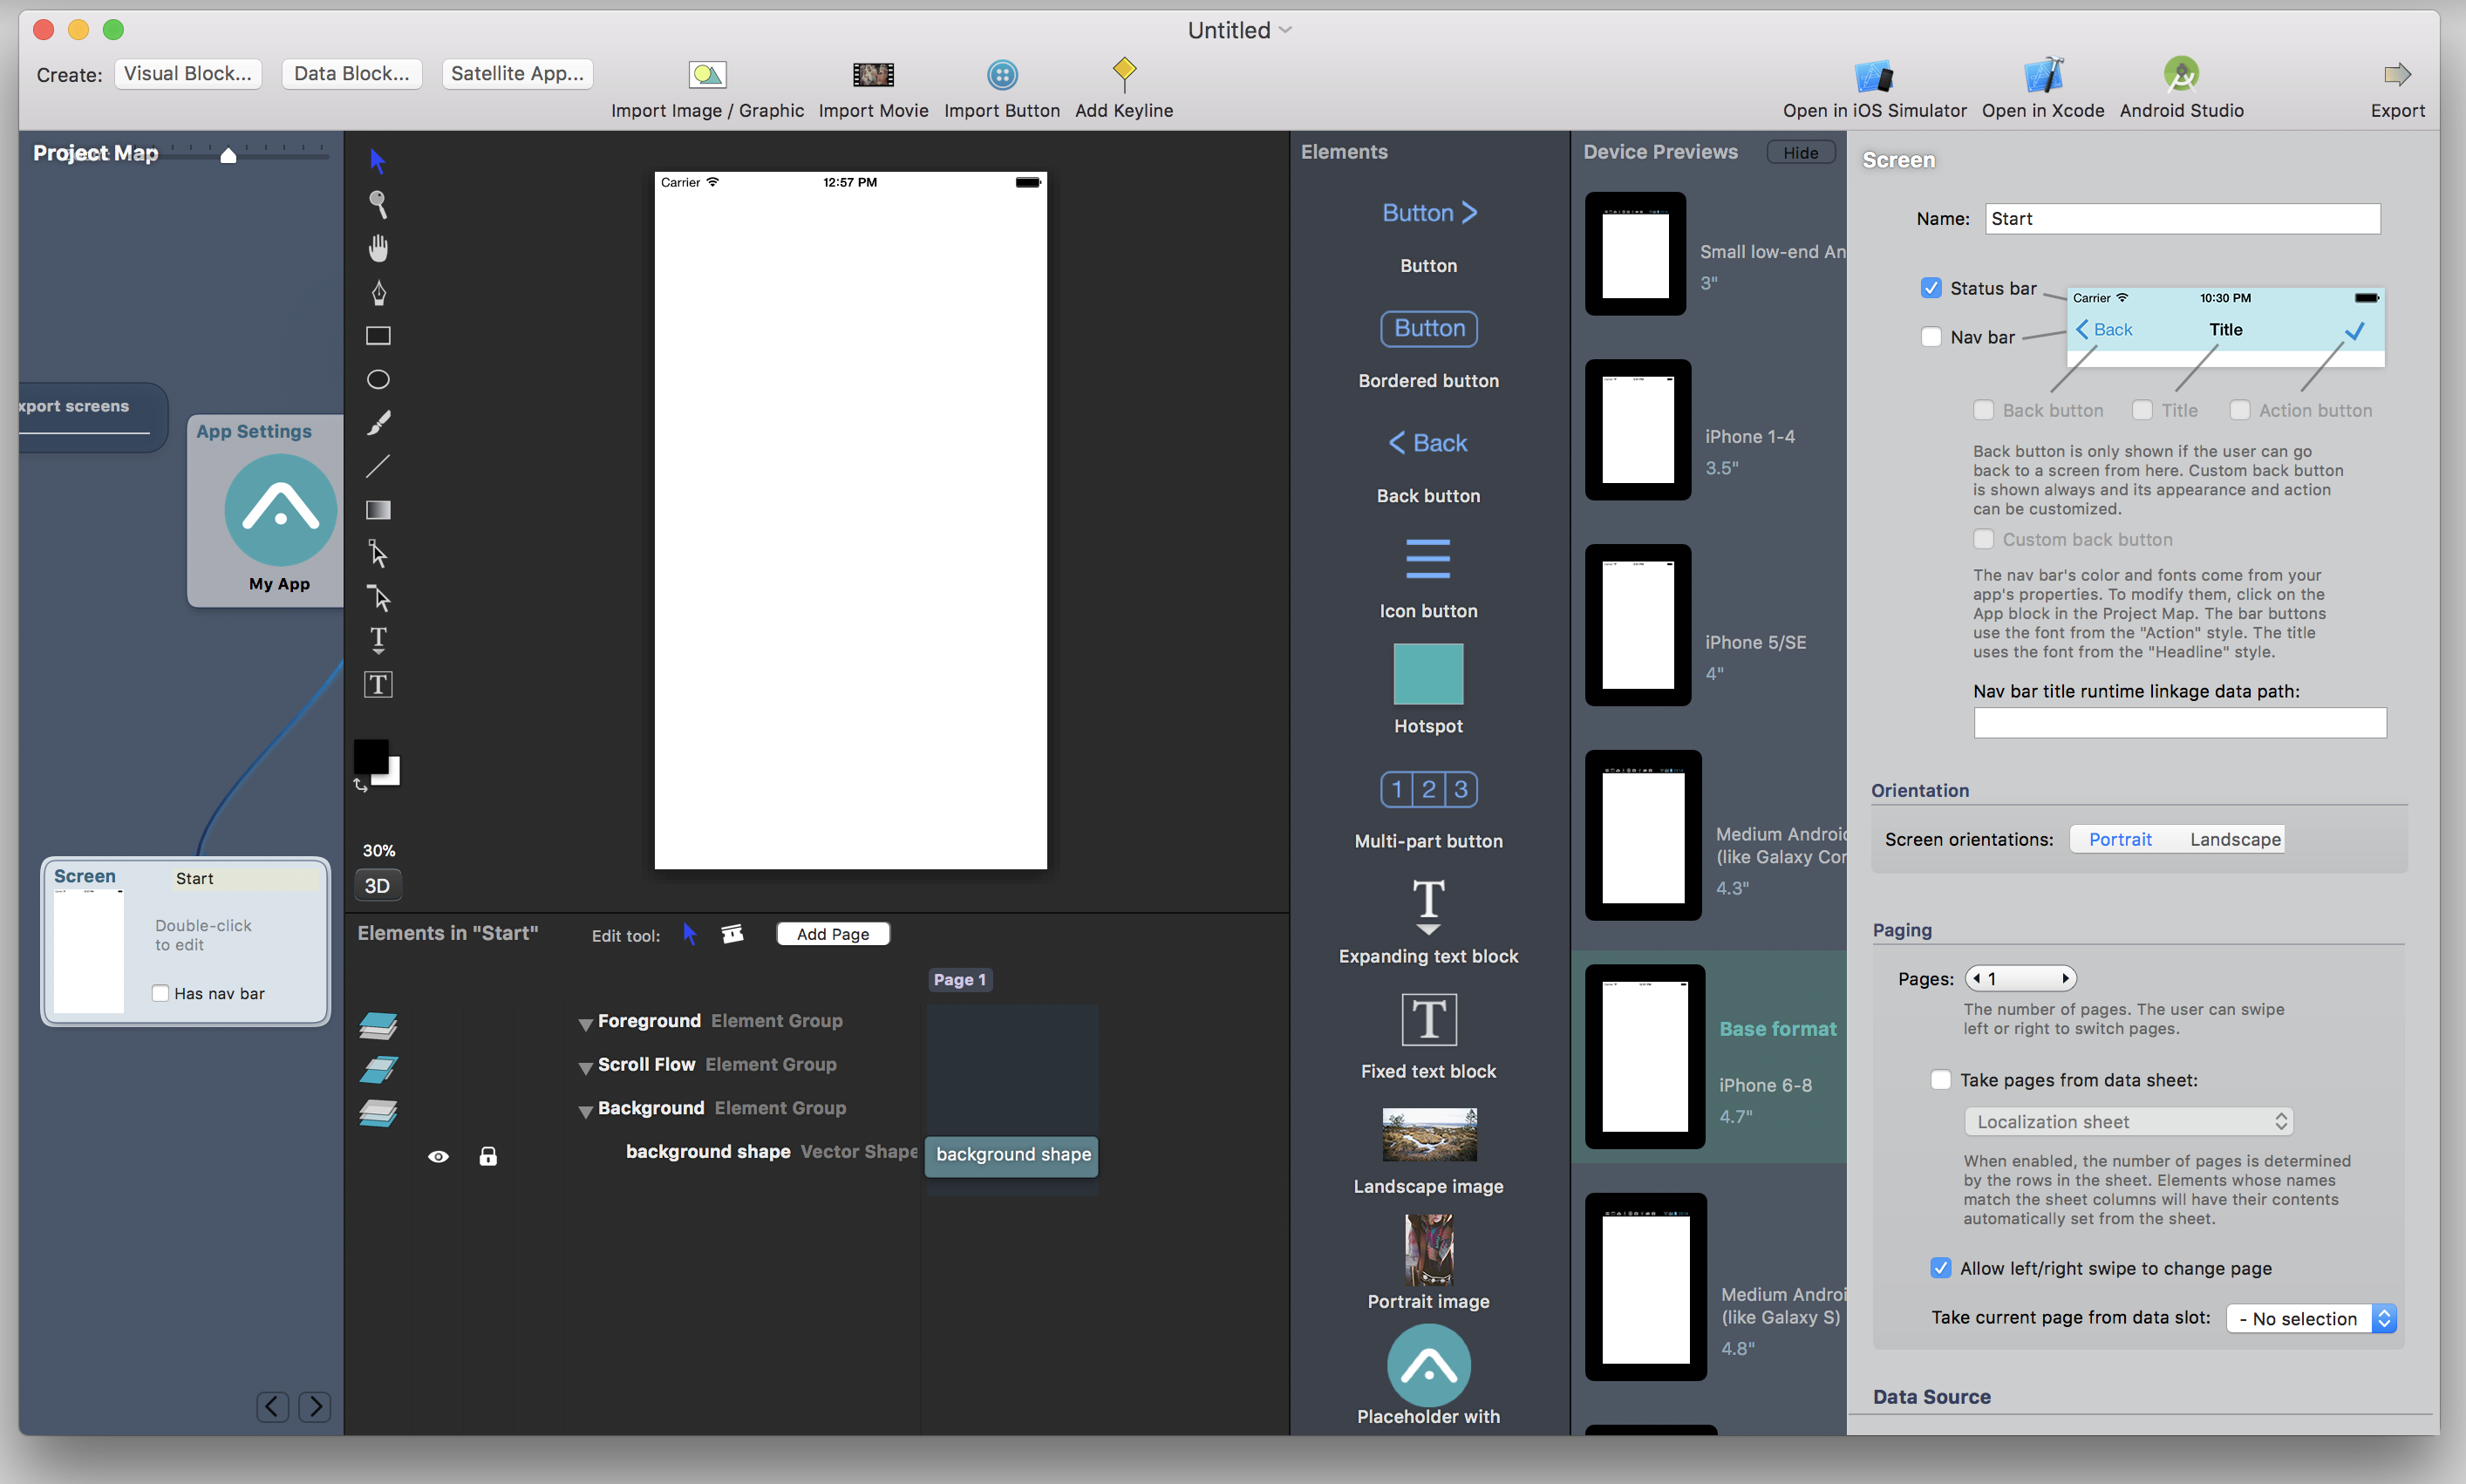
On the left side there is a tool bar. These are commonly known from image editing software: Select tool, Zoom and Pan, drawing tools like Rectangle, Pen and Brush, Text, etc.

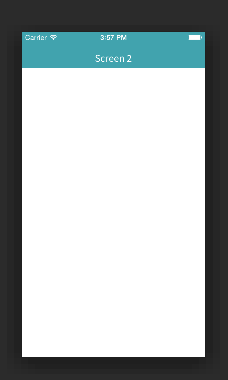
Right next to them in the middle of the screen, you will find the drawing canvas that displays how you screen will appear.
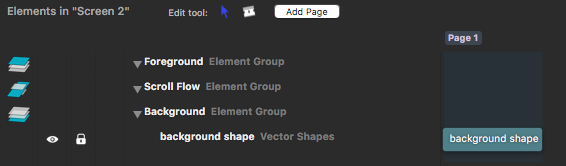
Below is the screen flow, which is also familiar to tools like Photoshop or Sketch. Here you can see how your screen is split into layers.
To the right of the drawing canvas, you have the elements tool bar. You can drag and drop the visual elements to design your screen with elements such as buttons, icons, images, texts or lists.

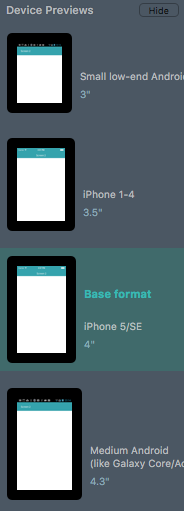
ApiOmat Studio supports responsive app design out of the box. In the Device Previews column, you can see how your app will appear on individual devices. By selecting a different device, you can make changes to how your app looks on that specific device.
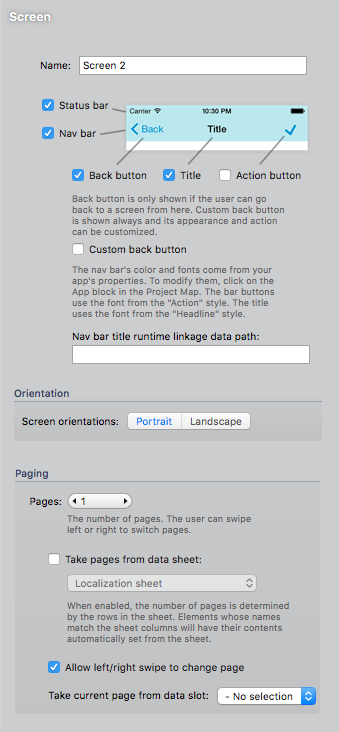
On the far right we have the screen settings menu. Here we can customize the navigation bar, change the data source, set the screen orientation amoungst other things.