Java Tutorial TaskManager
In this tutorial you will learn to:
-
set up a backend with a custom class “Task”.
-
deploy the backend
-
create a simple Java-Project with the generated sdk
-
set up the connection to the backend and create a User
-
have a look at the data in your backend
-
create Task-Objects in Java and store it in the backend
-
query data from the backend
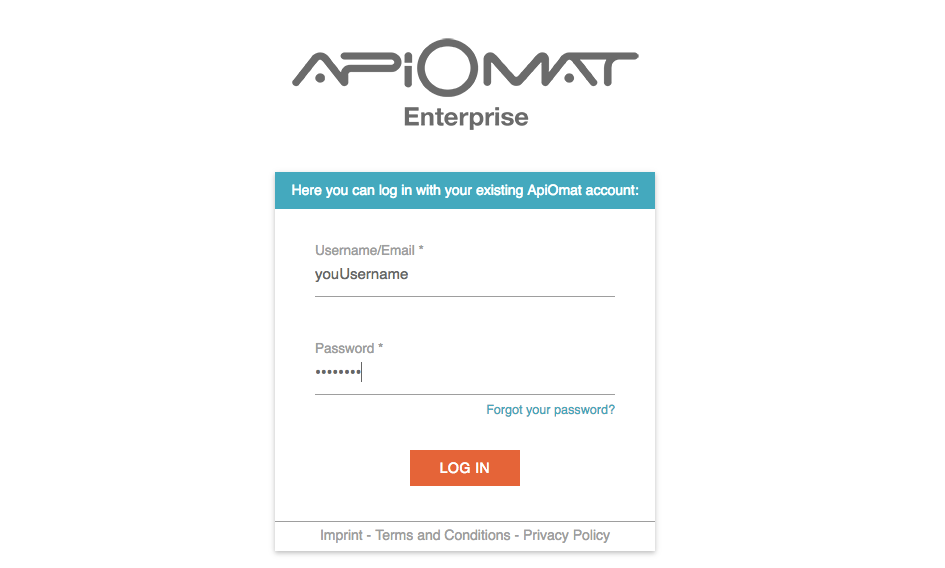
1. Log into your account. If you don't have an account, contact the administrator of the ApiOmat instance from your company.
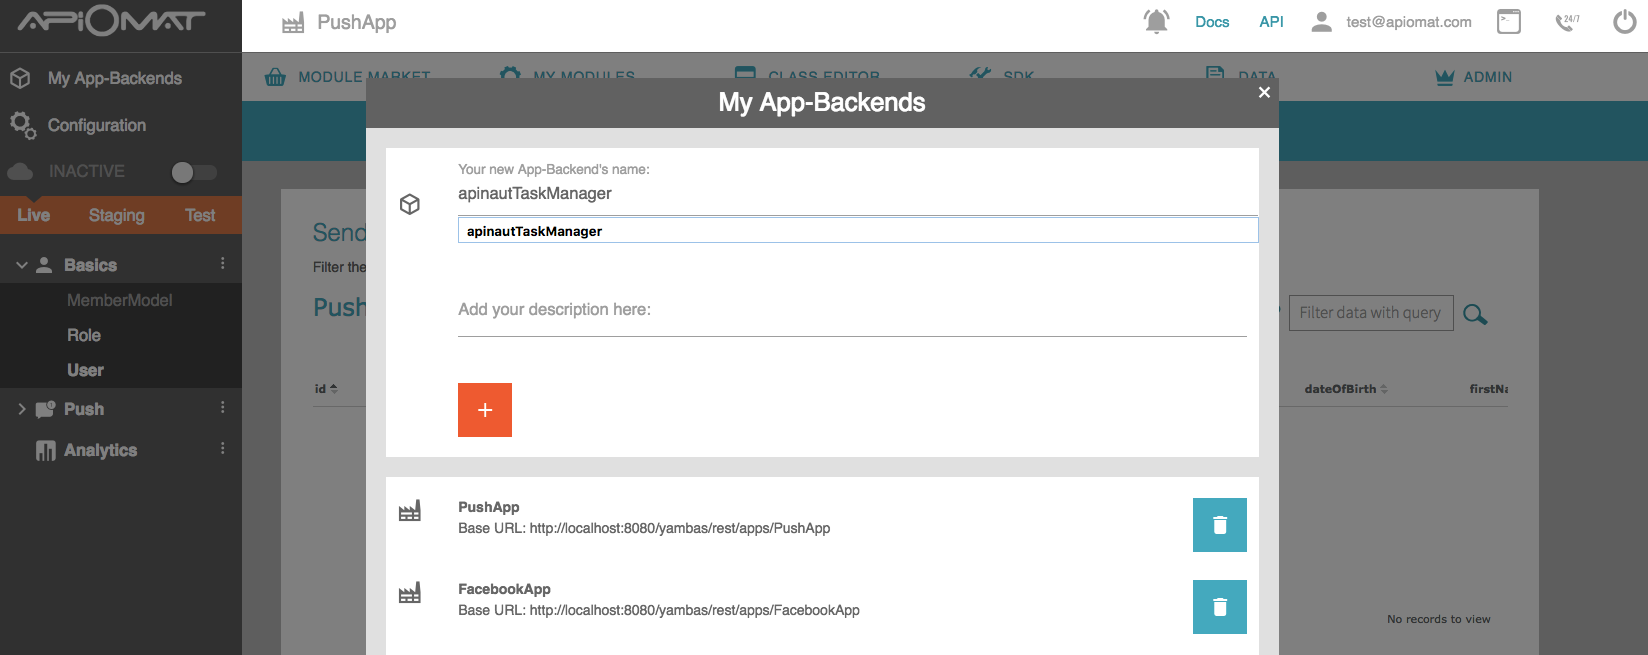
2. Now enter a unique name for your application e.g. “YourNameTaskManager”.
Since we plan to give developers the opportunity to share projects application names must be unique in the system. You do not need any of the predefined modules in this tutorial.
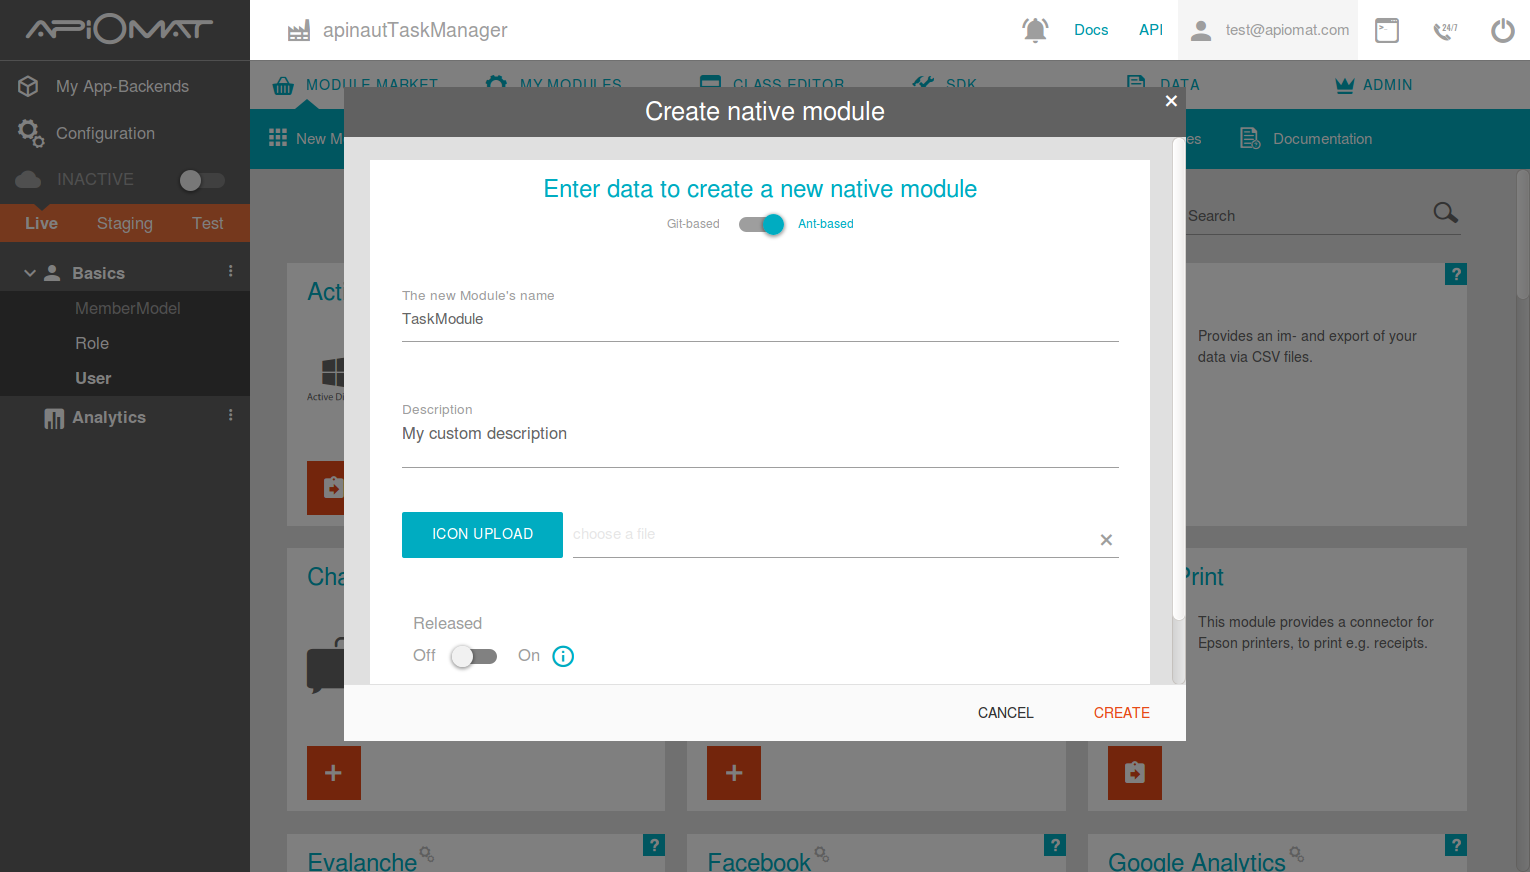
3. Create a new module by going to the Module Market and clicking on "New Module" in the submenu. Choose a name and description and click "CREATE".
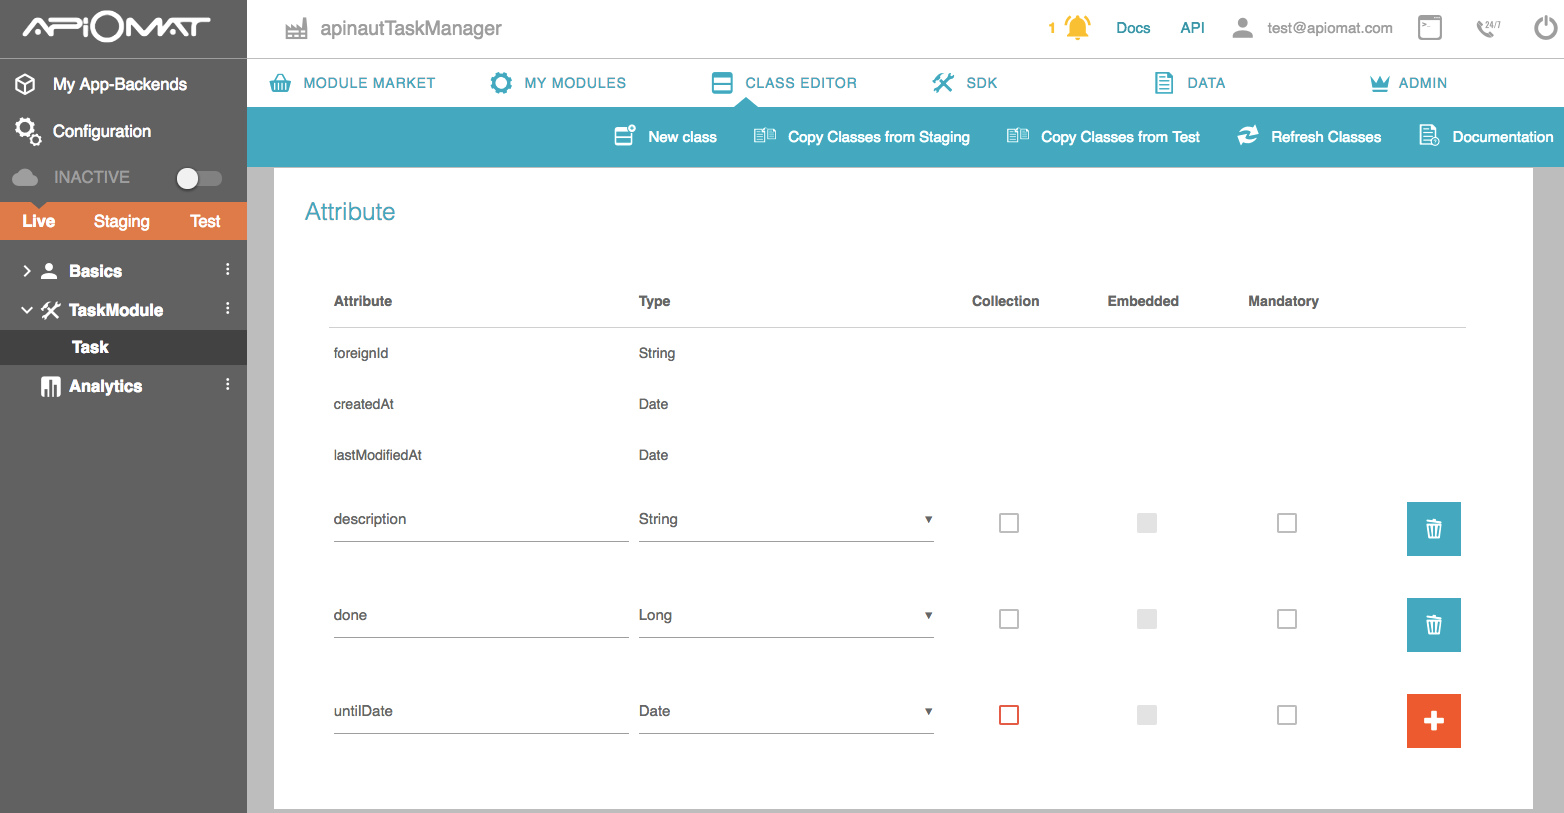
4. Go to the "Class Editor"- Tab to create a class in our backend. You will be asked for a class name after entering the tab. Just call the first class „Task“. Scroll down to the attributes and add a String “description”, a Number “done” and a Date “untilDate”.
5. Deploy your Backend by pressing the “Deploy”-Button.
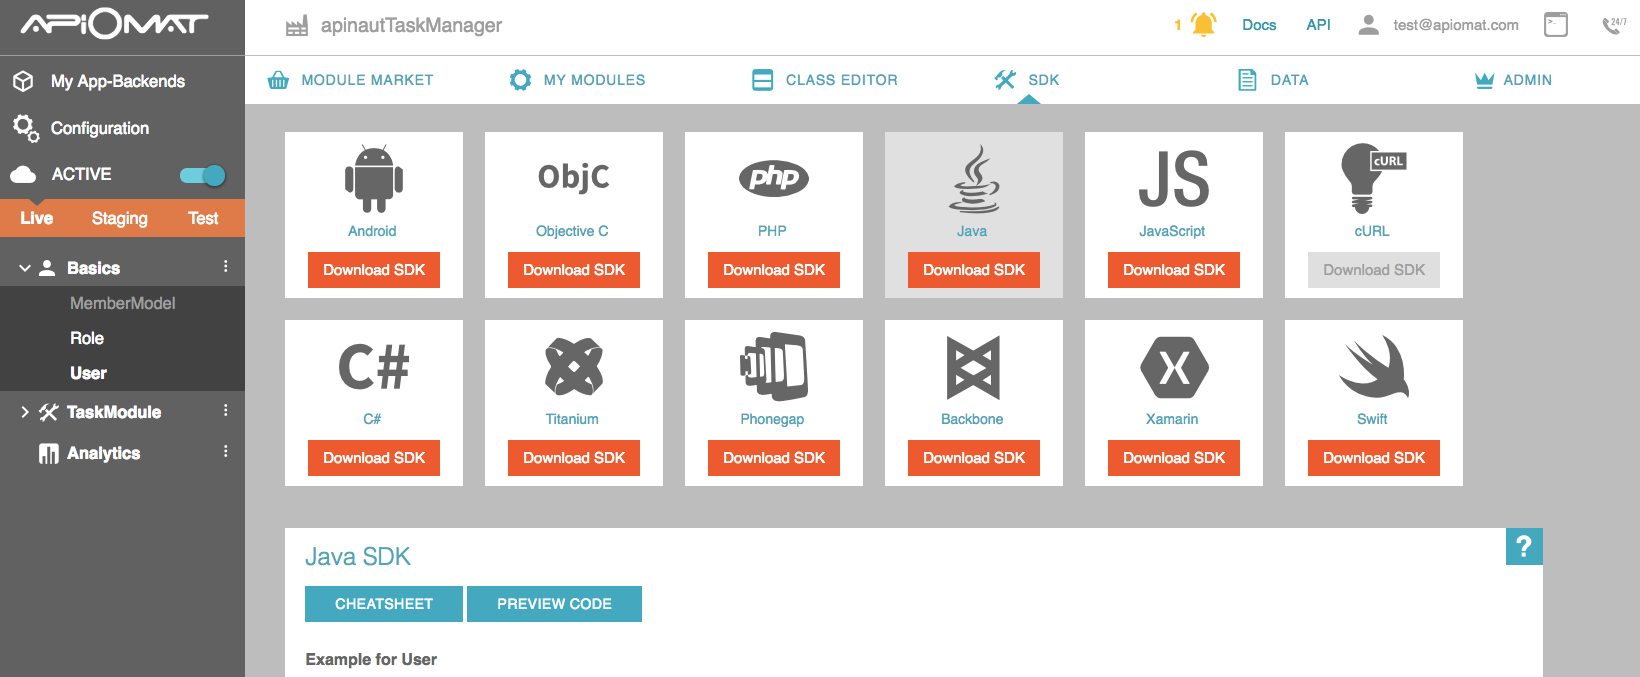
6. Go to SDK-tab. Scroll down to Java. Press the Button "Download SDK". You will get a zip file with your generated classes and all necessary libs.
7. Now set up a java project in Eclipse. Add the lib-folder to your project and add all included .jars to your projects build path. Add the folders "com" and "rpc" in your project's src-Folder.
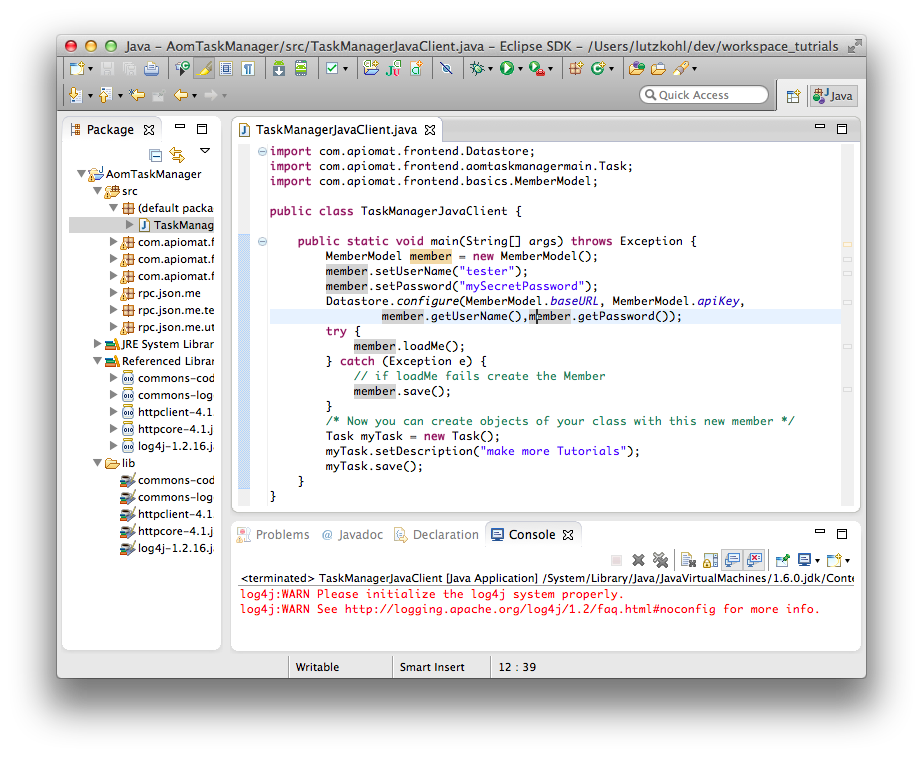
8. Now you are ready to go. Create a class "ClientExample" with the following code:
Java
import java.util.List;import com.apiomat.frontend.Datastore;import com.apiomat.frontend.yournametaskmanagermain.Task;import com.apiomat.frontend.basics.User;public class ClientExample{ public static void main(String[] args) throws Exception { User user = new User(); user.setUserName("tester"); user.setPassword("mySecretPassword"); Datastore.configureWithCredentials(User.baseURL, User.apiKey, user.getUserName(),user.getPassword(), User.sdkVersion, User.system); try { user.loadMe(); } catch (Exception e) { // if loadMe fails create the user user.save(); } }}
Note that the import
import com.apiomat.frontend.yournametaskmanagermain.Task;
depends on the name of your Backend App. So in general:
import com.apiomat.frontend.NAMEOFYOURAPP.Task;
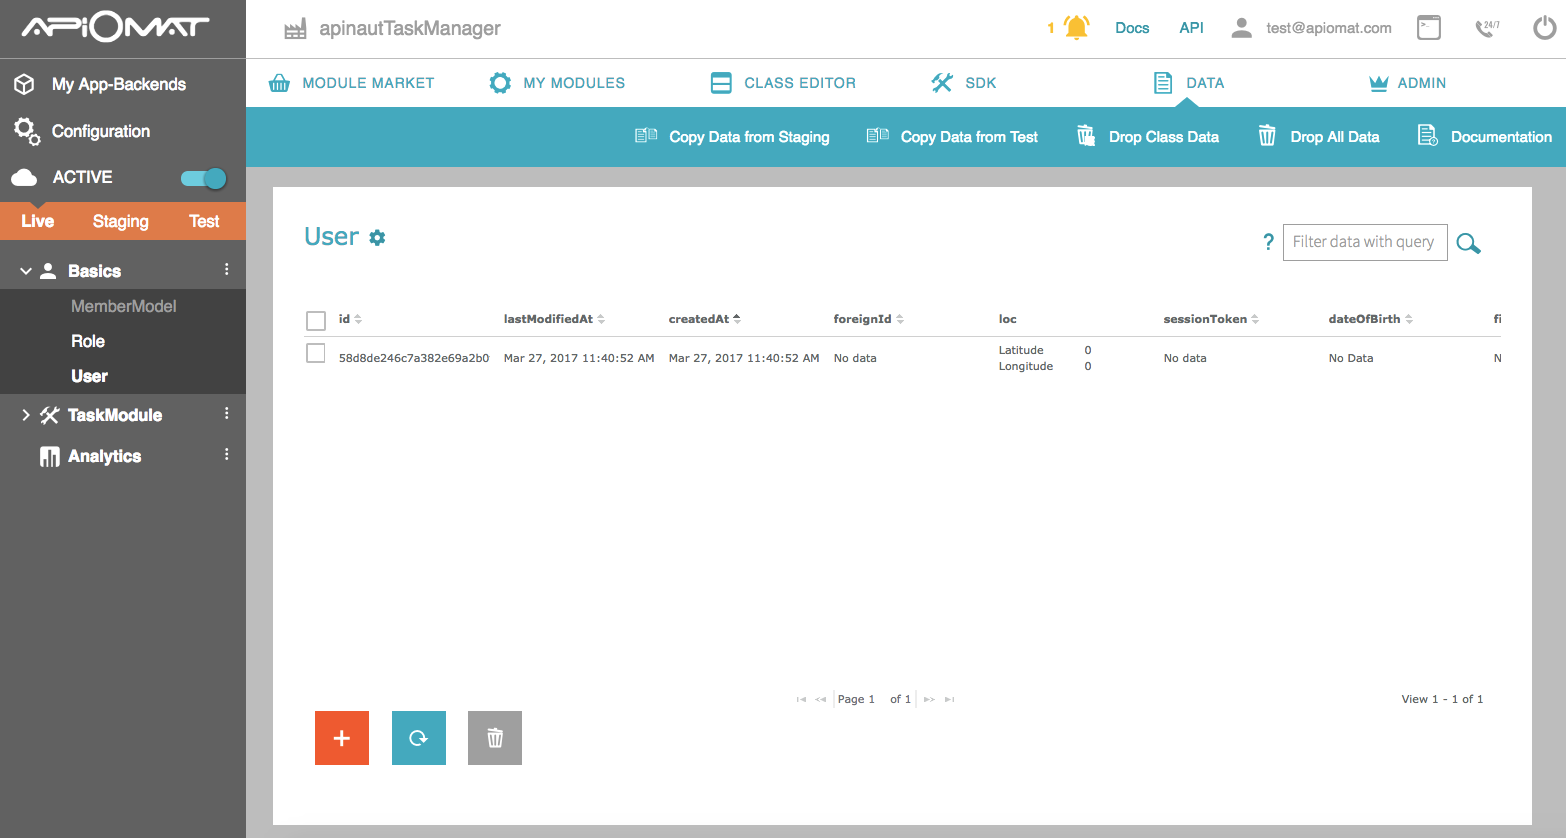
9. Your Backend and your connection are working now. Run your client once and have a look in the Data-Tab of your Dashboard to see the so created user in your Backend.
10. Now let’s play around with the Task-Class. Add the following code at the end of your main-method to create two tasks, one that's done and another that isn’t.
Java
Task myTask = new Task();myTask.setDescription("make Java Tutorials");myTask.setDone(1L);myTask.save();Task myTask2 = new Task();myTask2.setDescription("buy Ice Cream");myTask2.setDone(0L);myTask2.save();
11. Now you can get all Tasks that are not done with a query from the server and iterate over it. Just add the code again at the end of your main method.
Java
List<task> results_done = Task.getTasks( "done==0");for (Task task : results_done) {System.out.println(task.getDescription());}