Setting up the backend
Every app that is built with ApiOmat Studio requires an app backend. The app backend is where data is stored and additional business logic can be written. For our example app, we will create an ApiOmat module to store our information. In our module, we will add the classes "Machine", "AssemblyLine" and "Summary".
Creating a new backend
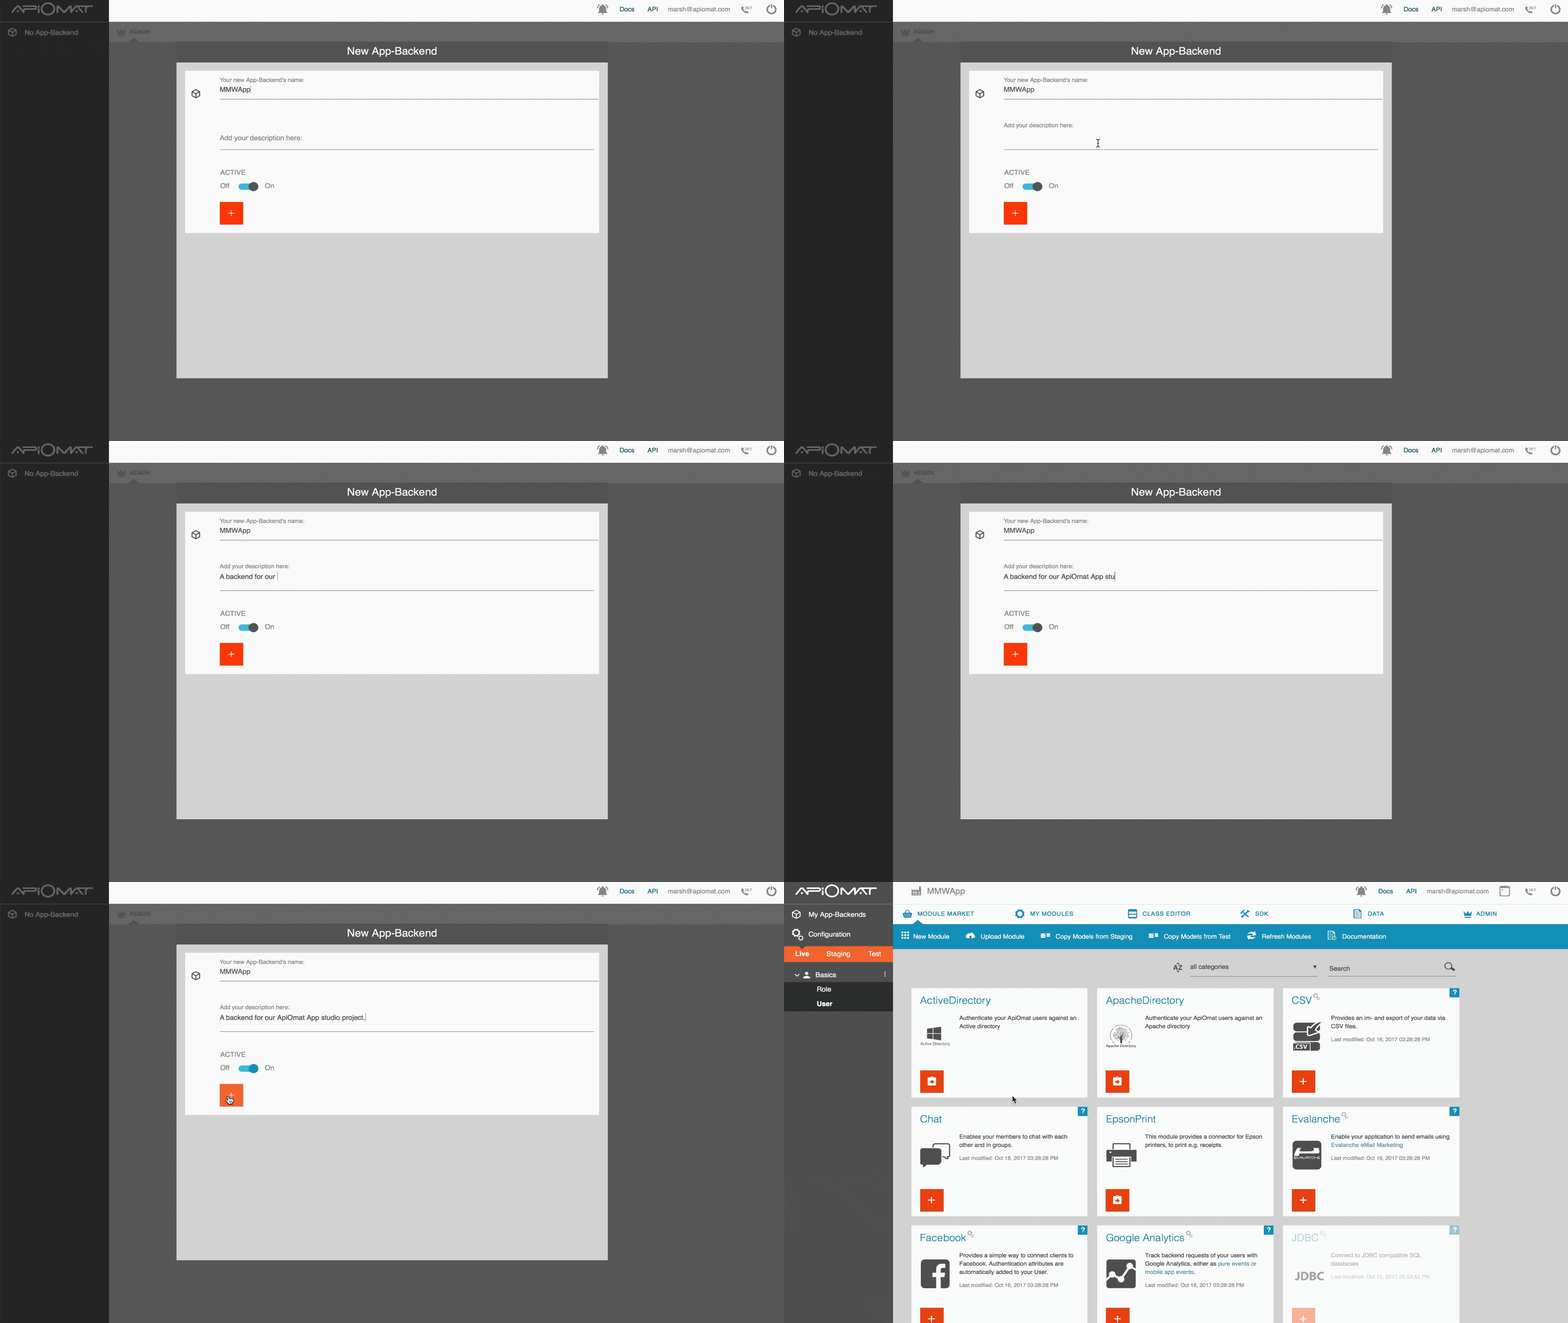
When you log into ApiOmat, you have to create a new backend. If your account does not have a backend you will be prompted to create a backup upon logging in. If you already have a backend, you can create a new backend by clicking on "My App-Backends" in the top left corner of the dashboard. In both cases, you have to give your new app-backend a name and optionally a description. Make sure the "ACTIVE" slider is on and click on the red plus button.
Creating a new module
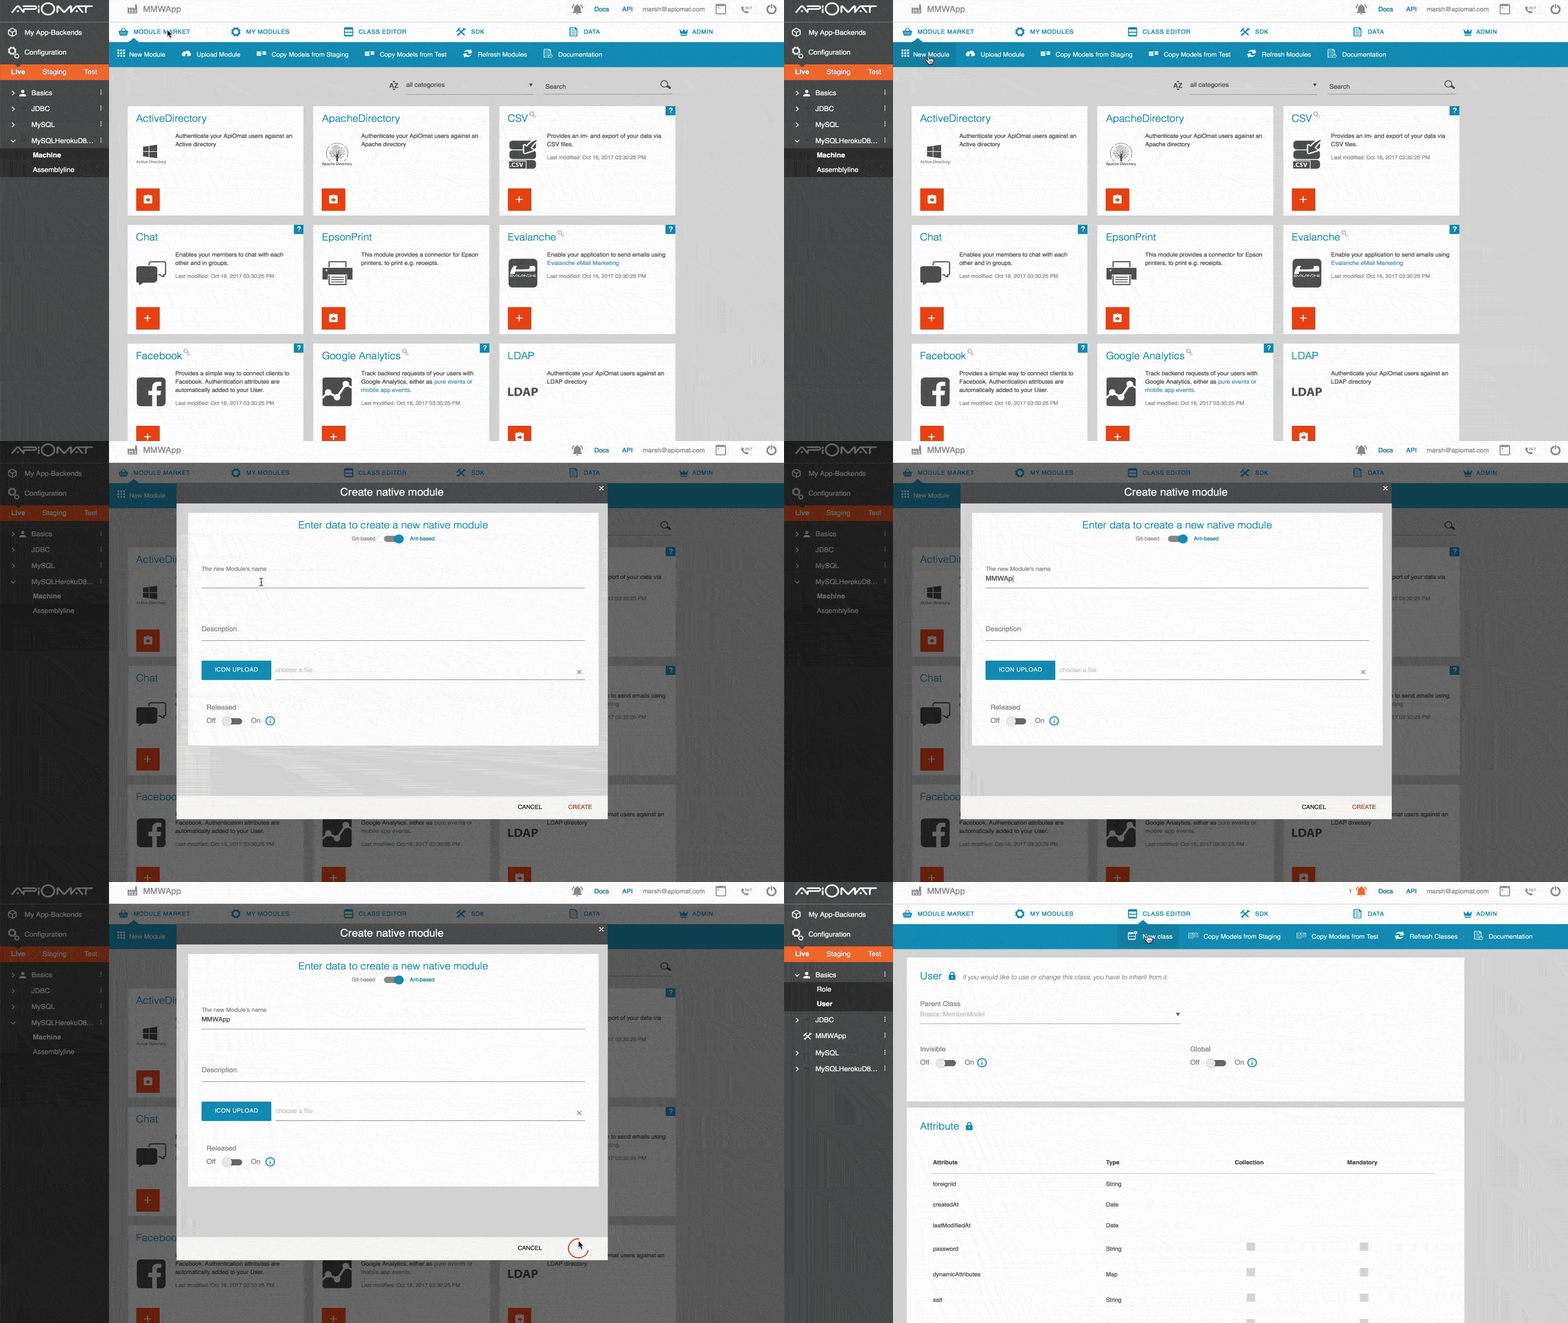
In ApiOmat, we have to create modules that contain the meta-data to store our information. These modules can be reused in multiple applications and also give developers the opportunity to write business logic in Java. To create a new module, click on "New Module". Give the module a name. In this tutorial we will call ours MMWApp. Here you can write a description, upload an icon and publish it to make it accessible to other ApiOmat users.
Defining the classes
Now we have to define our meta-models, and we do so in the "Class Editor" tab. Once you're at the class editor, click on "New Class". In the first field, we have to decide which module we want to add our class to. Select MMWApp and then set the class name to Machine. Repeat the process for AssemblyLine and Summary.
Adding attributes to a class
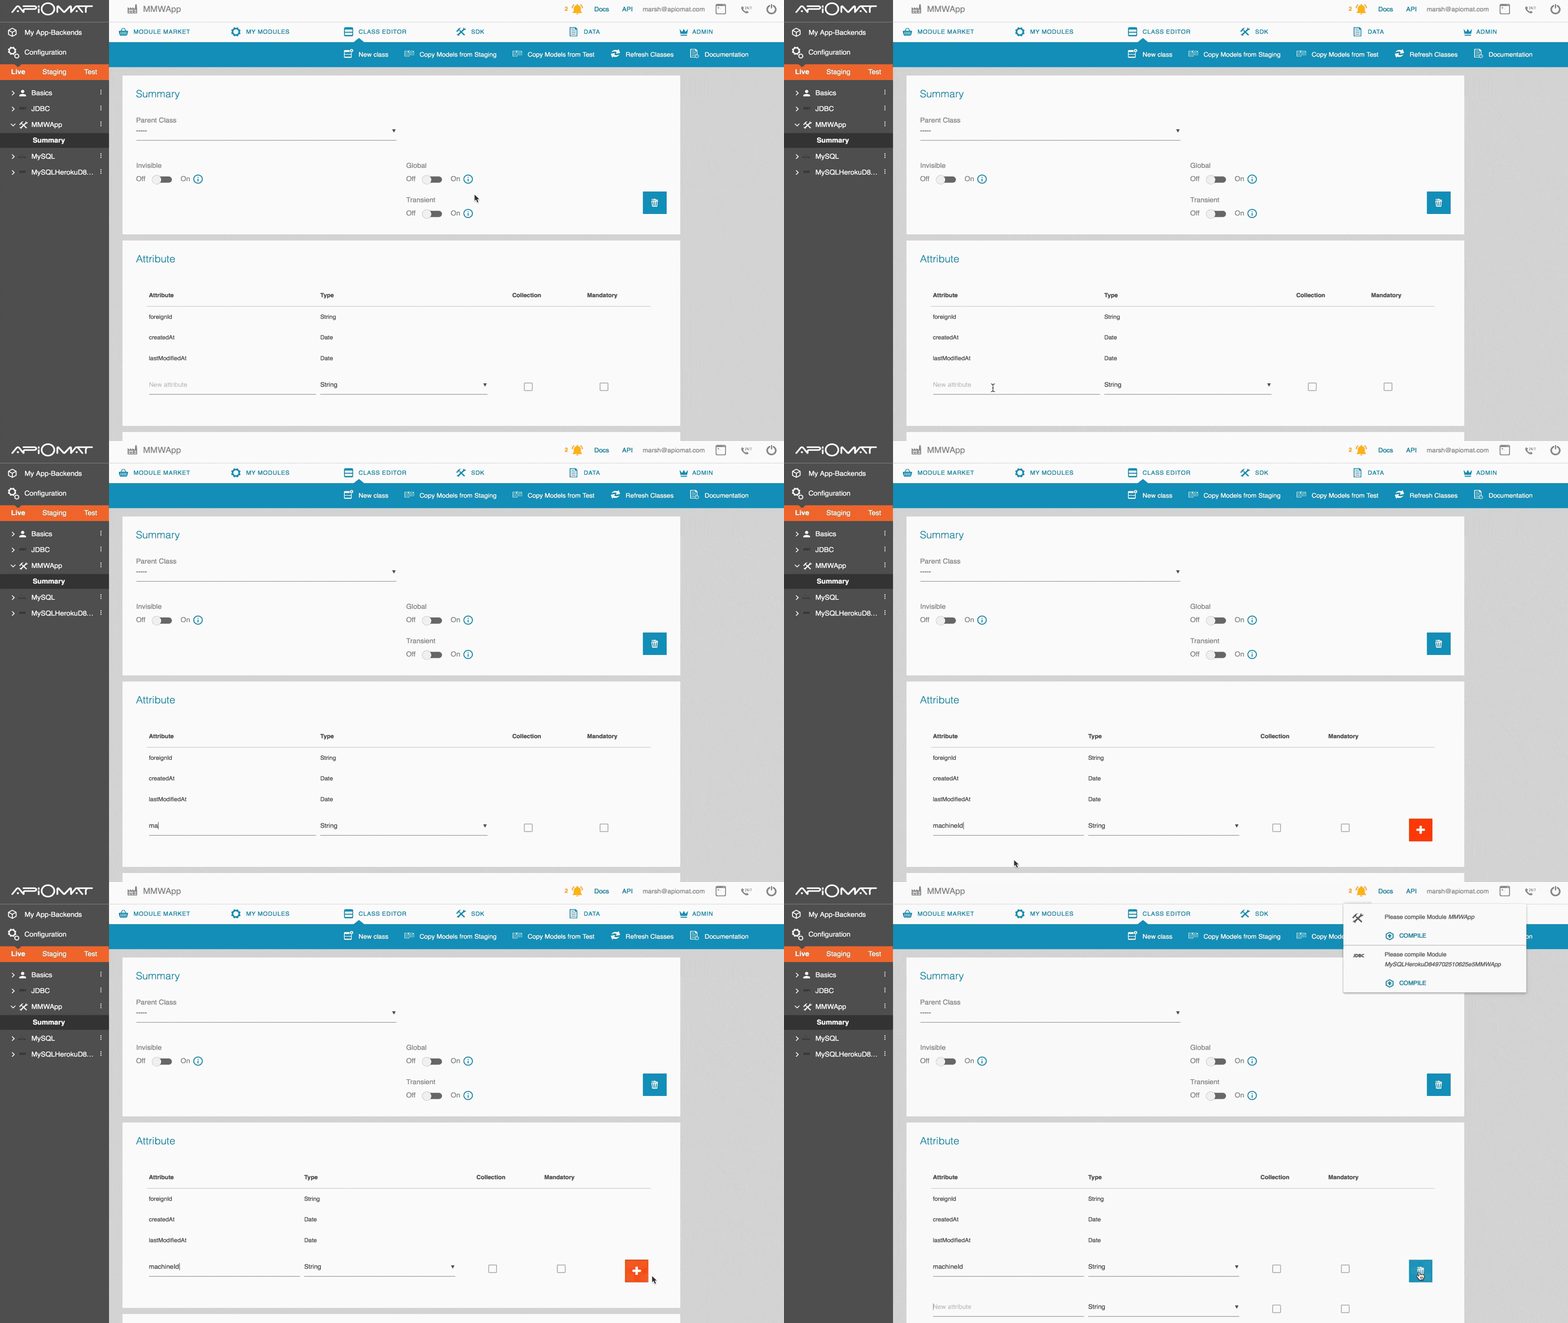
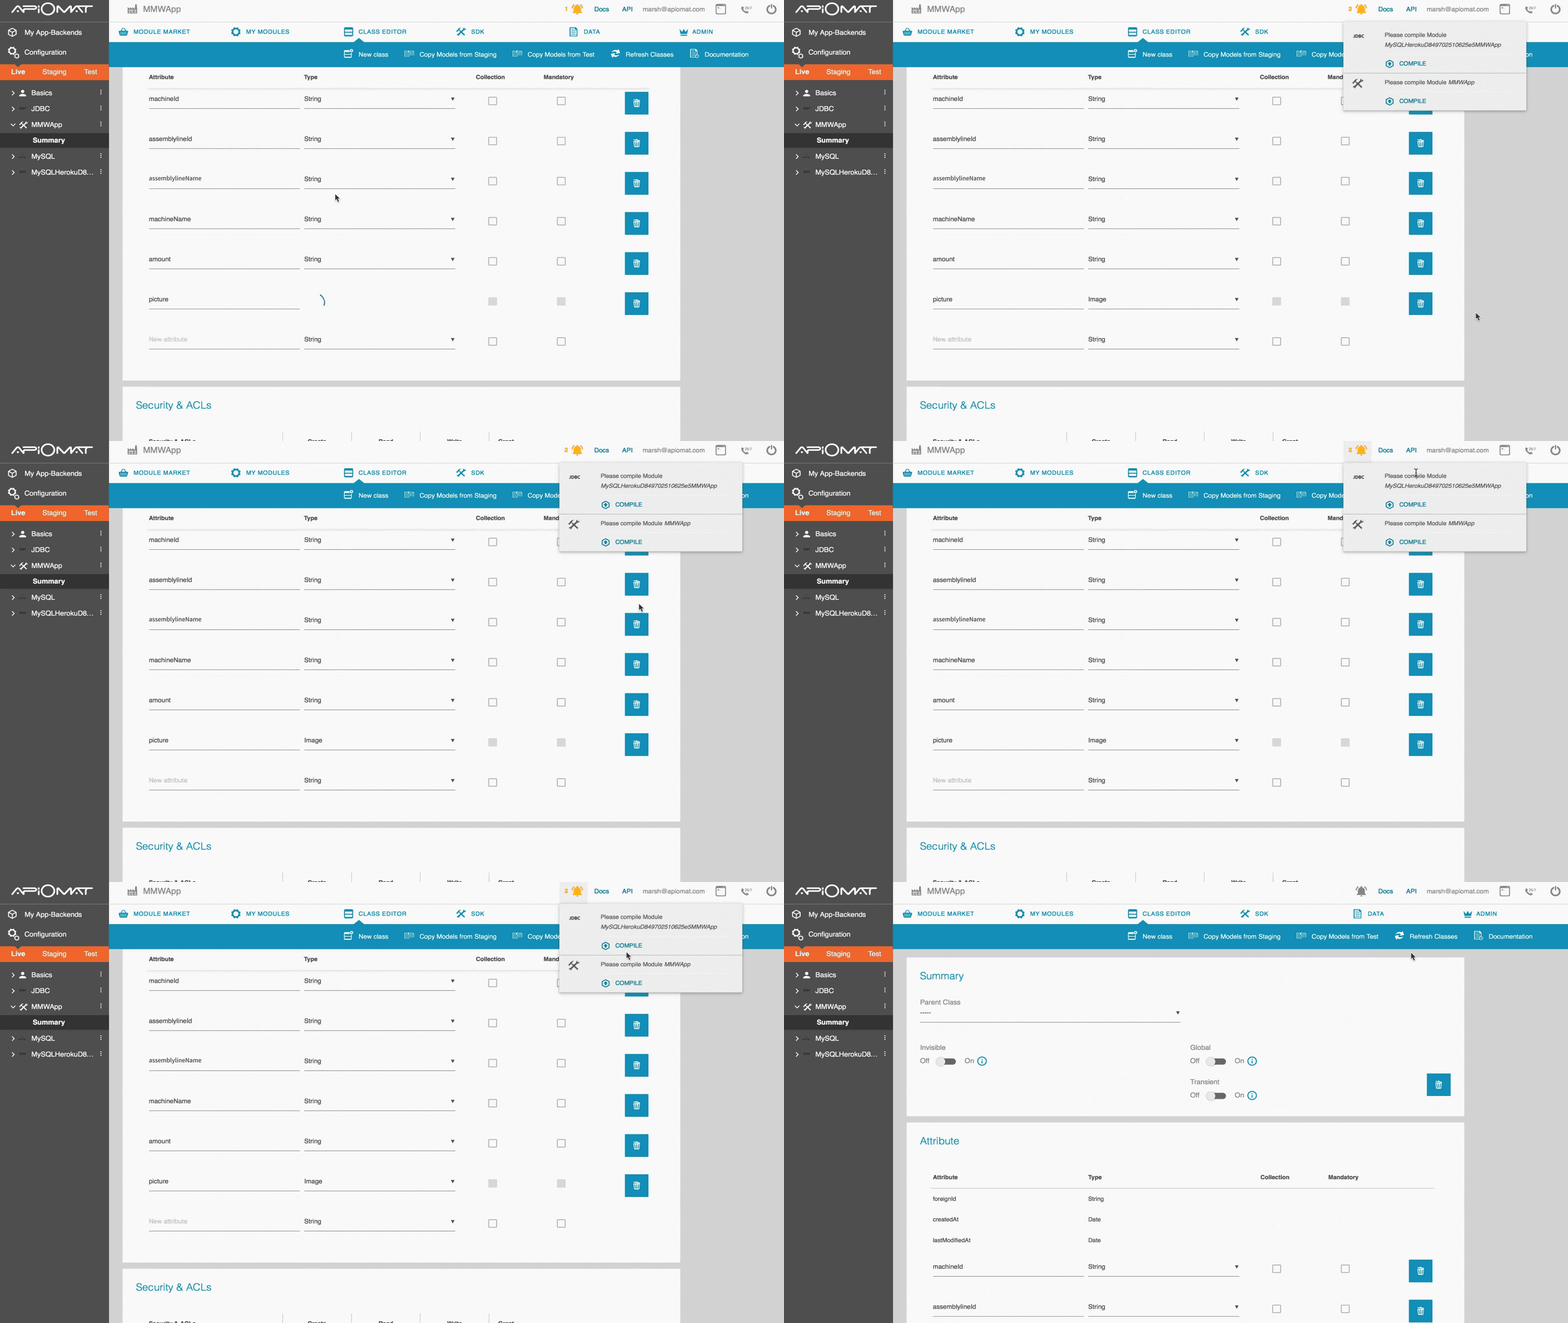
Now that we have our classes, we have to give them attributes so that we can save information about the machines, assembly lines and the summaries. We'll start by navigating to the Machine class by clicking on Machine on the left-hand menu under MMWApp. Scroll down to the Attributes section and type machineId into the new attribute field. Next we have to define the type of data that this attribute will be. Since the machineIds will contain text including the name of the machine, we will select STRING. Once we've given the attribute a name and selected the data type, click on the red plus button to add it.
For AssemblyLine, add:
-
name - with the data type string
-
picture - with the data type image
For Summary, add:
-
machineID - with the data type string
-
assemblyId - with the data type string
-
amount - with the data type string
-
image - with the data type image
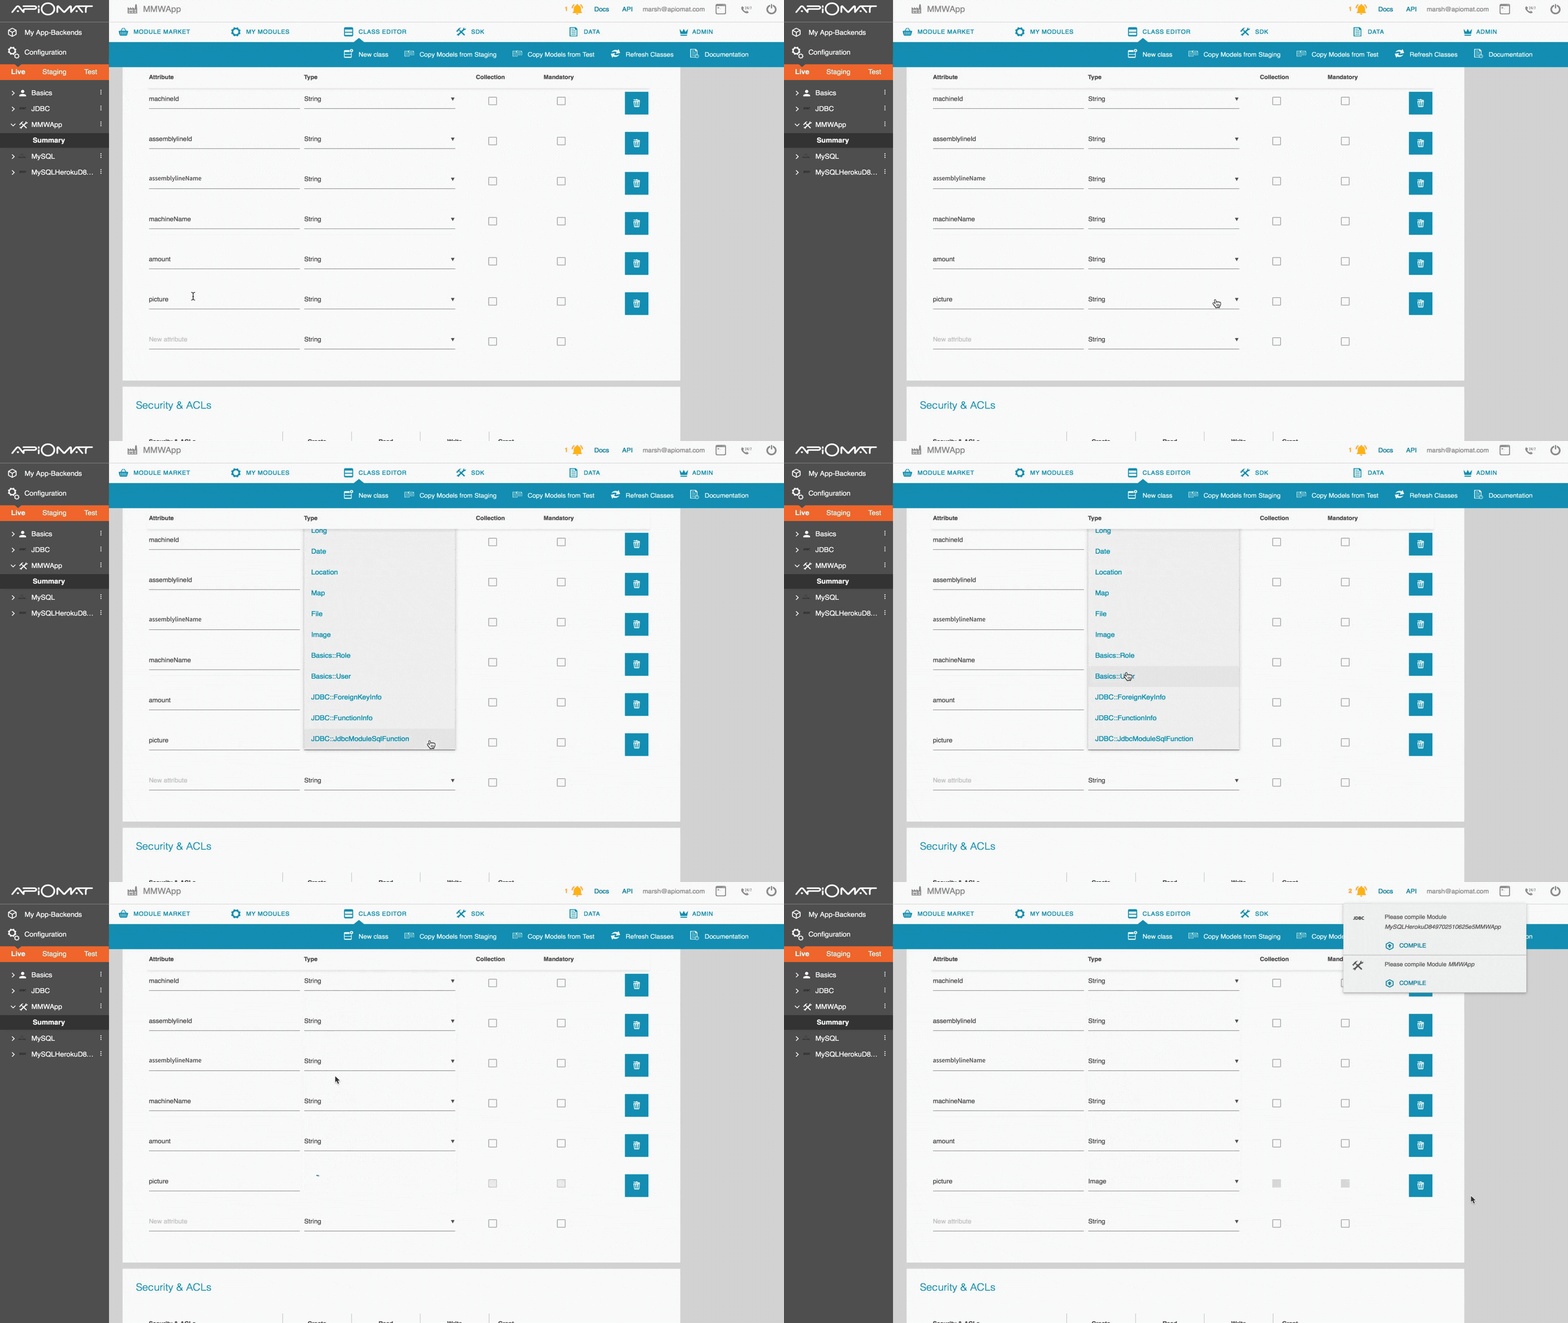
Important: ApiOmat Studio currently only supports the following data types: Long, Double, Strings, Date and Images. Collections are also limited in their use. References are also currently unavailable.
Compiling our module
Whenever we make changes to our module or the classes within a module, we have to recompile our modules to implement the changes. We do so by clicking on the notifications bell at the top of the screen and then on the compile button. ApiOmat will then recompile the module and our changes are now implemented.
Next Step
That's it, we've set up our backend. If you haven't already installed ApiOmat Studio, follow the instructions here: Installing Apiomat Studio
If you've already installed ApiOmat Studio, you can go straight to Building the Start Screen.