Android Tutorial Facebook
In this Tutorial we'll build an Android app with a connection to Facebook .
Setting up the backend
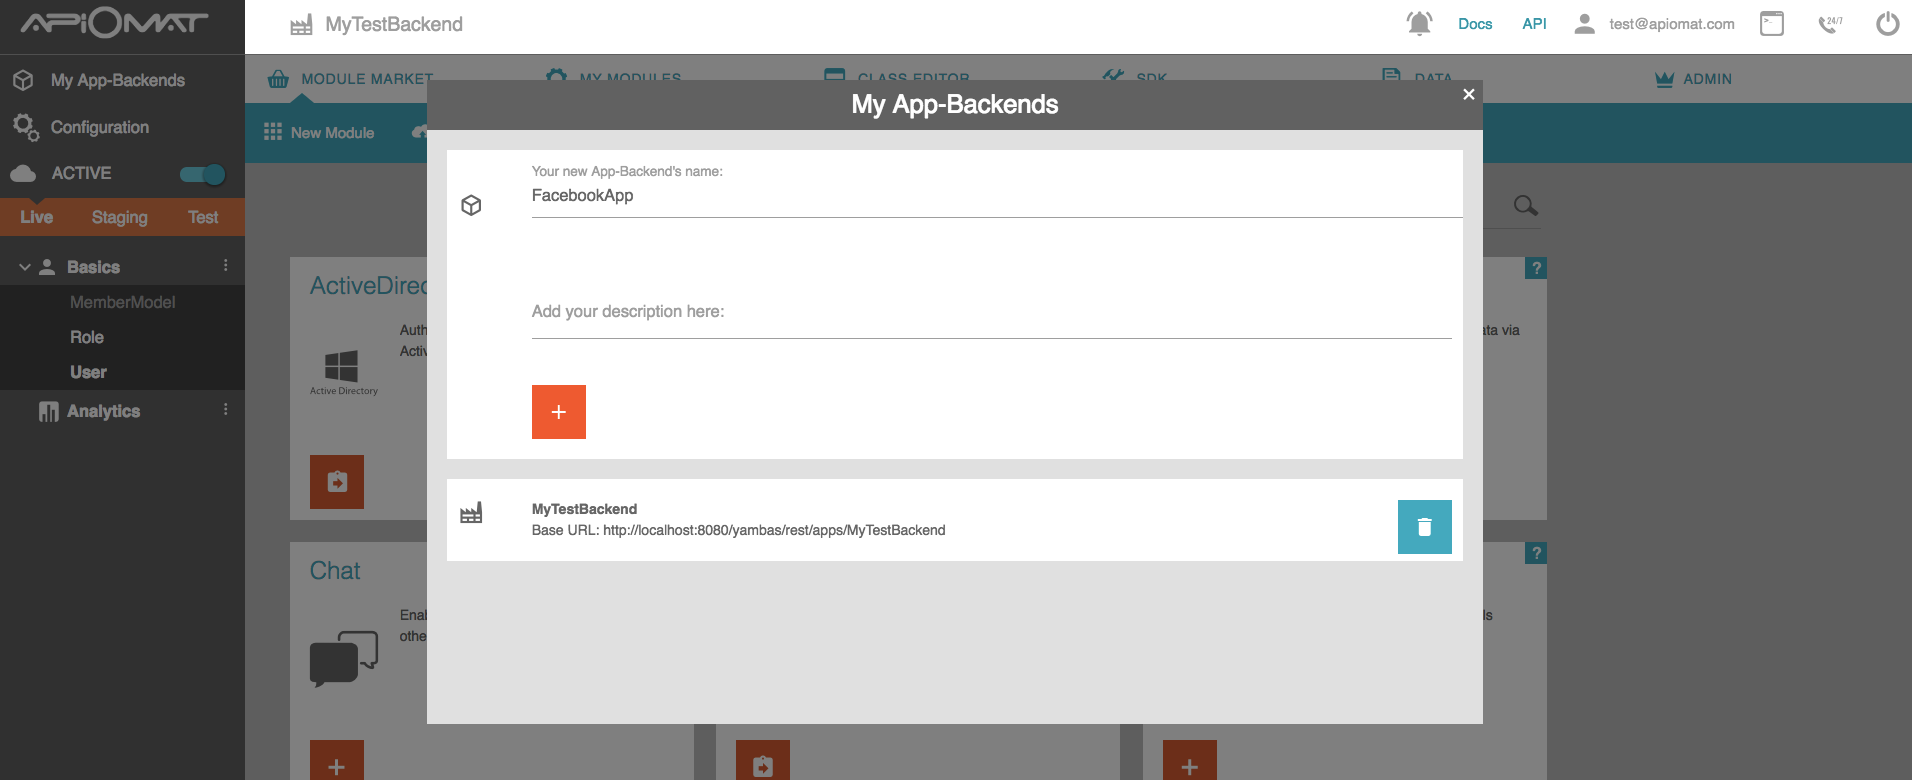
2. If you haven‘t created an app yet, you will be asked to give your first app a name and to describe it shortly. In our example the app is called “Facebook”. For your app, though, you should use a unique name.
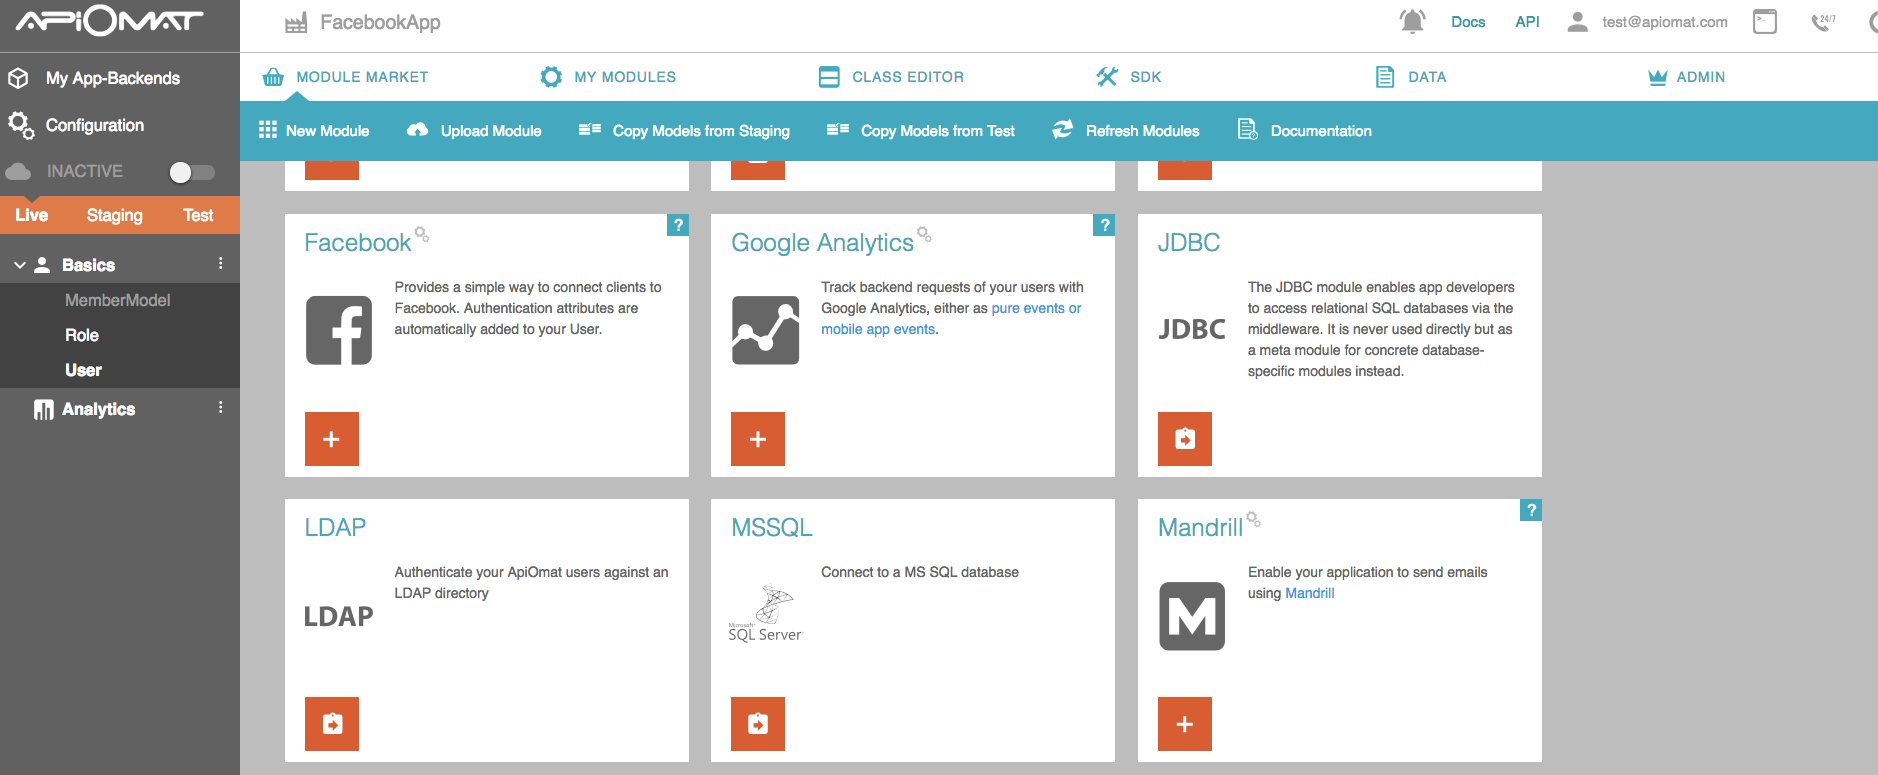
3. Now you see the Apiomat Dashbaord. You start on the Module Market with all the available modules you can add to your app. Scroll down and select the Facebook Module and click "+" to add the module.
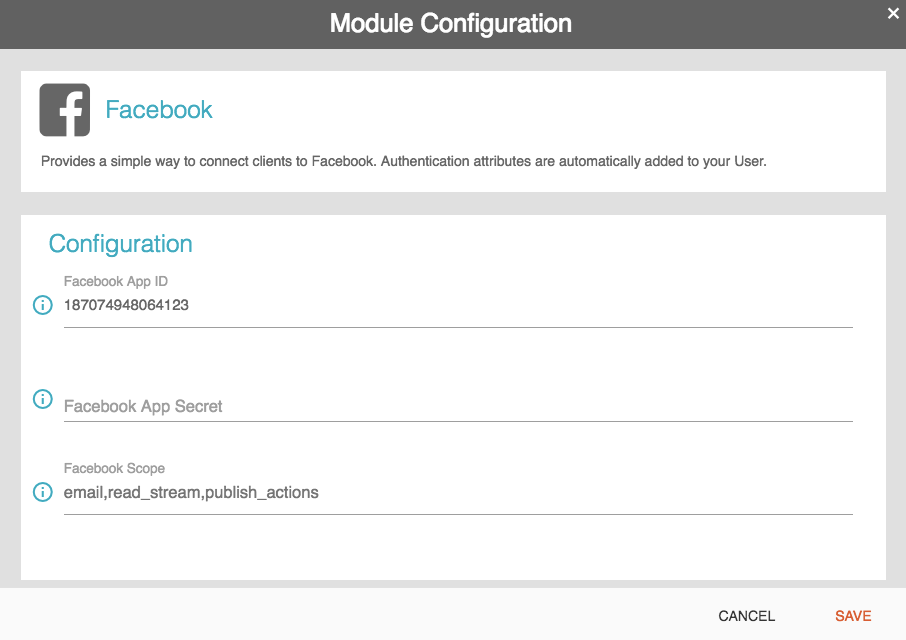
4.After clicking the plus, ApiOmat will ask you to configure your Facebook Module. Here you can enter your Facebook App ID and Secret, but you can leave those blank for now. In the field "Facebook Scope", add “publish_actions”, this will, among other things, allow you to post on your wall. Once you done that, click on “Save”.
5. Now we have to deploy our backend, to do this, we click on the slider next to "INACTIVE".
6. Click on the SDK tab on the menu at the top of the screen. This will take you to an overview of the ApiOmat SDKs, which you can download by clicking "DOWNLOAD SDK".
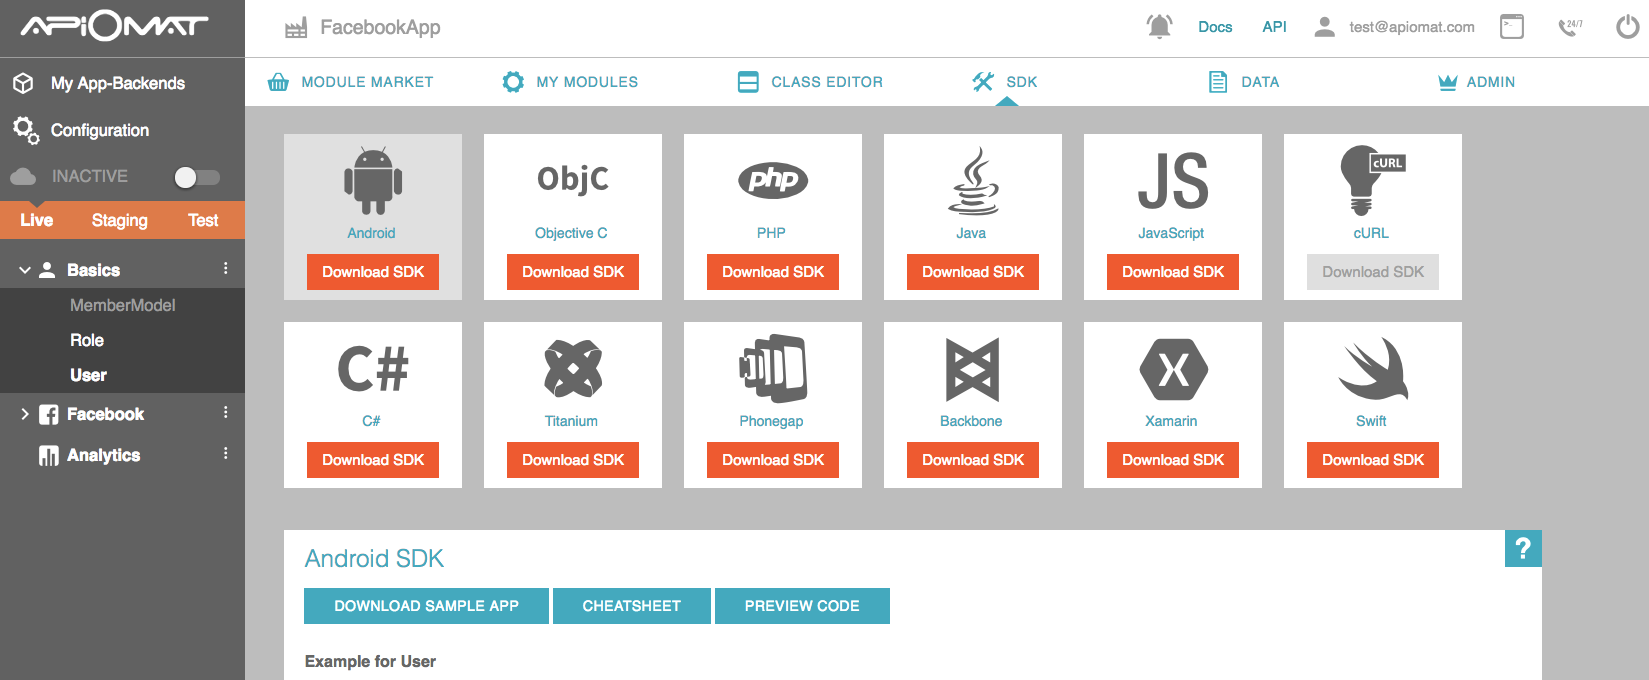
7. Download the Android SDK and you will download a .ZIP file that contains all classes and resources you need. Unpack the .ZIP file, saving it somewhere on your hard disk.
8. Open your IDE (e.g. Android Studio) and set up a new Android project.
9. Open the folder where you unpacked the Android SDK .ZIP file.
10. Copy both of the folders into the “src” folder (source) of your app. Now we can get started on the frontend!
The Layout
First, let's set up a basic layout.
1. Open the layout file of your Main Activity. You can find it in the folder “layout” within the folder “res” (resources). The XML file has the same name that you gave your Main Activity.
2. The Android SDK sets up a RelativeLayout by default, which is somewhat cumbersome. So we'll delete the code and create our own LinearLayout.
<LinearLayout xmlns:android="http://schemas.android.com/apk/res/android" xmlns:tools="http://schemas.android.com/tools" android:layout_width="match_parent" android:layout_height="match_parent" tools:context=".MainActivity" android:orientation="vertical"></LinearLayout>
3. Let's add a button called “log in”, that contains a listener for the method “login”.
<Button android:text="Login" android:layout_width="fill_parent" android:layout_height="wrap_content" android:onClick="login"/>
Make sure that buttons, text strings, etc. are children elements of the LinearLayout. Usually all strings in Android are stored in an extra file (strings.xml in the folder “values”), but for simplicity's sake, we'll leave them here.
4. Below the button, we'll add an input field, or as Android calls it, EditText and give it an ID. We'll be using the ID later.
<EditText android:layout_width="fill_parent" android:layout_height="wrap_content" android:id="@+id/et_main_post"/>
5. Let's create a second button, labeled "Post text!" and trigger the method "post".
<Button android:text="Post text!" android:layout_width="fill_parent" android:layout_height="wrap_content" android:onClick="post"/>
6. At last, you will have to insert a WebView, which lets you view websites in the app. We'll use this to log in to Facebook.
<WebView android:layout_width="wrap_content" android:layout_height="wrap_content" android:id="@+id/wv_main_webview"/>
Setting up a User
1. Open your Main Activity in the src folder. So far, it‘s pretty empty, containing:
-
The packagename the Activity belongs to.
-
The imports.
-
The class, that‘s named after the Activity and the methods “onCreate” and “onCreateOptionsMenu”.
2. Delete the “onCreateOptionsMenu” method. Because of this method there is a menu button displayed in the upper right corner of your app. As we don‘t want to set up a menu, it‘s a so called “menu button of shame” without any functionality.
3. You will set up an entity of the class User next. It will be a global object:
final User user = new User();
4. Now switch to the “onCreate” method and add the following functions:
user.setUserName("USERNAME");user.setPassword("PASSWORD");Datastore.configureWithCredentials(user);
Change the username and password to what you would like it to be. When you're finished with this step, the connection to the backend is initiated.
5. With the next code block the user is being forwarded to the server. It will check to see if the user with this given user name already exists. If that's not the case, it will create a new user.
user.loadMeAsync(new AOMEmptyCallback() {@Overridepublic void isDone(ApiomatRequestException exception) {if (exception != null) {user.saveAsync(new AOMEmptyCallback() {@Overridepublic void isDone(ApiomatRequestException exception) { }});}}});
Connection to Facebook
1. Now we will link our user to Facebook. To do that, we will create the method “login”:
public void login(View view) { [...] }
2. To make the connection you need the UserID, which we get from the Reference URL:
int start = user.getHref().lastIndexOf("/");String id = user.getHref().substring(start + 1);
Optionally you can choose between MemberID and UserUserName.
3. Now we have to generate a WebView, which has to be connected to the WebView we created in the layout file:
WebView webview = (WebView) findViewbyId(R.id.main_wv_webview);
4. The last action of our Login method is to open the Authentication URL with the WebView.
webview.loadUrl("http://apiomat.org/yambas/rest/modules/Facebook/spec/NAMEOFYOURAPP/auth?memberId=" + id + "&usedSystem=" +User.system);
Note, you will have to replace NAMEOFYOURAPP with your app's backend name.
Posting Something on your Facebook Wall
1. Now that we can log in, we'll move on to create a new post that will be posted on your wall. Let's generate the method “post”, which posts the text entered into the text field.
public void posten(View view) { [...] }
2. First, we generate an object of FBUser. FBUser represents your Facebook account.
FBUser me = new FBUser();
3. Now you need to save the User, so that a valid href attribute can be received. To prevent potential mistakes, we have to surround the Codeblock with a try-catch statement.
try {me.saveAsync(new AOMEmptyCallback() {@Overridepublic void isDone(ApiomatRequestException exception) { }});[...]}catch (Exception e) {e.printStackTrace();}
4. To create a post, first you must create an object of the FBPost class, this will represent your post. One could also say you‘re generating a new post.
FBPost newPost = new FBPost();
5. Theoretically, you can now post something onto your wall. But as we don‘t want to use a fixed string, you have to read the content data of the textfield first. This is where we will use the ID we set to the textfield early "et_main_post":
EditText etext;etext = (EditText) findViewById(R.id.et_main_post);String posttext = etext.getText().toString();
6. Now set the string “posttext” as the content of your post.
newPost.setMessage(posttext);
7. To publish the post you just have to save the newPost.
newPost.saveAsync(new AOMEmptyCallback() {@Overridepublic void isDone(ApiomatRequestException exception) { }});Asking for Permission
An Android app is not allowed to do anything by default. So to access the internet, we have to ask for permission. We do this in the Android Manifest.
1. Open the AndroidManifest.xml in your app's root folder.
2. Add this line after the <manifest [...]> tag:
<uses-permission android:name="android.permission.INTERNET"/>
Now your frontend is installed!
Let’s test!
1. Start the app on your Android smartphone or in an Android emulator.
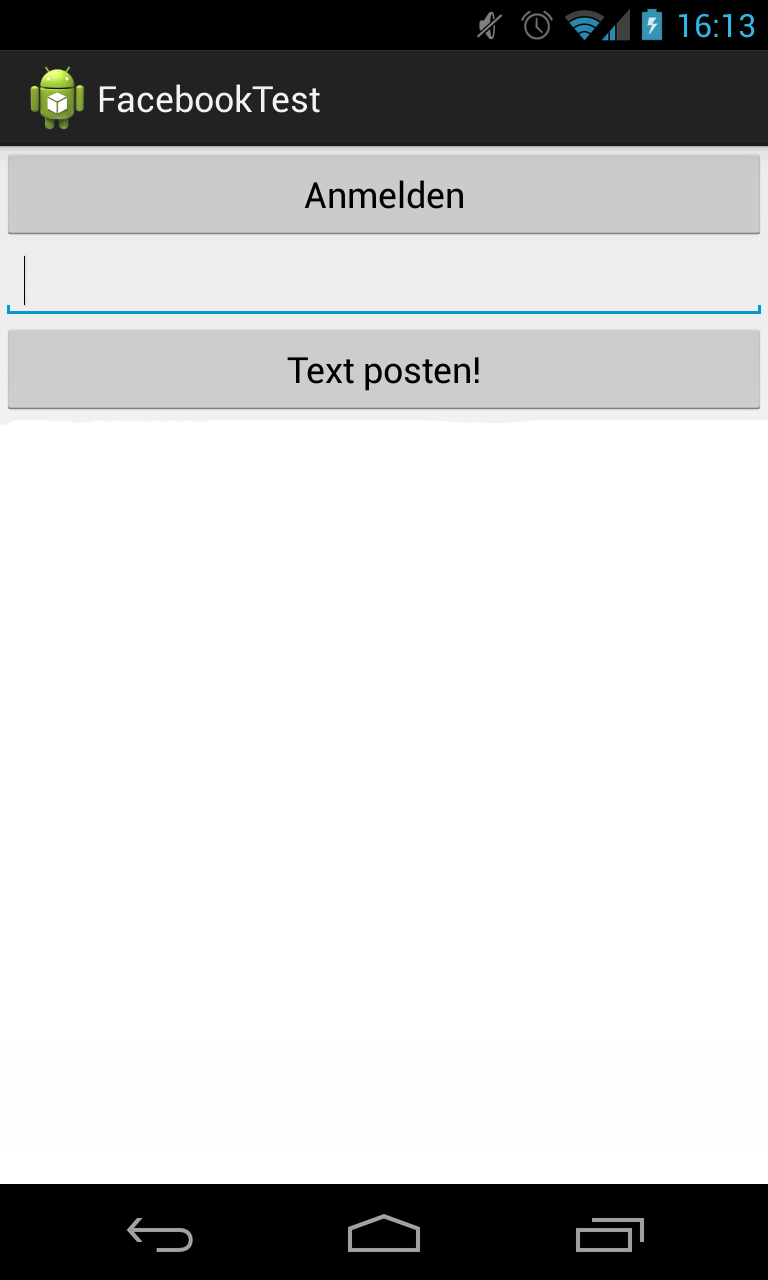
2. Tap the "Log In" button. The browser should open and you will be asked to enter your Facebook data, as the ApiOmat-Facebook-App requests authorization.
3. Log in with your Facebook data and press install. Now you're connected to Facebook.
4. Press your smartphone‘s back button until you’re back on the screen of the Android app.
5. Enter what you would like to post to Facebook into the text field below, for example “ApiOmat is awesome!” and then press the button “Post text!”. If you check out your Facebook page now, you will find the text you entered posted onto your Facebook wall!