Authentication Classes
Introduction
If you develop your own backend using ApiOmat you are likely to encounter the question of user authenticity. You probably do not want anybody to see any data and therefore would like to restrict access. In order to do so you need user-authentication. ApiOmat provides two static modules for this purpose: LDAP and SAML (see LDAP Module and SAML Module). But as there are many more ways and systems to authenticate a user, there is a custom authentication-feature.
ApiOmat allows you to create and use your own authentication classes or authentication classes provided by other customers. Those classes enable you to implement custom authentication methods or call third-party-authentication-services to authenticate user-request to your backend.
By using an ordered list of authentication-classes you can utilize several different methods of authentication without packing all the logic in one class. You can even use authorization-methods already implemented in other modules. Say you have users calling your backend and their accounts are located in three different systems all providing their own authentication-interface. Implement the authentication against these systems in three different classes and use them in your backend(s) in whatever order and combination you like.
Basics
Any http-request sent by ApiOmat is being verified by checking the authenticity of the user. As an app-admin you may use Basics.User-authentication (username + password stored at ApiOmat), create your own authentication-methods in your module(s) or use authentication-classes provided through the same mechanism by other customers. You can use one or multiple authentication-classes for your backend which will then be used in the order you provided. If you don't assign any class, ApiOmat will automatically employ Basics.User-authentication.
Assigning Authentication-classes
You may assign authentication-classes to your application either using the ApiOmat-dashboard or directly via rest-endpoint, as described below
Dashboard
If applying dashboard, you may assign your authentication-classes via the backend configuration:
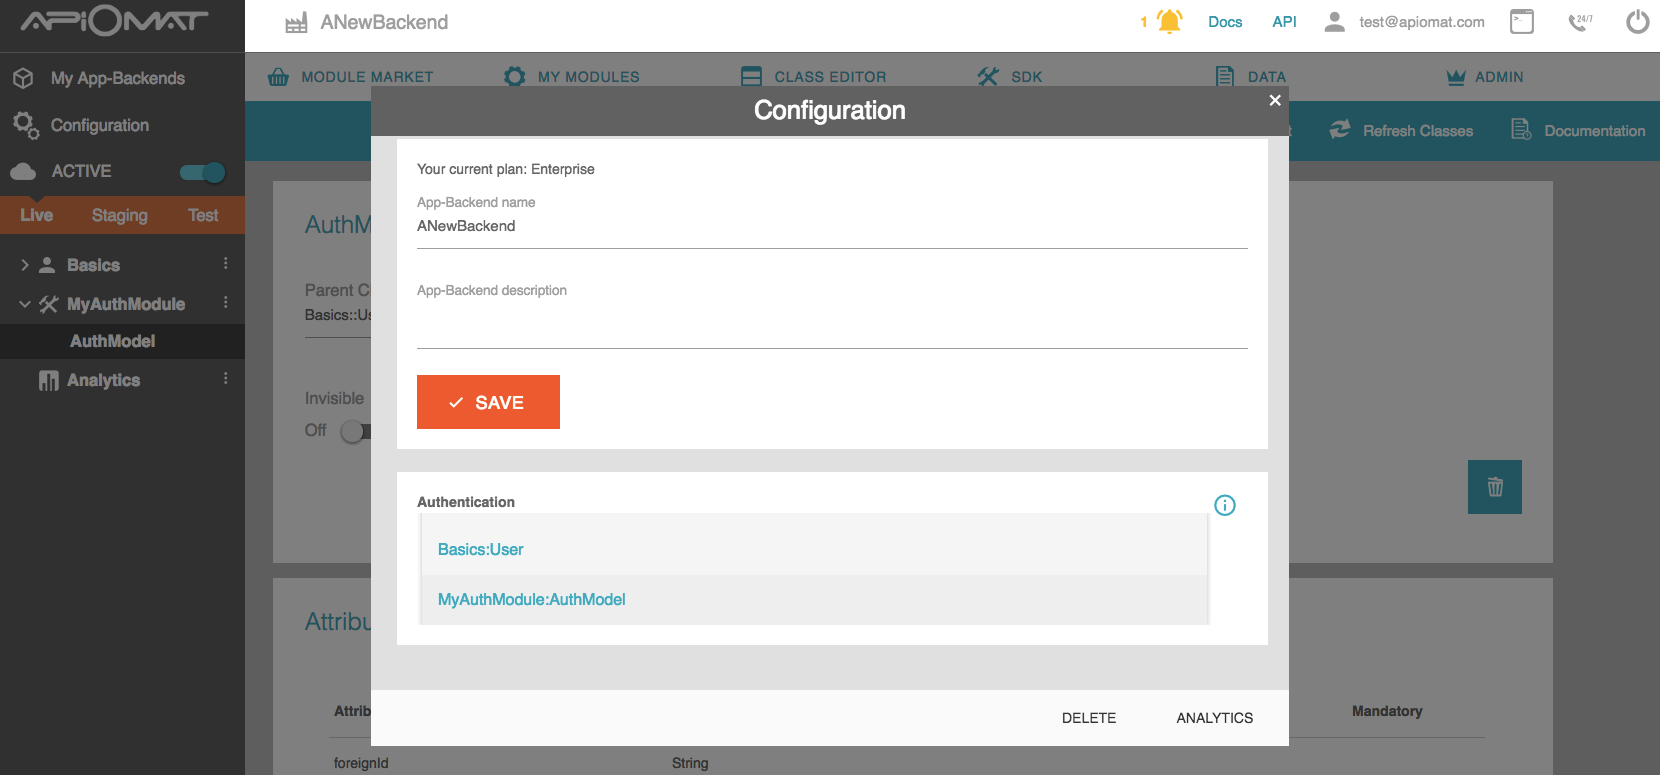
Simply pick the authentication-classes you'd like to apply in your backend from the dropdown-selection. Afterwards you may order them to your liking by using the arrows left of the classes' names.
Classes on the top of the list will be used first for trying to authenticate the requesting user. If one classes' authentication fails the next in order will be applied.
Rest-Endpoint
You may set a backend's authentication-classes via the put-endpoint /customers/{customerName}/apps/{appName}. The endpoint expects an updating application's json. For setting/modifying the authentication-classes of your backend, you should apply a JSON containing a map following this structure:
{"authClassesMap": {"LIVE":{"1":"Module1$AuthenticationClass1", "2":"Module2$AuthentcationClass2"}, "STAGING":{"1":"Module2$AuthenticationClass2"}, "TEST":{"1":"Module1$AuthenticationClass1", "2":"Basics$User"}}}Using Basic-Authentication
Basic-Authentication simply means using ApiOmat's own username + password access control. You may either use this method by adding Basics.User or a class inheriting from Basics.User to your backend or by just leaving it without any authentication-class. ApiOmat will then fall back to Basic-Authentication.
Developing your own authentication-methods
You may design your own authentication classes, working by whatever means you desire in ApiOmat. In order to do so, create and download a native module (see this section for information on Native Module development) with the classes you intend to utilize for authentication. Afterwards, import the downloaded project into your IDE. You will notice that every class you added to your module is now extended by two Hook-classes named <yourClassName>HooksTransient and <yourClassName>HooksNonTransient.
Depending on how you design your module-class (either setting the isTransient-flag true or false), add to the -Transient or -NonTransient-hook-class a method auth like this:
@Overridepublic boolean auth( String httpVerb, String modelName, String modelForeignId, String userNameOrEmail, String password, Request r ){ final boolean authenticationResult = yourAuthentication(userNameOrEmail, password); return authenticationResult;}The auth-method is defined in the interface IModelHooksCommon so you find its signature there. You should use the @Override-annotation because you actually override the superinterface's method.
Here, you may do all the work necessary for your authentication-mechanism. The method is handed the data for authenticating the use via its parameters:
-
httpVerb - GET, POST, PUT, DELETE
-
modelName - the model requiring authentication
-
modelForeignId - the ID of the mentioned model
-
userNameOrEmail - as said, the userName or email-address used to authenticate the user
-
password - the password entered to authenticate
-
r - the request calling for authentication
After implementing and testing the auth-method, you may upload the respective native module again. ApiOmat will then automatically switch the useOwnAuth-flag to true on the class with a hook-class implementing an auth-method. This flag can also be set via dashboard (switch Ext. Auth), as you can see in the figure below.
Now you will be able to assign your module's authentication-classes to your backend(s) . If you release your module, you will even allow other customers to employ your authentication-methods.
If you add the <yourClassName>-class to a backend, the auth-method will be called for every request to models and ressources. The result of the auth-method will determine whether the verification is considered to be successful or not. If it is a failure, ApiOmat will continue with the next authentication-class in the backend's authentication-map until there is a positive outcome or there are no more classes left to try.
Be advised that in order to use Basic-Authentication as a fall-back-way to verify a User, you will have to add the Basics.User-class or a class inheriting from it to your backend's authentication-map. It will only be used automatically if you do not apply any authentication-class.
If you set the useOwnAuth-annotation to AuthState.NO in the class with a hook-class implementing an auth-method, this auth-method will not be available for selection in app-configuration any more. Anyway, if it has been assigned to an app before, this app will still be using the authentication-method, although there will be a warning message in tomcat-log and in app-configuration.
Authentication of multiple objects
If a request results in getting multiple objects, the auth-method of a hook-class will get called for each object of that result-collection separately. For reasons of performance or account-stability (in some third-party-systems used for user-authentication trying to access an account with wrong credentials multiple times may lead to locking that account) it is advised to throw an AuthenticationFailedException if such a collection is acquired. If this exception is thrown, ApiOmat will not try to authenticate the user for each object of the requested collection but instead cancel the request after the first failed attempt.