CSV Tutorial
Creating the backend
CSV import isn‘t for importing plain data only. You can also add files and images to the zip you’re going to import.
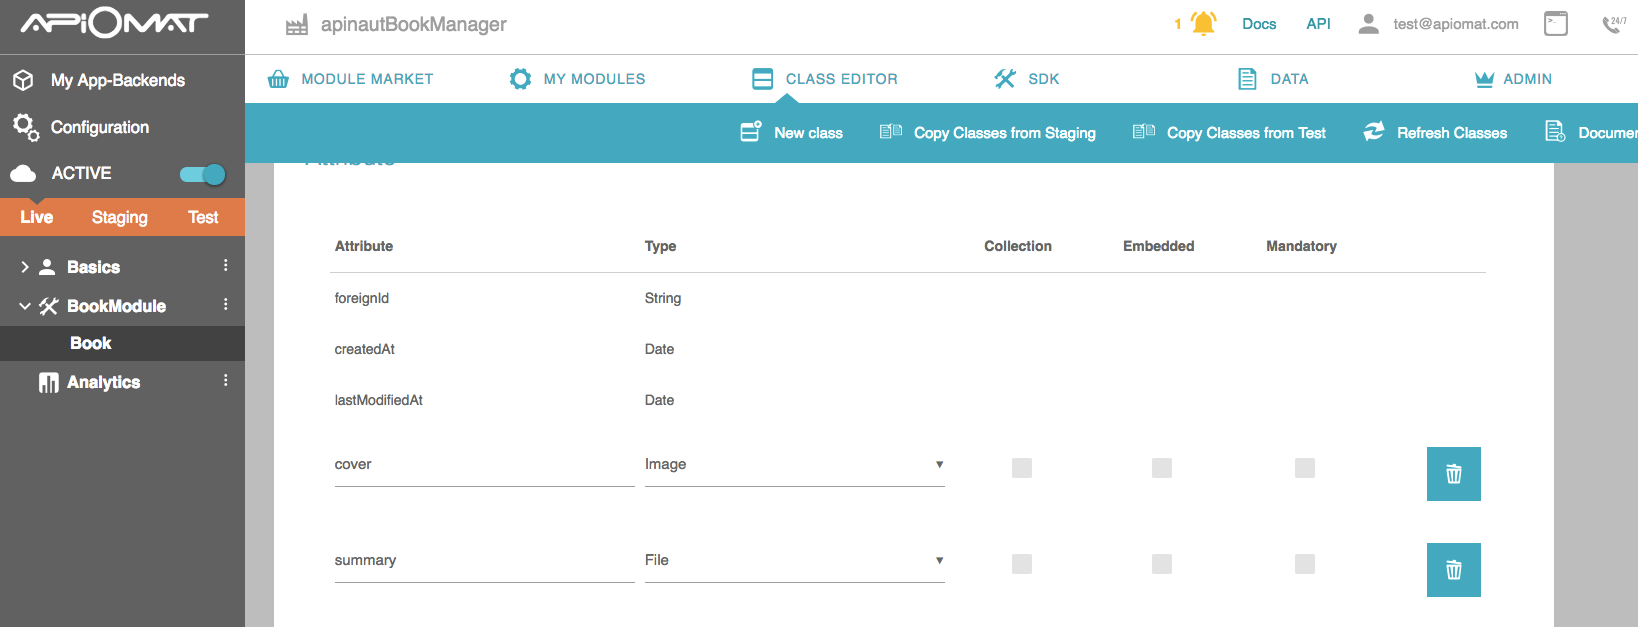
Let’s say, you created a backend which contains the BookModule with the Book class. Next to the default attributes createdAt,lastModifiedAt and foreignId you added the attributes cover of the type Image and summary of the type File.
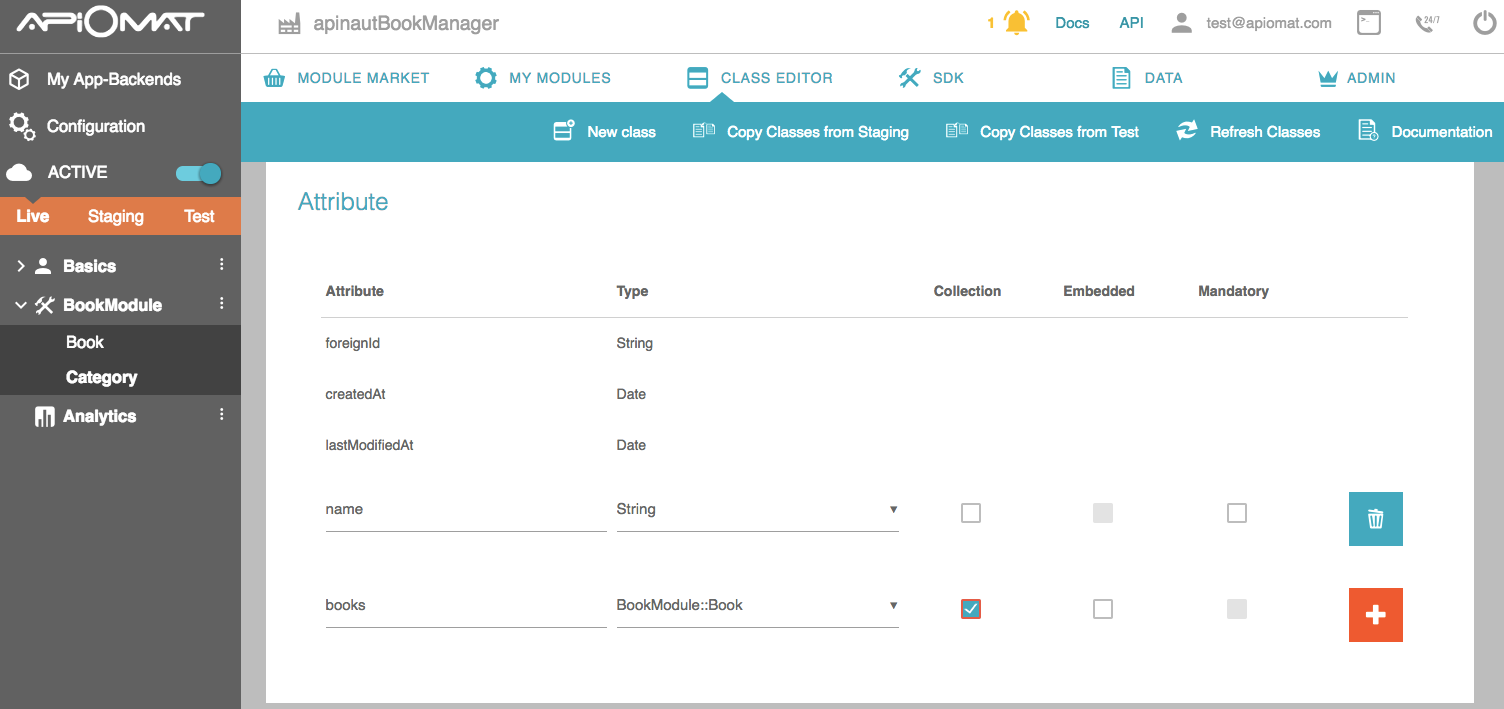
Another class "Category" has an Attribute "name" of the type String and a Collection of the Class "Book" with the name "books" .
Add the CSV Module and deploy your Backend.
Create a custom CSV
Create a new CSV file which is named after following pattern:
YOURBACKENDNAME$CLASSNAME.csv
For our example the Backend is called „Bookstore“. So the csv file would be named like this:
Bookstore$Book.csv
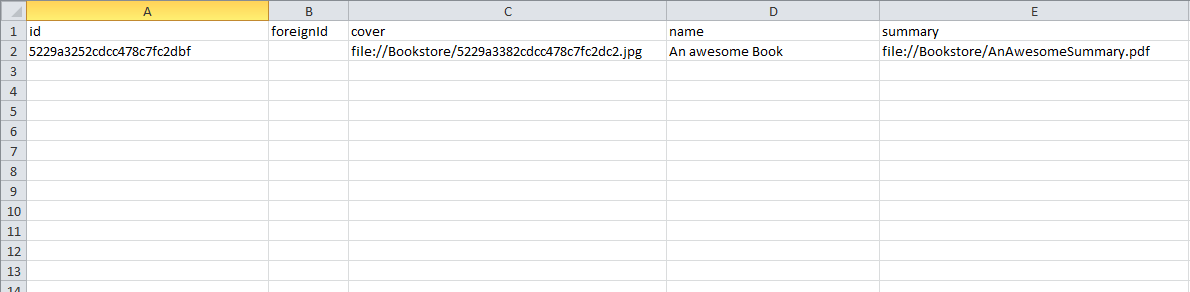
Add four columns to the csv file: id, foreignId,cover and summary.
Leave the id row empty, because that’s the ID generated by ApiOmat for each object of a class. But still, we want a unique identifier for every object. That’s what the foreignId is for. Insert a value of your choice in that column.
Now we want to upload an image and a file via csv. To do this, write the location of the image, which it will have in the zip file in the cover column. Beginn with „file://“. In our example, our zip file contains a subfolder named „covers“ which contains all covers we want to upload. Our imagefile is called „Cover1.png“, so the location would look like this:
We also want to upload a summary as a pdf file. The pattern is the same as it is with images. Our summary is located in the subfolder „summarys“ so we insert the location in the file column:
If you want, create more objects of the class book.
Of course every Book belongs to a category. First we have to create a category. To do so, create a new CSV file with the name:
Bookstore$Category.csv
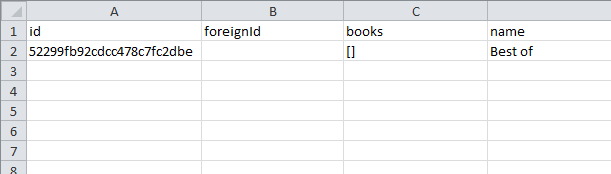
The csv file should contain following columns:
Id, foreignId, books and name.
You can leave id and foreignId empty and give the category a name of your choice. To add all Books to a category, write a map in the column following this pattern:
[foreignId|foreignId|foreignId]
So if you added three books and gave them the foreignIds 1, 2 and 3 it will look like this:
[1|2|3]
Now pack the CSV files and the folder to a ZIP-file.
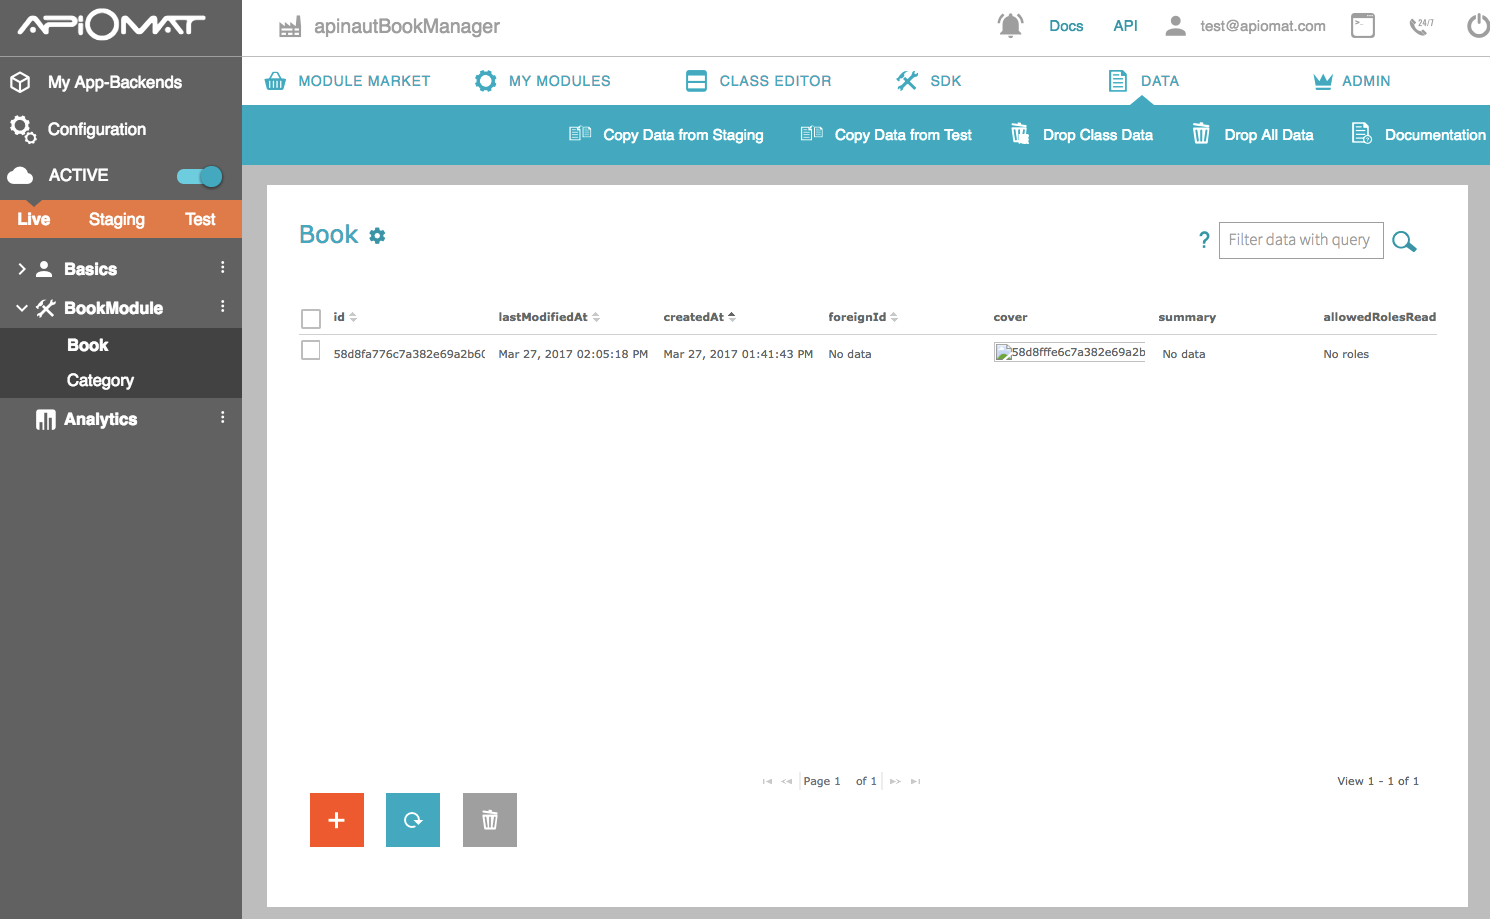
Go to the Dashboard and choose the CSV Im/-Export Tool from the tools tab. Click on „Select import file“. Choose th ZIP file you created and hit „OK“. That’s it. If you look at the Data-tab you will recognize, that every object has got an id.
Export a CSV
Now we want to create some data within the dashboard and export it afterwards.
Go to the Data-tab and drop all data you imported. Now choose the “Book” class on the left side of the screen. Now add a new set of data by clicking on the “+” in the upper right corner. You can edit at least all the attributes you gave the class. So upload a cover and give your book a name.
Next, change to the “Category” class and add an object. Change the name of the category to a name of your choice. Add the book you created before as a reference.

Now Export your data by switching to the “My Modules” tab and choose “Export Data”.
Edit the CSVs
Unpack the downloaded .zip-file. You will get three csv files and a folder with the name of your backend which contains all images. Open the Bookstore$Book.csv file.
As you can see, there is a column for every attribute of the class. Change the name of the book, delete the id and save the CSV file. (You can also replace the image in the folder and replace the “image” attribute as mentioned above, if you like to.)
Now open the Bookstore$Category. Once again, delete the id and change the name. Don’t forget to save.
Reimport the CSV
Pack the edited CSV files and the folder to a new ZIP file. Go to the Dashboard and import the csv file you just created. You will get a report how much data sets have been added.
To see that everything went as expected, change to the Data-tab. The data you imported should have been added to the ones you exported before.