Piwik Module
Using the Piwik module you can track create, read, update, and delete requests as events against your backend automatically.
Configuration
Piwik URL
The Piwik URL is the URL to your Piwik installation, for example http://your-piwik-domain.tld
Note that the URL has to start with: http://
Site ID
The site ID is the id of your site in Piwik. If you open the dashboard for your site, look at the URL. The number after &idSite= is your side ID
Usage
Simply add the module to your app. The data will be visible after a few minutes the latest in your Piwik installation in the visitor log.
To see the logged actions, log in into your Piwik dashboard and click on "Actions". Choose "Pages" and unfold "apps". There’s a list of all backends you connected to this Piwik page.
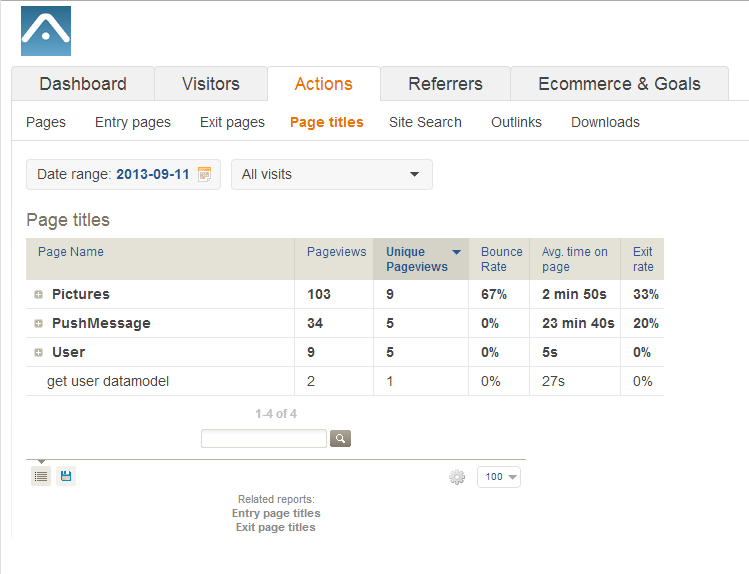
In the "Page titles" tab you can see all requests your backend received.

If you use the Server Code in combination with the Piwik Module you can track custom goals.
Simply add this function:
AOM.trackPiwikGoal( int goalId );
To trigger a goal like that, you have to set the "Goal is triggered" option to "manually". Keep in mind, that Piwik triggers the goal maximal once per second.

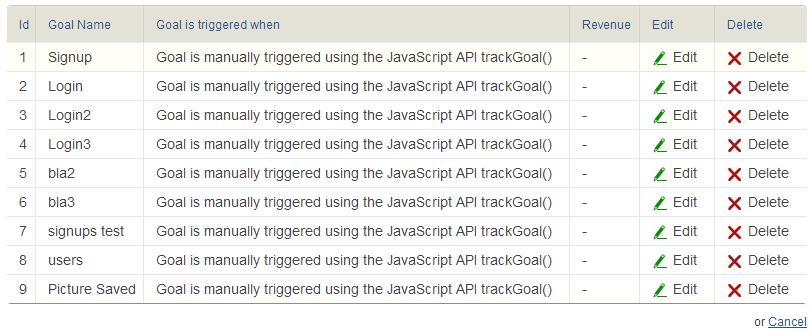
To find the ID of your goal, change to the "E-commerce&Goals" Tab, scroll to the bottom of the page and click on "View and Edit Goals."

After triggering the goal you have to wait some minutes until the conversion is showing in Piwik.

You can also trigger custom variables by using this function in your server code:
AOM.trackPiwikCustomVars(String action, String userName, int id, String key, String value);</>
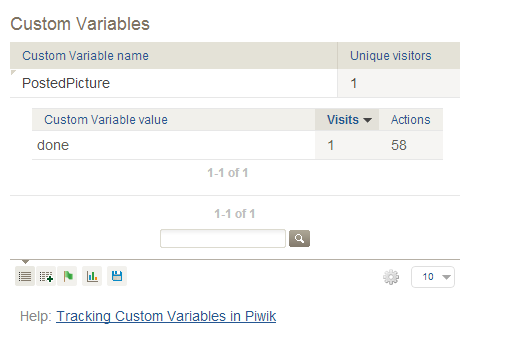
The key and the value will be displayed in your Piwik dashboard:
