React Native Quickstart
In this tutorial you will learn:
-
setting up a backend with the custom classes “Lead”, "Salesman" and "ContactProtocol"
-
deploying the backend
-
creating a simple React Native application with the generated SDK
-
setting up the connection to the backend and creating a User
-
having a look at the data in your backend
-
creating Lead objects and storing within the backend
-
query data from the backend
1. Sign Up or log in with your existing account here to start using Backend as a Service.

2. Create an app-backend with the name „ShopApp<number>“. Since we plan to give developers the opportunity to share projects, application names in the system must be unique.

3. Create a module (ant-based or git-based) „SalesModule<number>“.

4. Go to the „Class Editor“- Tab to create a class in our backend. You will be asked for a class name after entering the tab.

Create the following classes: „Lead“, „ContactProtocol“, „Salesman“.
-
ContactProtocol has the following fields: notes(String), timeOfContact(Date)

-
Lead should have the following fields: firstName (String), lastName (String), lastVisit (Date), regPlace (Location), profilePic (Image), contactAttempts (List<ContactProtocol>), email (String), score (Long)

-
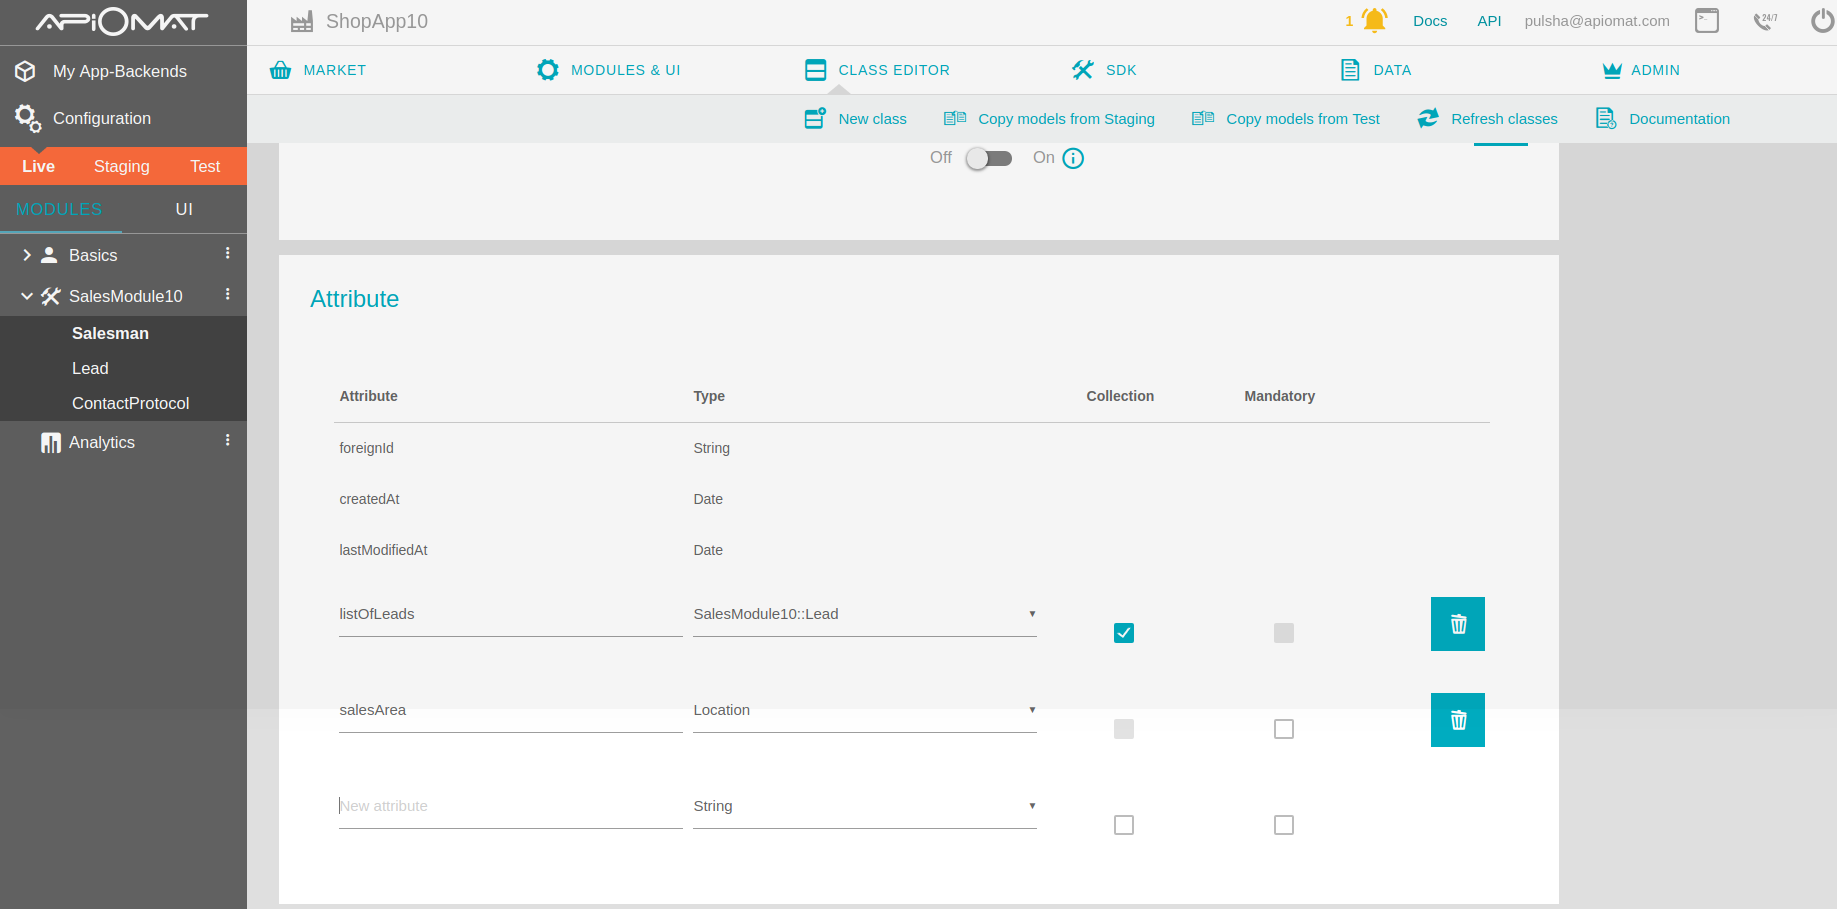
Salesman should contain the fields: listOfLeads (List<Lead>) and salesArea (Location). Furthermore a Salesman should be able to authenticate against ApiOmat, for this set up Parent class as "Basic::User".


5. Deploy your backend by clicking the “Deploy”-Button.
6. Go to SDK Tab and download the JavaScript library by clicking the „Download SDK“ button. You will get a zip file with your generated classes and all necessary libraries.

7. Create a new React Native app using following instructions:
> npm install -g react-native-cli> react-native init projectNameHere 8. Unzip the downloaded library and add only the apiomat.js (found under com/apiomat) to your project structure.
9. Import and initialize library:
const Apiomat = require('../com/apiomat/apiomat');Apiomat.Datastore.setIsReact(true);10. Now you are ready to go. The app will contain the following screens: Login, Sign Up, Leads, New / Edit Lead. The salesman can login / sign up into the app and add leads using first name and last name, also user can upload the profile picture for lead.
11. Create a screen "Login" with the following code to connect to backend:
this.login = function (username, password, cb) { const salesman = new Apiomat.Salesman(); salesman.setUserName(username); salesman.setPassword(password); Apiomat.Datastore.configureWithCredentials(salesman); salesman.loadMe({ onOk: () => { console.log('Login successful.'); this.setSalesman(salesman); cb(salesman); }, onError: (err) => console.log(err) });}Login screen:

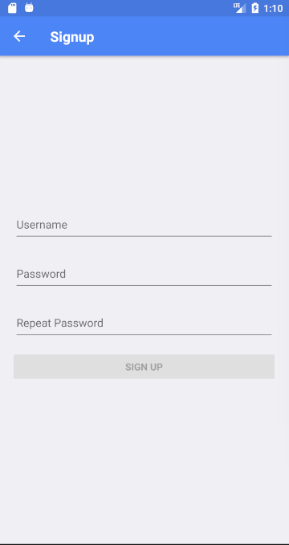
11. Create a screen "Sign Up":
this.signUp = function (username, password1, cb) { const salesman = new Apiomat.Salesman(); salesman.setUserName(username); salesman.setPassword(password1); Apiomat.Datastore.configureWithCredentials(salesman); salesman.save({ onOk: () => { console.log('New Salesman successfully saved.'); this.setSalesman(salesman); cb(); }, onError: (err) => console.log(err) });} 
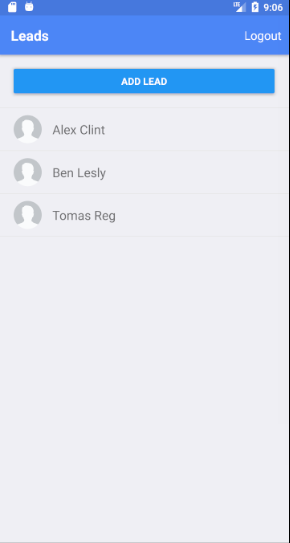
12. Create screen "Leads" with list of leads for the salesman.
this.loadLeads = function (cb) { const salesman = this.salesman; salesman.loadListOfLeads('order by lastName', { onOk: (result) => cb(result), onError: (err) => console.log(err) });} 
13. Create screen "Edit leads" for creating / editing leads.
this.newLead = function (firstname, lastname, cb) { const salesman = this.getSalesman(); const lead = new Apiomat.Lead(); lead.setFirstName(firstname); lead.setLastName(lastname); lead.save({ onOk: () => salesman.postListOfLeads(lead, { onOk: () => { console.log('Lead successfully added to collection.'); cb(); }, onError: (err) => console.log(err) }), onError: (err) => console.log(err) });}this.updateLead = function (firstname, lastname, cb) { const lead = this.selectedLead; lead.setFirstName(firstname); lead.setLastName(lastname); lead.save({ onOk: () => { console.log('Successfully updated lead.'); cb(); }, onError: (err) => console.log(err) });} 
14. Implement upload profile picture.
this.uploadProfilePic = function (imageResponse) { const lead = this.selectedLead; const arrayBuffer = base64ToByteArray('data:image/jpeg;base64,' + imageResponse.data); lead.postProfilePic(arrayBuffer, { onOk: () => console.log('ProfilePic successfully uploaded.'), onError: (err) => console.log('error', err) });}
15. Best practice to implement connection to the backend is using promises and redux. You can find an example of the code for Login screen, User reducer, Promises wrapper, Apiomat demo below:
import React, {Component} from 'react';import {StyleSheet, View, TextInput, Button} from 'react-native';import {connect} from 'react-redux';import {Actions} from 'react-native-router-flux';import {login} from '../reducers/user';class Login extends Component { state = { username: '', password: '', }; render() { const {login} = this.props; return ( <View style={styles.container}> <View style={styles.viewPadding}> <TextInput style={styles.textInput} placeholder="Username" onChangeText={(username) => this.setState({username})} /> </View> <View style={styles.viewPadding}> <TextInput style={styles.textInput} placeholder="Password" secureTextEntry onChangeText={(password) => this.setState({password})} /> </View> <View style={styles.viewPadding}> <Button onPress={() => login(this.state.username, this.state.password)} title="Login"/> </View> <View style={styles.viewPadding}> <Button onPress={Actions.signup} title="Sign up" color="#841584"/> </View> </View> ); }}export default connect( state => ({}), {login})(Login);const styles = StyleSheet.create({ container: { flex: 1, padding: 20, justifyContent: 'center' }, viewPadding: { marginBottom: 20 }, textInput: { fontSize: 16, height: 50 }});import store from 'react-native-simple-store';import {Actions} from 'react-native-router-flux';import {Alert} from 'react-native';import aom from '../apiomat-demo';const initState = { salesman: {}};export default function user(state = initState, action) { switch (action.type) { case 'SET_SALESMAN': return {...state, salesman: action.payload}; default: return state; }}export function checkToken() { return (dispatch) => { store.get('token').then((token) => { if (!token) { Actions.login(); } else { aom.loginWithToken(token) .then(salesman => { dispatch({type: 'SET_SALESMAN', payload: salesman}); Actions.leads(); }); } }); };}export function logout() { return (dispatch) => { store.save('token', null); dispatch({type: 'SET_SALESMAN', payload: {}}); dispatch({type: 'SET_LEADS', payload: []}); Actions.login(); }}export function login(username, password) { return (dispatch) => aom.login(username, password) .then(salesman => { dispatch({type: 'SET_SALESMAN', payload: salesman}); aom.getSessionToken(salesman) .then(result => store.save('token', result.sessionToken)); Actions.leads(); }) .catch(err => { Alert.alert('Error', err.message, [{text: 'OK', style: 'cancel'}]); });}export function signup(username, password) { return (dispatch) => aom.signUp(username, password) .then(salesman => { dispatch({type: 'SET_SALESMAN', payload: salesman}); aom.getSessionToken(salesman) .then(result => store.save('token', result.sessionToken)); Actions.leads(); }) .catch(err => { Alert.alert('Error', err.message, [{text: 'OK', style: 'cancel'}]); });}export const promSingle = (aomFunc) => { return (reloadAfterLoad): Promise<any> => { return new Promise((resolve, reject) => { aomFunc({ onOk: resolve, onError: reject }, reloadAfterLoad) }) }};export const promList = (aomFunc) => { return (query: string, reloadAfterLoad): Promise<any[]> => { return new Promise((resolve, reject) => { aomFunc(query, { onOk: resolve, onError: reject }, reloadAfterLoad) }) }};export const promisifyPostRef = (aomFunc) => { return (refData: any, reloadAfterwards): Promise<any> => { return new Promise((resolve, reject) => { aomFunc(refData, { onOk: resolve, onError: reject }, reloadAfterwards) }) }};import {promSingle, promList} from "./promises";const Apiomat = require('../com/apiomat/apiomat');Apiomat.Datastore.setIsReact(true);Apiomat.Datastore.getInstance().setOfflineUsageForClass(Apiomat.Lead, true);function AOM() { this.signUp = function (username, password1) { const salesman = new Apiomat.Salesman(); salesman.setUserName(username); salesman.setPassword(password1); Apiomat.Datastore.configureWithCredentials(salesman); return promSingle(salesman.save.bind(salesman))() .then(() => salesman); }; this.login = function (username, password) { const salesman = new Apiomat.Salesman(); salesman.setUserName(username); salesman.setPassword(password); Apiomat.Datastore.configureWithCredentials(salesman); return promSingle(salesman.loadMe.bind(salesman))() .then(() => salesman); }; this.getSessionToken = function (salesman) { return promList(salesman.requestSessionToken.bind(salesman))(true); }; this.loginWithToken = function (sessionToken) { const salesman = new Apiomat.Salesman(); Apiomat.Datastore.configureWithSessionToken(sessionToken); salesman.setSessionToken(sessionToken); return promSingle(salesman.loadMe.bind(salesman))() .then(() => salesman); }; this.loadLeads = function (salesman) { return promList(salesman.loadListOfLeads.bind(salesman))('order by lastName'); }; this.newLead = function (salesman, firstname, lastname, imageResponse) { const lead = new Apiomat.Lead(); lead.setFirstName(firstname); lead.setLastName(lastname); return promSingle(lead.save.bind(lead))() .then(() => promList(salesman.postListOfLeads.bind(salesman))(lead)) .then(() => { if (imageResponse && imageResponse.data) this.uploadProfilePic(lead, imageResponse); }); }; this.updateLead = function (lead, imageResponse) { return promSingle(lead.save.bind(lead))() .then(() => { if (imageResponse && imageResponse.data) this.uploadProfilePic(lead, imageResponse); }); };}const aom = new AOM();export default aom;