Configuration Parameters
In the last tutorial, we used a hook-method to set a default-value for newly created objects (which in this case were groceries). This default-value was hard-coded into the backend code. Now, suppose you want to let every customer who uses your module set this default value from the dashboard without having to download the module-code first and changing it there. That's possible by using so called Configuration Parameter.
Setting a Config Parameter
-
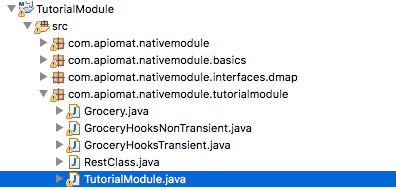
First, you have to set the configuration-Parameter. Go to the class com.apiomat.nativemodule inside your Project with the module-code.[modulename].[modulename]

-
At the top of the class, there is already an example of how to set a configuration-parameter (as a comment). Use this as a blueprint. Each field should be pretty self-explanatory
-
Datatype: The datatype of the config-Parameter. As we want to set a default-price, we use the Type "Number"
-
Example: An example for a value. It will be shown in an info-box provided for this config-parameter from the dashboard.
-
Title: This is the name of the parameter which will be shown in the dashboard
-
Info: An informational text that will be shown alongside the example in the info-box provided by the dashboard.
-
Default-Value: This will be set when the module is deployed for the first time and can be changed afterwards.
-
Order: Set the order in which your Config- Parameters are shown in the case that you have more than one.
-
public static String [IdentifierToCall] = "[ModuleName]_[IdentifierYouLike]". The identifier on the left part is the name by which you will call the default-value from the module-code. The right part is used by ApiOmat for the internal localisation of the default-value. It is important to follow the convention that it must start with the module-name and an underscore. You can customize the part after the underscore as you like. The example below clarifies this expalanation.
@NativeModuleConfig(datatype = Type.NUMBER,example ="0.8",title ="Default Price",info ="This is the default price of every new grocery",defaultValue ="0.5",order =1)publicstaticString DEFAULT_PRICE ="TutorialModule_defaultPrice"; -
-
Now that you have set the Config-Parameter, upload your module-code so that your changes are synchronized.
-
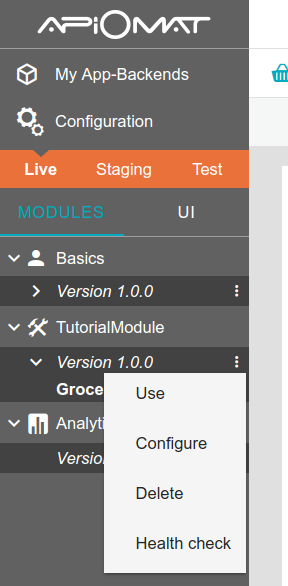
Inside the dashboard, you can now access the configuration of your module by clicking on the dots besides the module version:

-
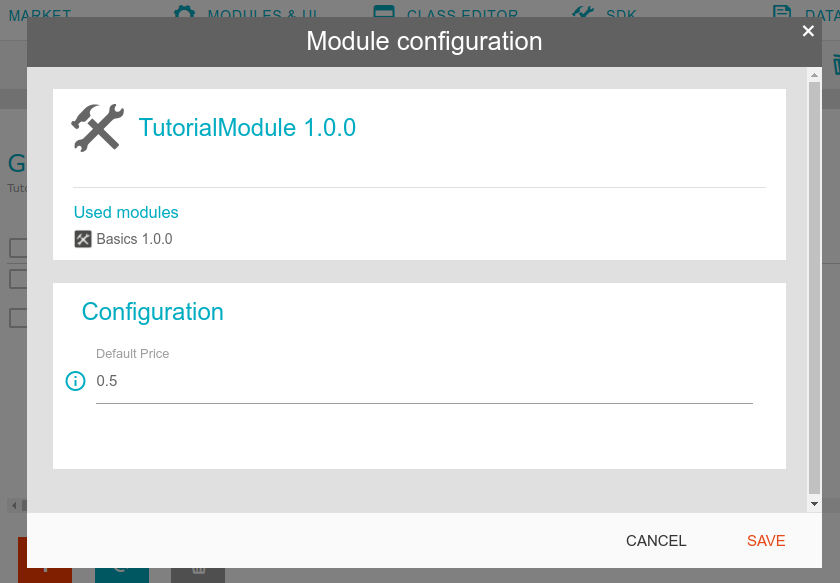
Now the Configuration-Panel opens. Set the default-price you like!

The problem- Although you provided the option to enter a conifg parameter, you do not use the value anywhere up until this point. Next we will show you how to do this.
Call a Config Parameter
-
In this example, we set a default value for every new grocery that is created inside the GroceryHooksNonTransient-Class. We will change the code inside the beforePost-Hook like so:
-
The value of a config-parameter is called by means of the static method [ModuleName].APP_CONFIG_PROXY.getConfigValue([ModuleName].[identifierToCall], [applicationName], [usedSystem]). The [applicationName] and the [usedSystem] are provided by the incoming request, and the identifier is the same one you set earlier.
-
The returned value is an object, which has to be type-cast to the acutal datatype you intented to use.
@OverridepublicvoidbeforePost( Grocery obj, Request r ){Object defaultPrice = TutorialModule.APP_CONFIG_PROXY.getConfigValue( TutorialModule.DEFAULT_PRICE,r.getApplicationName( ), r.getSystem( ) );Double castedPrice = Double.valueOf( String.valueOf( defaultPrice ) );obj.setPrice( castedPrice );}
-
-
As always, upload your module-code for the changes to take place
-
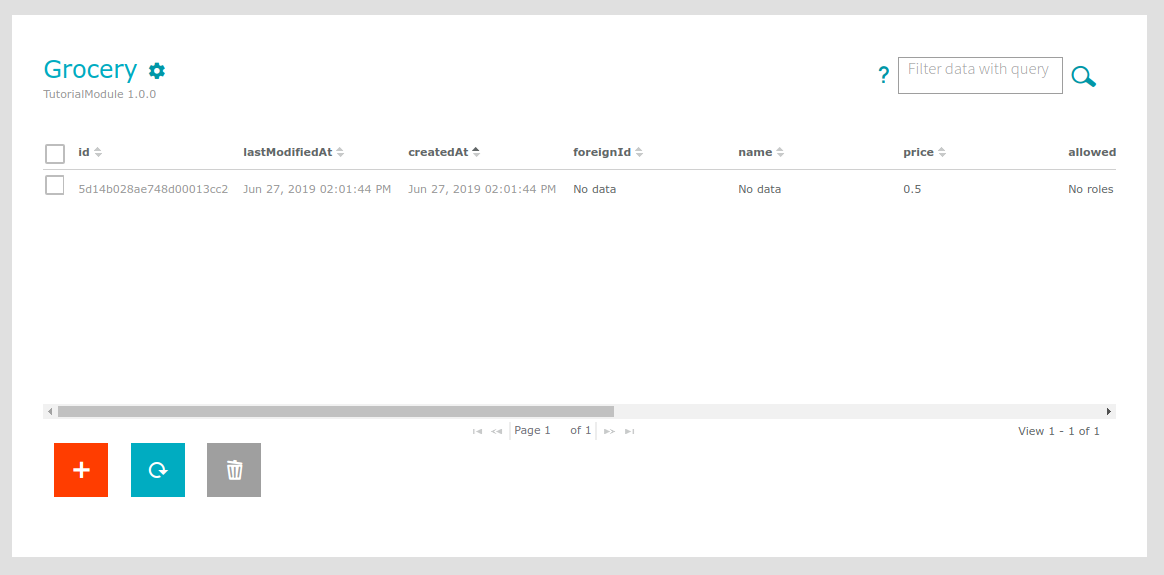
Return to the dashboard and go to the data-tab. Now, every time you create a new grocery, it should automatically have the price that has been set in the configuration-dialog!

Congratulations! Now that you know how to set configuration parameters, you are well on the way of mastering ApiOmat. In the next tutorial, we will show you how to build rest-endpoints.