iOS Quickstart
In this Tutorial you will learn to:
-
Set up a backend with a custom class "Task".
-
Create a simple iOS project with the generated Swift SDK
-
Set up the connection to the backend and create a User
-
View the data in your backend
-
Create Task objects in Swift or Objective-C and store them in the backend
-
Query data from the backend
1. Log into your account. If you don't have an account, contact the administrator of your company's ApiOmat instance.
2. Enter a unique name for your app's backend (e.g. "YourNameTaskManager") and then create it.
Since we plan to give developers the ability to share projects, application names must be unique in the system. You do not need any of the predefined modules in this tutorial.

Create App
3. Create a new module by going to the module Market and clicking on "New Module" in the submenu. Give it a name and description and click "CREATE".
Create Module
4. Go to the "Class Editor" tab to create a class in our backend. You will be asked for a class name after entering the tab - use "Task".
Scroll down to the attributes and add a String "description", a Long "done" and a Date "untilDate", then click on "COMPILE" in the upper right corner to compile the module.
Class Editor.png
5. Go to the SDK Tab and download the Swift SDK by clicking the "Download" button. You will get a ZIP file with your generated classes and all necessary libraries.
SDK tab.png
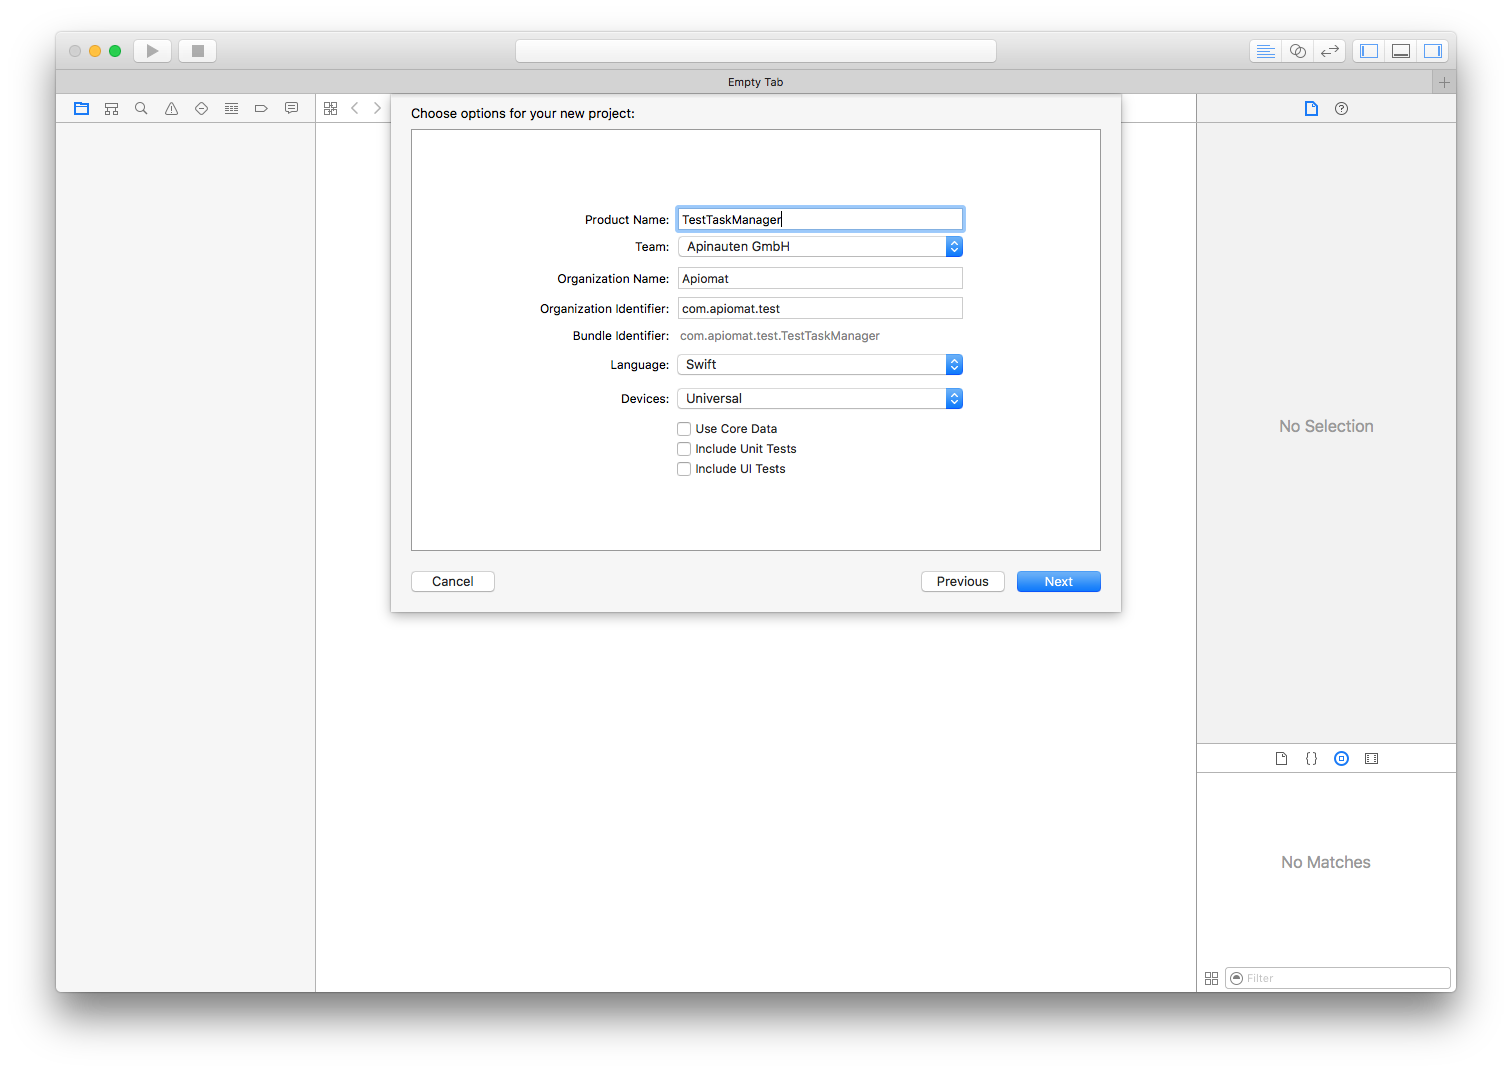
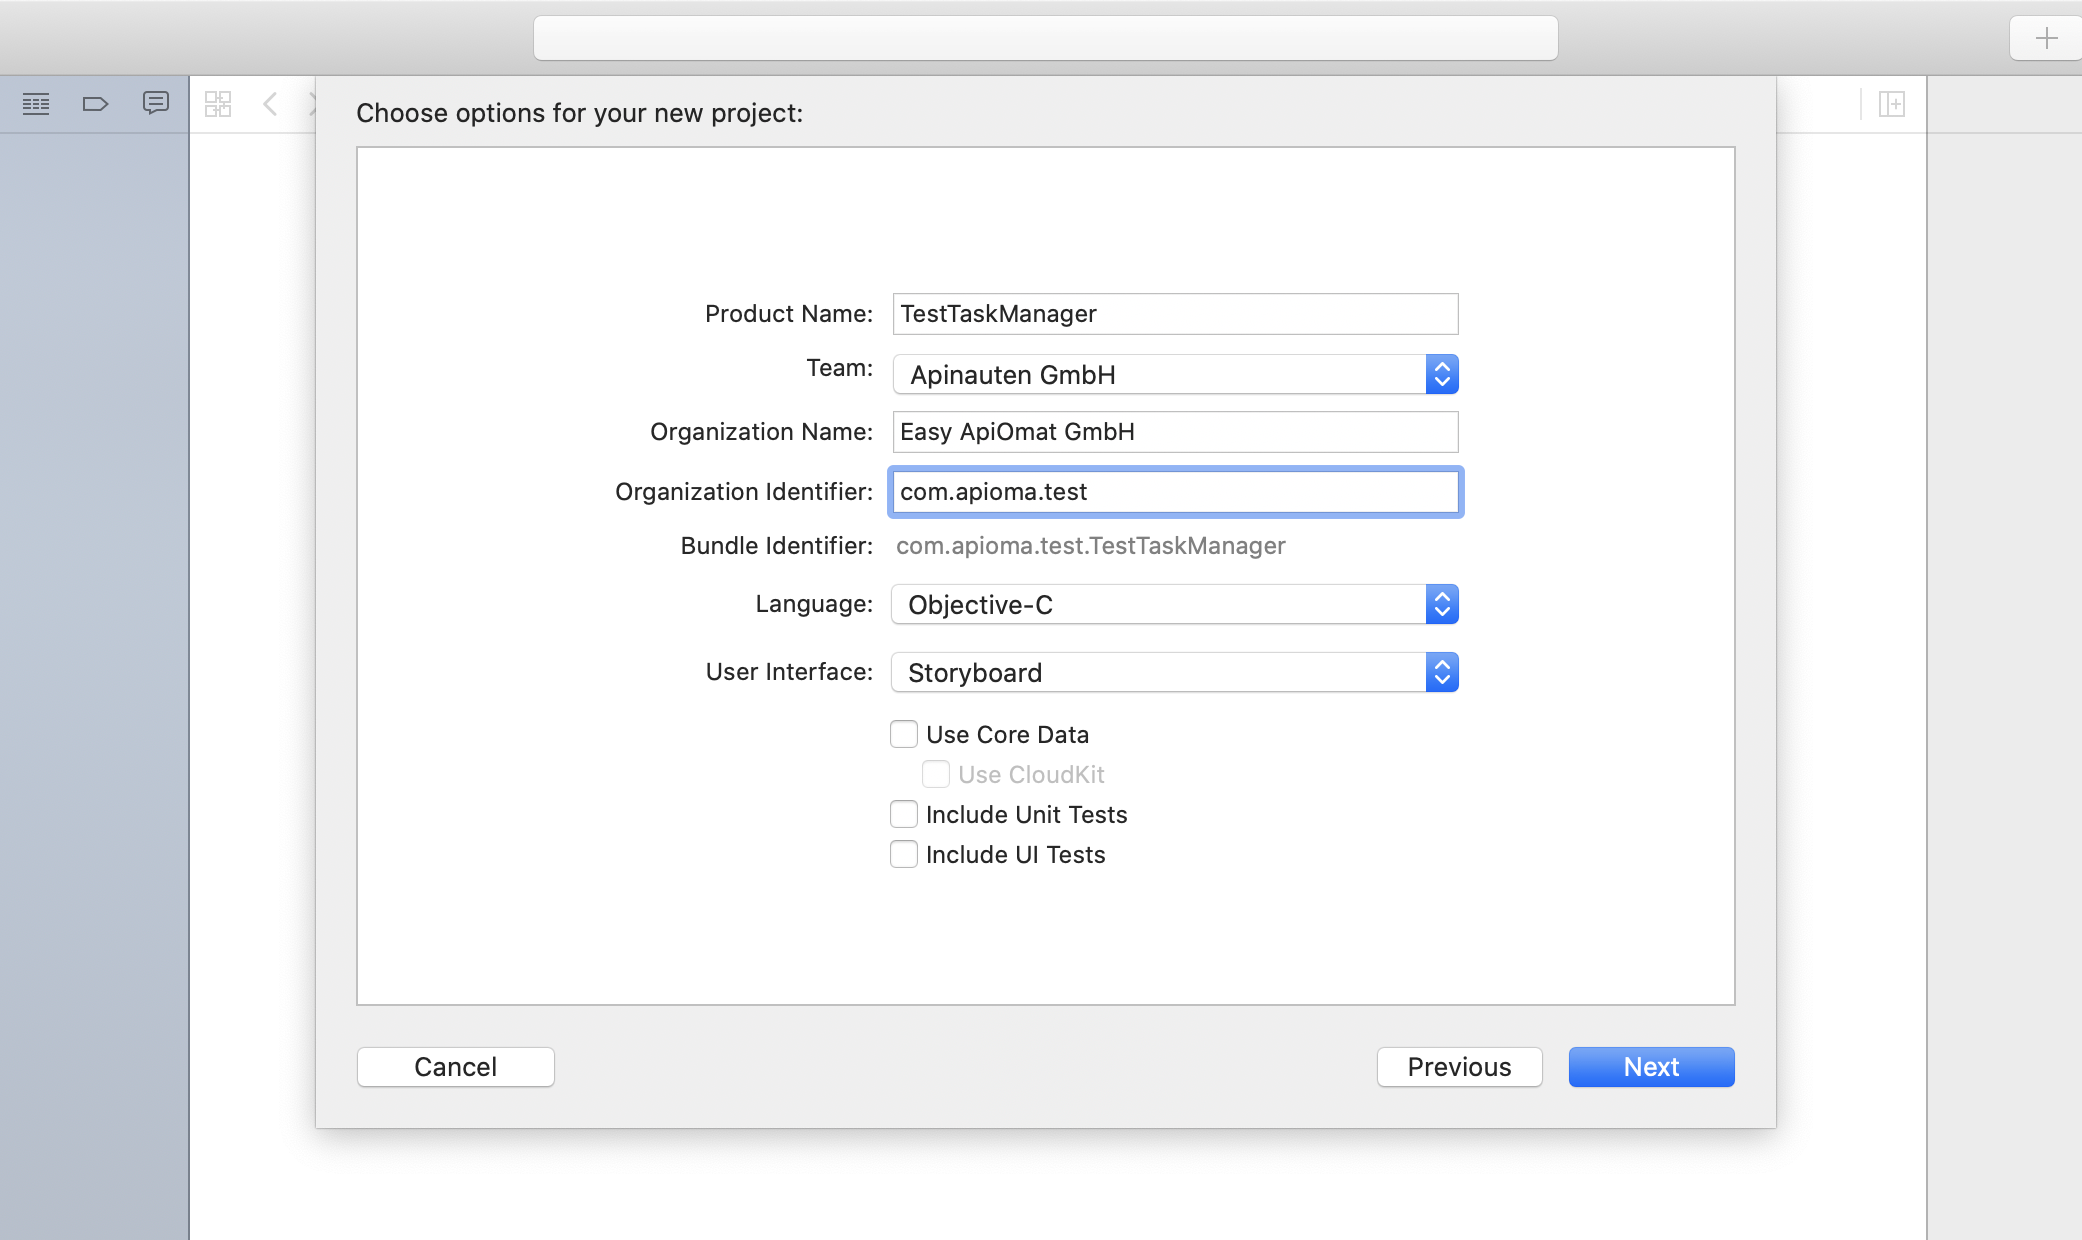
6. Go to Xcode and start a new Project under File → New → Project. Choose "Single View Application", click next and enter a "Product Name", e.g.: "TestTaskManager" (In older versions of Xcode: Make sure that "Use Automatic Reference Counting" is checked). Then click "Next", select a folder for your project and create it.
Swift
 Objective-C
7. Now move the downloaded and unzipped library files to your project by dragging the directory "apiomat" to your "Project Navigator".
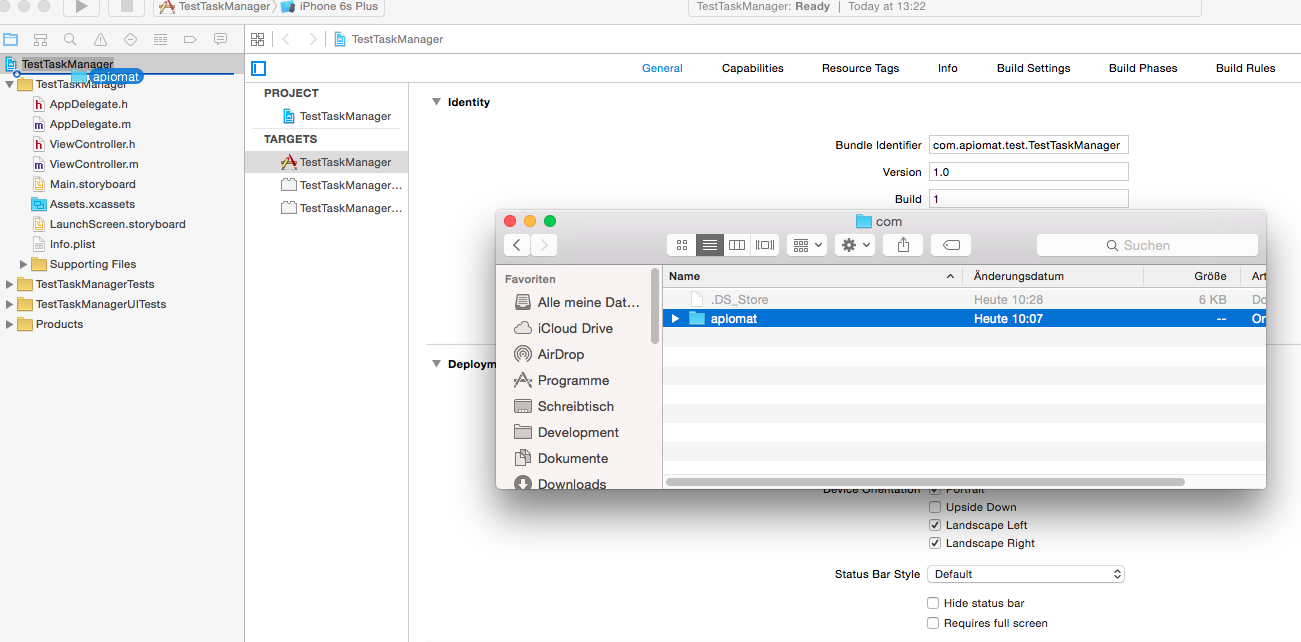
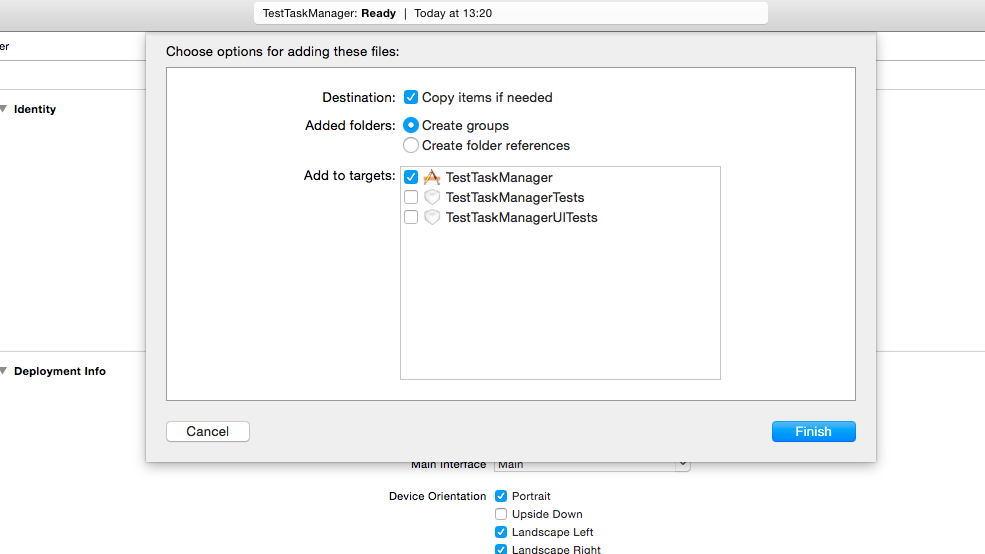
8. Turn on "Copy items if needed" and select the radio button for "Create groups" under "Added folders":
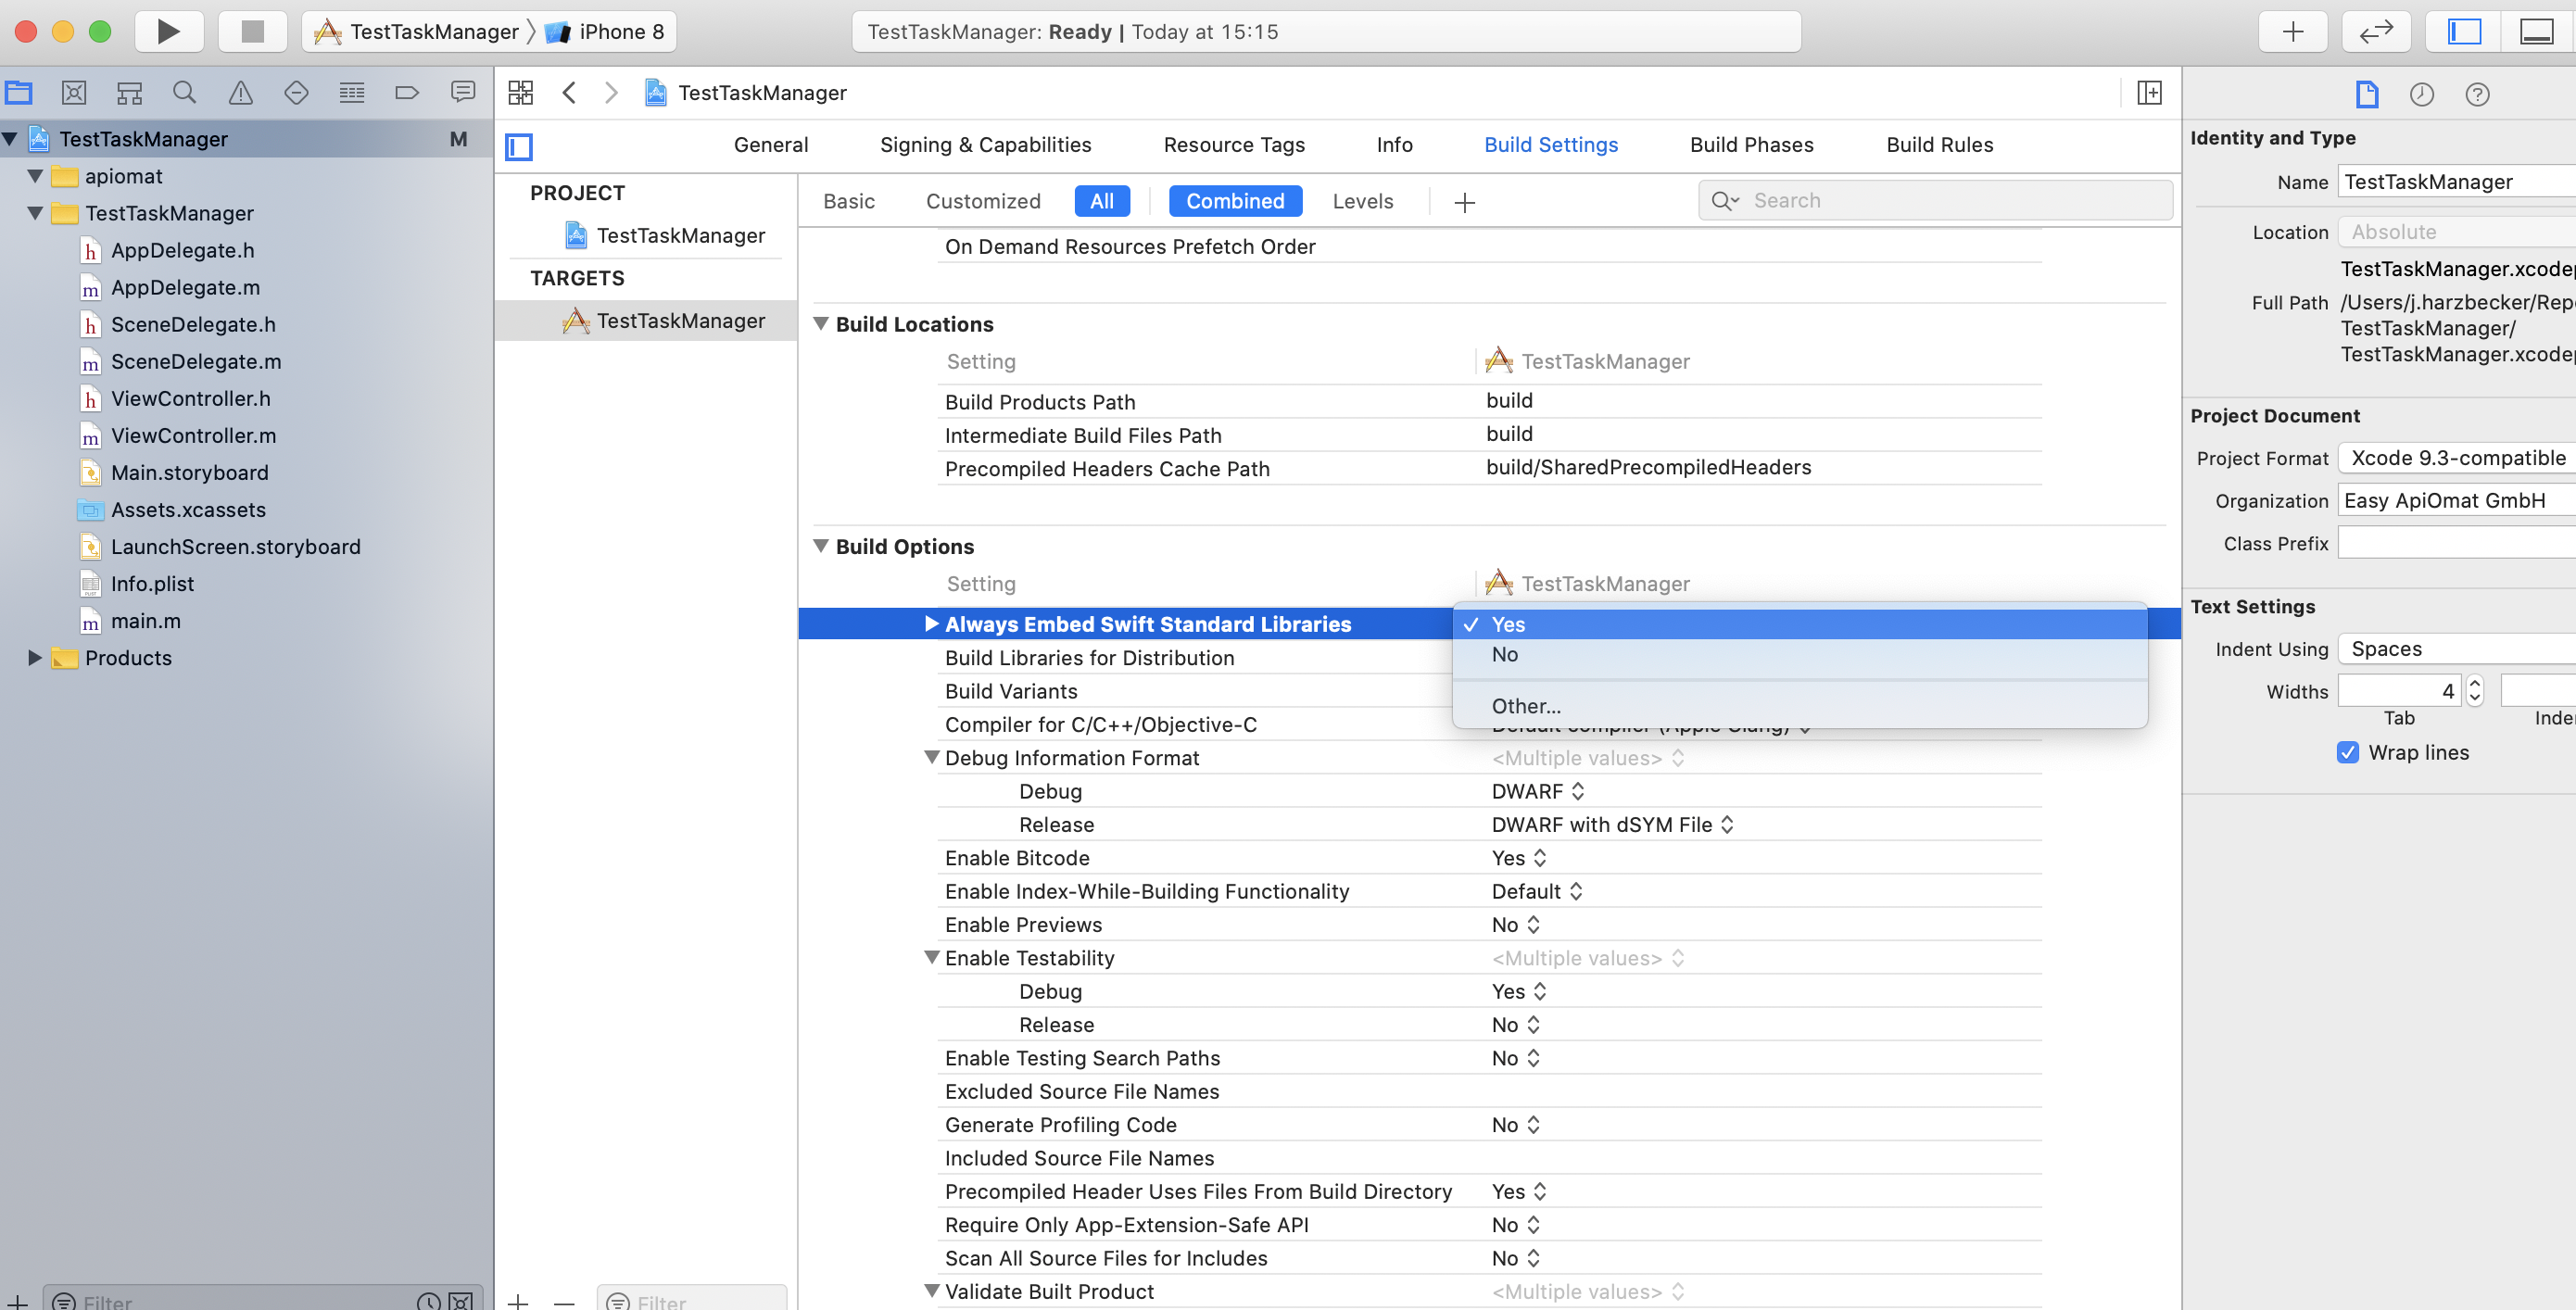
9. If you use Objective-C for your project, open "Build Settings", switch to "All" on the left side and set "Always Embed Swift Standard Libraries" to "YES". Then build your application (CMD + B), which will create a header file "(<YourProjectName>-Swift.h)".
10. Now you are ready to go. In the class "AppDelegate", add a user:
Swift
public var user: AOMUser?Objective-C
@property (strong, nonatomic) AOMUser *user;If you are using Objective-C, import your project's header file in "AppDelegate.h":
Objective-C
#import "<#YourProjectName#>-Swift.h"
11. Configure the Datastore and user in the method AppDelegate.didFinishLaunchingWithOptions. Don’t forget to fill in the username and password!
Swift
func application(_ application: UIApplication, didFinishLaunchingWithOptions launchOptions: [UIApplication.LaunchOptionsKey: Any]?) -> Bool { self.user = AOMUser(userName: "<username>", password: "<password>") // Configure Datastore with user credentials DataStore.configureWithCredentials(user: user) user.loadMe { (error) in // There is no User with this name on the server, so create one if error != nil { user?.save(completion: { (error) in }) } } return true}Objective-C
@synthesize user;- (BOOL)application:(UIApplication *)application didFinishLaunchingWithOptions:(NSDictionary *)launchOptions{ user = [[AOMUser alloc] init]; [user setUserName:@"<username>"]; [user setPassword:@"<password>"]; // Configure Datastore with user credentials [DataStore configureWithCredentialsWithUser: user configuration: nil]; [user loadMe:^(NSError * error) { // There is no User with this name on the server, so create one if(error != nil) { [user saveObjCWithLoadAfterwards:true completion:^(NSError * error) { }]; } }]; return YES;}
12. If you use a base-url with HTTP, turn off Apple Transport Security, then build and start your application.
Congratulations! Your backend and your connection are working now. Have a look at the Data-Tab of your Dashboard to see the created user in your Backend:
New User.png
13. Now let’s play around with the Task class. Add the following code to ViewController.viewDidLoad - it will create 2 objects of the "Task" class:
Swift
override func viewDidLoad() { super.viewDidLoad() let firstTask = Task() firstTask.setDescription("drink coffee") // Set task to done firstTask.done = 1 // Save task firstTask.save() { error in if error != nil { //handle error } } // Create another task let secondTask = Task() secondTask.setDescription("have lunch") // Task is not done yet secondTask.done = 0 // Save task secondTask.save() { error in if error != nil { //handle error } }}Objective-C
(Make sure to import the "Task.h" header file)
- (void)viewDidLoad{ [super viewDidLoad]; Task *firstTask = [Task new]; [firstTask setDescription:@"Drink coffee"]; // Set task to done [firstTask setDone:1]; // Save task [firstTask saveObjCWithLoadAfterwards:true completion:^(NSError * error) { // Create another task Task *secondTask = [Task new]; [secondTask setDescription:@"Eat to lunch"]; // Task is not done yet [secondTask setDone:0]; [secondTask saveAsyncWithBlock:^(NSError *error) { }]; }];}
14. Next, let's request all tasks from the ApiOmat backend.
After the save statement of the second task, use a common method to retrieve the tasks as an array:
Swift
var tasks:[Task]?Task.loadList { (models, error) in if error == nil { tasks = models }}Objective-C
__block NSMutableArray *tasks = nil;[Task loadListObjCWithQuery:@"" completion:^(NSArray<AbstractClientDataModel *> * models, NSError * error) { if(error == nil) { tasks = models; } }];
15. Finally, we will use a query to get back all uncompleted tasks.
Swift
var uncompletedTasks:[Task]?Task.loadList(query: "done==0", usePersistentStorage: false) { (models, error) in if error == nil { uncompletedTasks = models guard let tasks = uncompletedTasks else { return } for let task in tasks { print("Description: \(task.description)") } }}Objective-C
__block NSMutableArray *uncompletedTasks = nil;[Task loadListObjCWithQuery:@"done==0" completion:^(NSArray<AbstractClientDataModel *> * models, NSError * error) { if(error == nil) { uncompletedTasks = models; for (Task *t in uncompletedTasks) { NSLog(@"Description: %@", [t description]); } } }];